



The Call: A GE Dryer Would Not Start
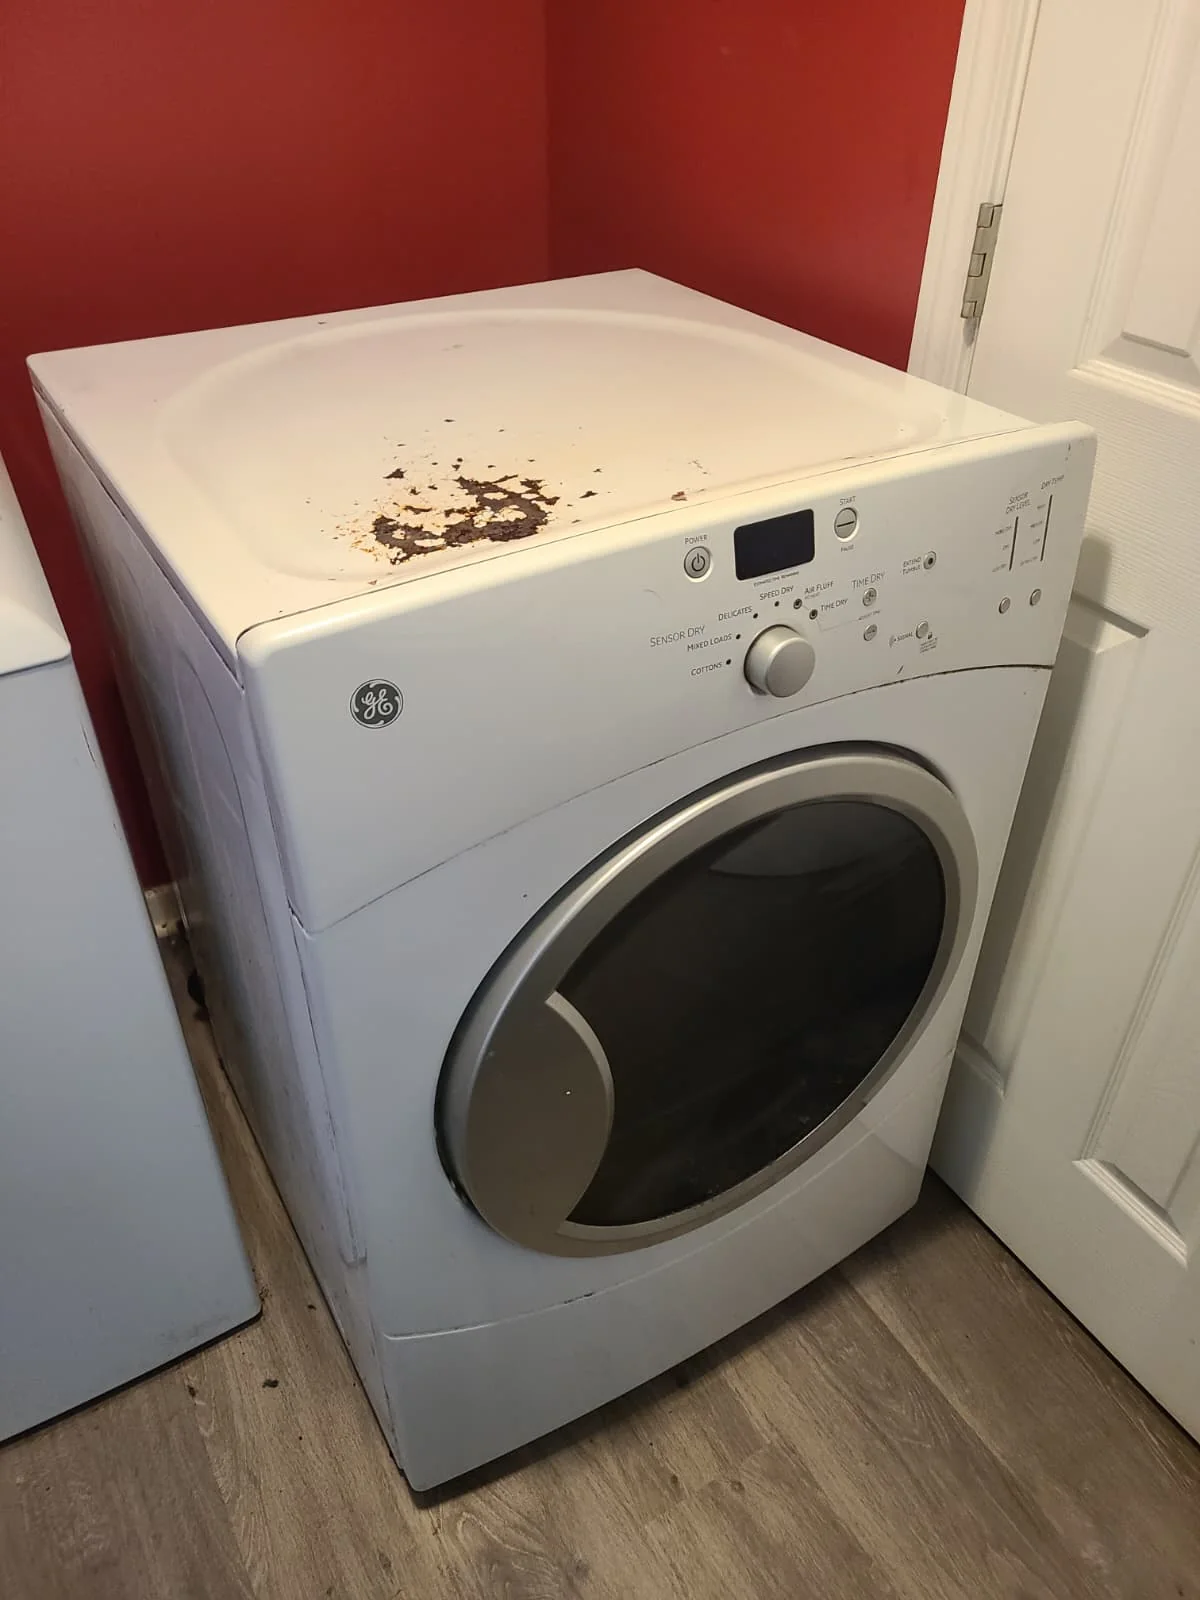
A customer on the north side of Indianapolis, Indiana called because their dryer would not start. This service visit involved a GE GFDN110EL0WW electric dryer, identified from the appliance label shown in the visit overview.
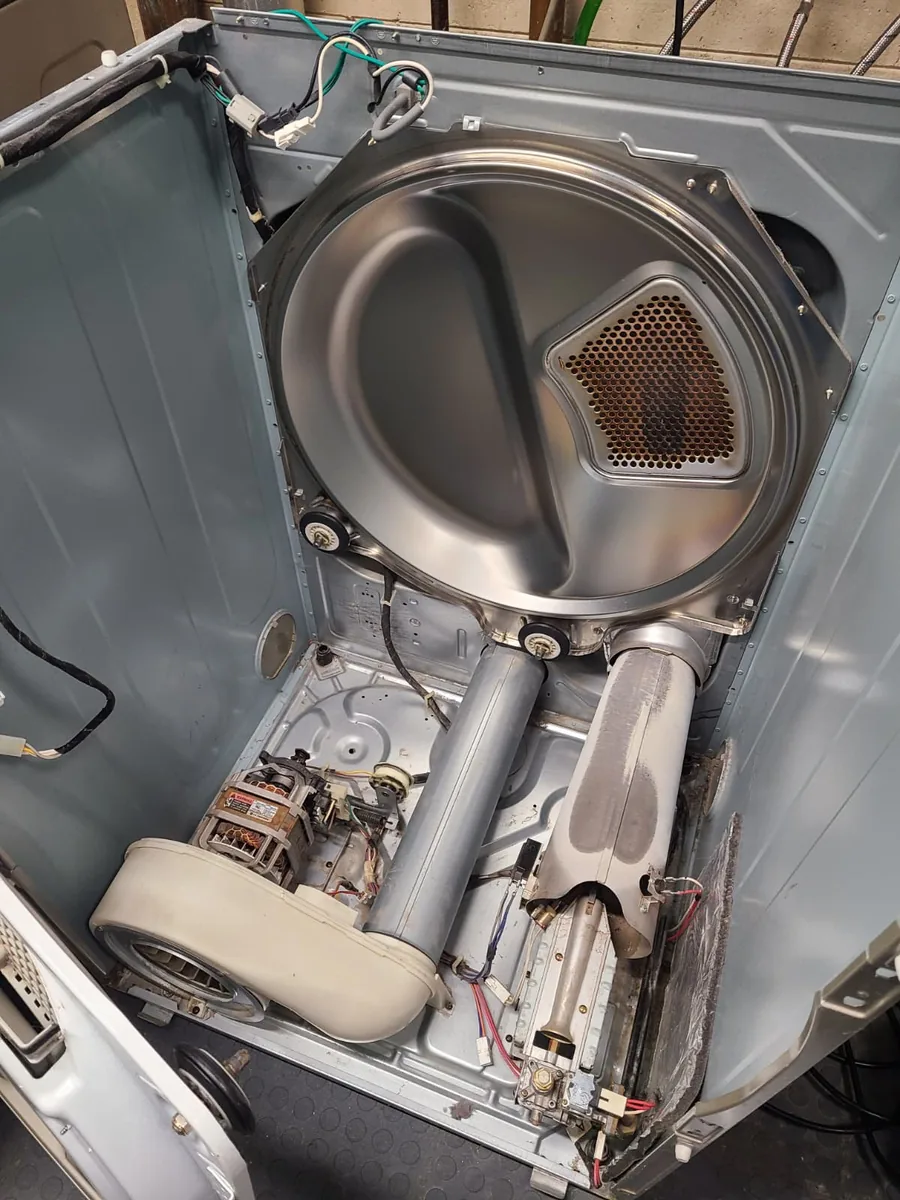
After opening the dryer and removing the drum, we found a broken drive belt and far more lint than would be visible at the lint screen. Thick deposits had collected inside the cabinet, around the blower and behind the front panel. Diagnosis also identified a failed thermostat, and the front upper drum slides needed replacement.
Why the Belt Needed More Than a Simple Replacement
The broken belt explained the loss of drum drive, but replacing it alone would have left the underlying condition unaddressed. During this visit, heavy internal contamination was identified as a contributor to resistance in the rotating assembly and belt wear. We therefore treated cleaning and inspection of the drum supports as part of the repair.
Repeated overloading with large amounts of wet laundry was also a possible contributing factor. That was a suspicion, not a confirmed history of how the customer had used the dryer. The confirmed findings were the broken belt, failed thermostat and extensive lint accumulation documented below.
Inside the Cabinet: Before and After Cleaning
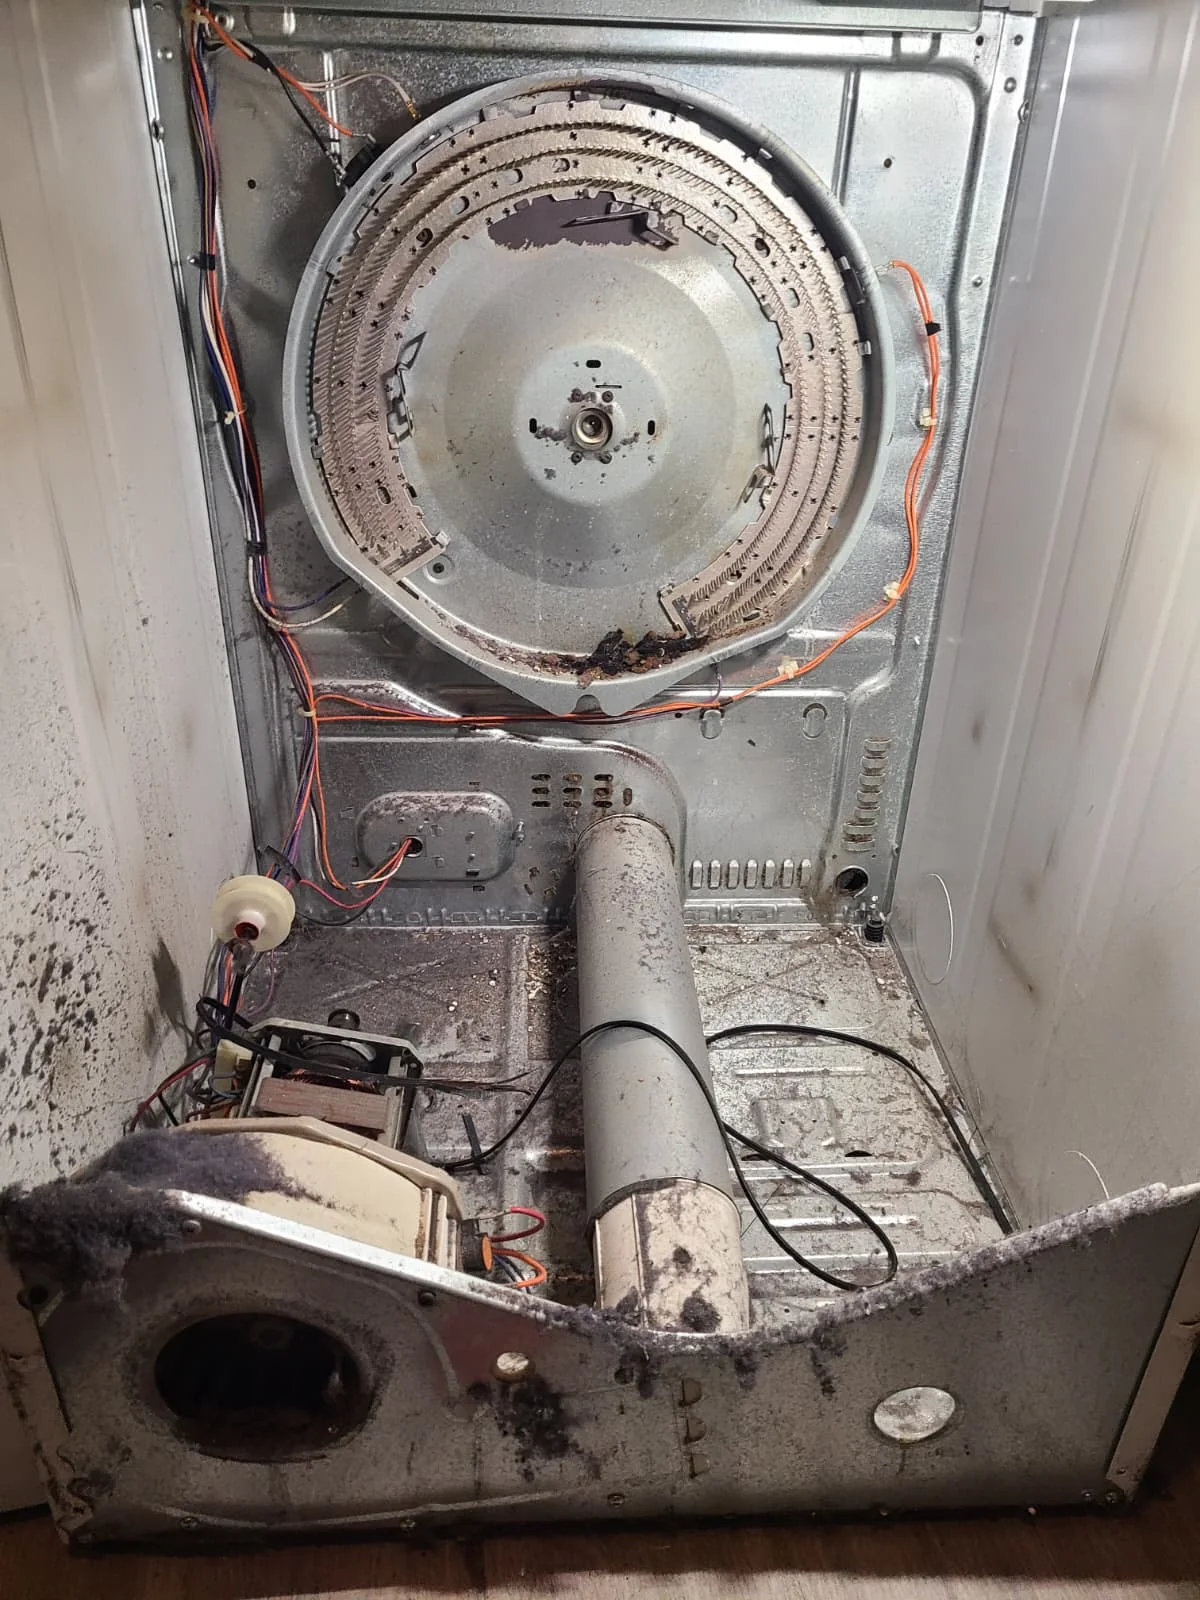
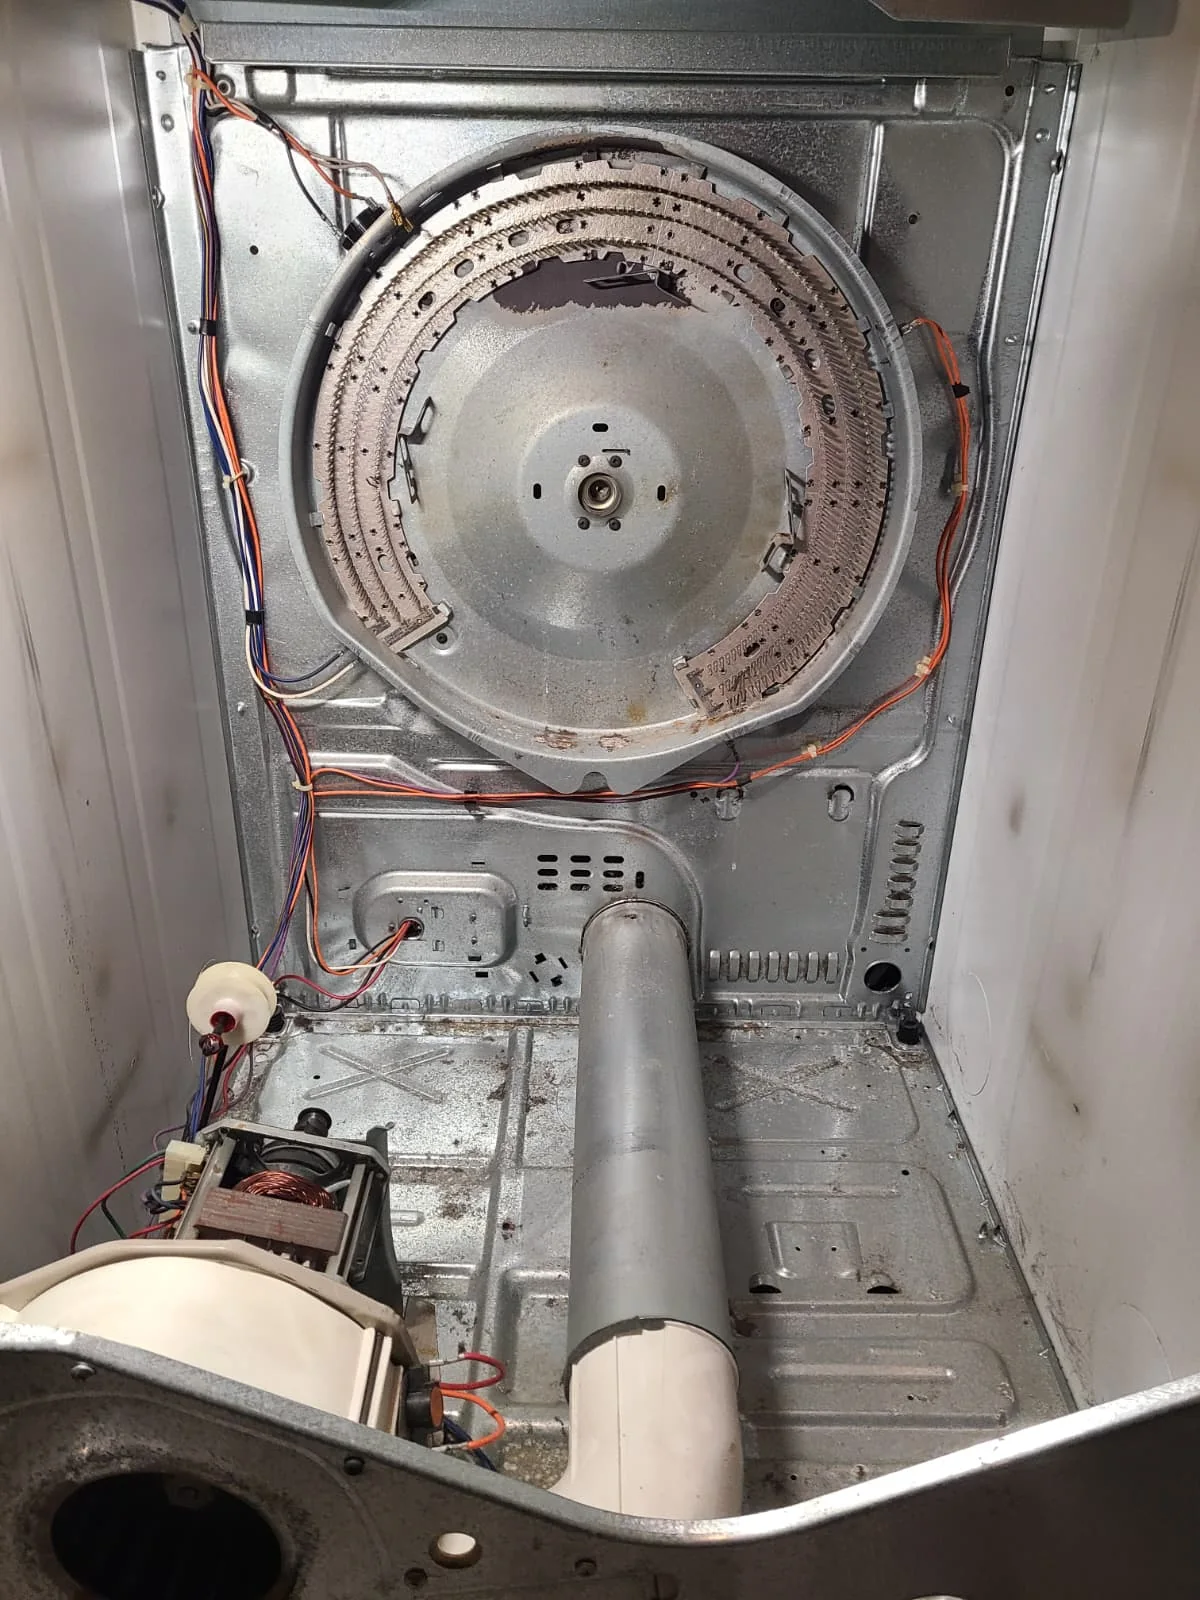
With the drum removed, the extent of the buildup became clear. The before photograph shows lint across the cabinet floor, on the side wall and around the motor and blower housing, with the loose belt at the bottom. The matching after photograph shows the same interior after cleaning. Removing the debris exposed the metal surfaces and cleared the areas that had been hidden beneath accumulated lint.
Front Panel: Removing the Thick Lint Deposits
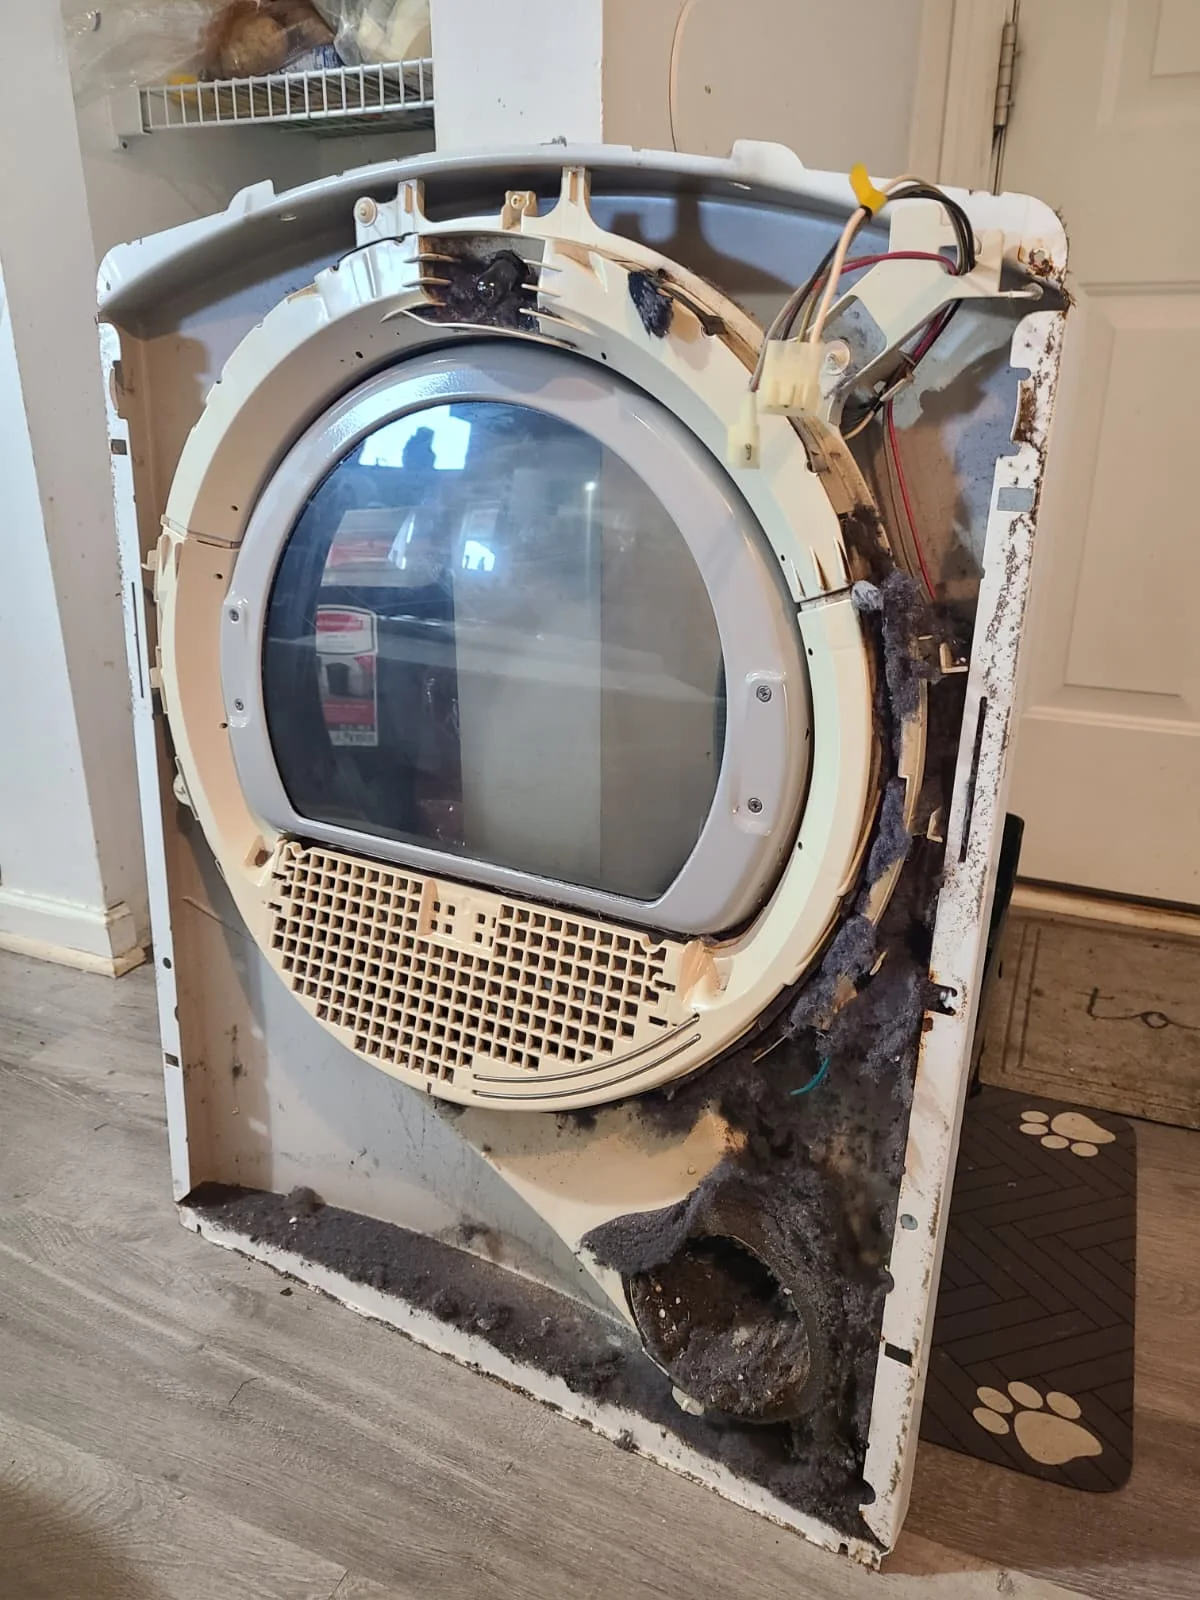
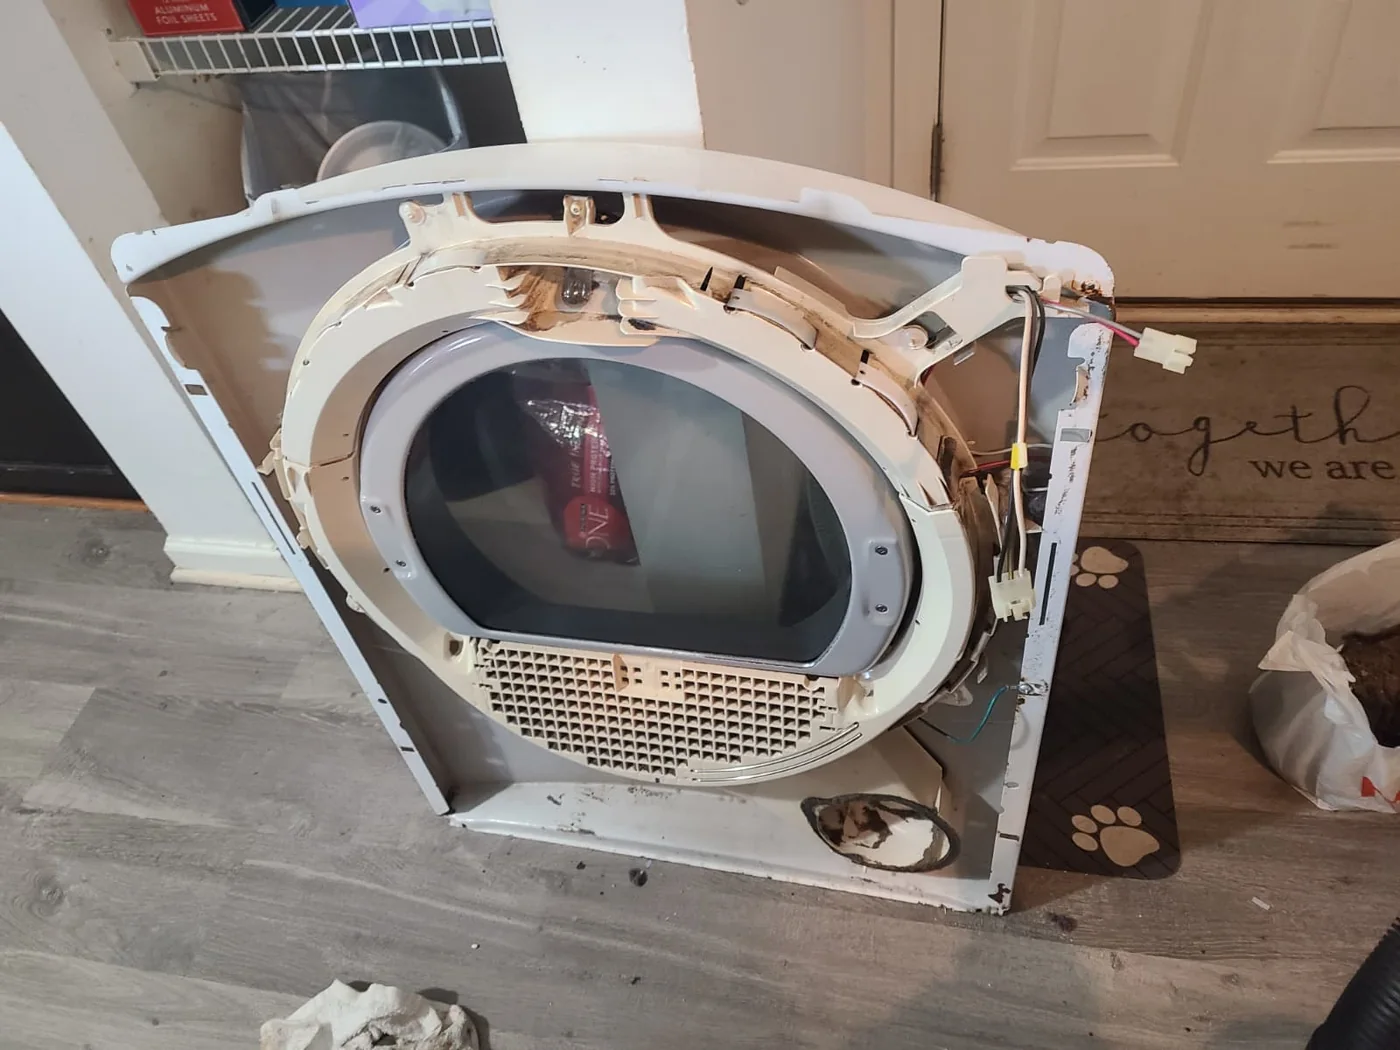
The back of the front panel carried a particularly heavy layer of lint around the drum opening and lower air passage. We cleaned these areas while the panel was off the appliance. The after photograph shows the bulky deposits removed. Discoloration and existing wear are still visible: this was a functional cleaning and repair, not cosmetic restoration of the dryer.
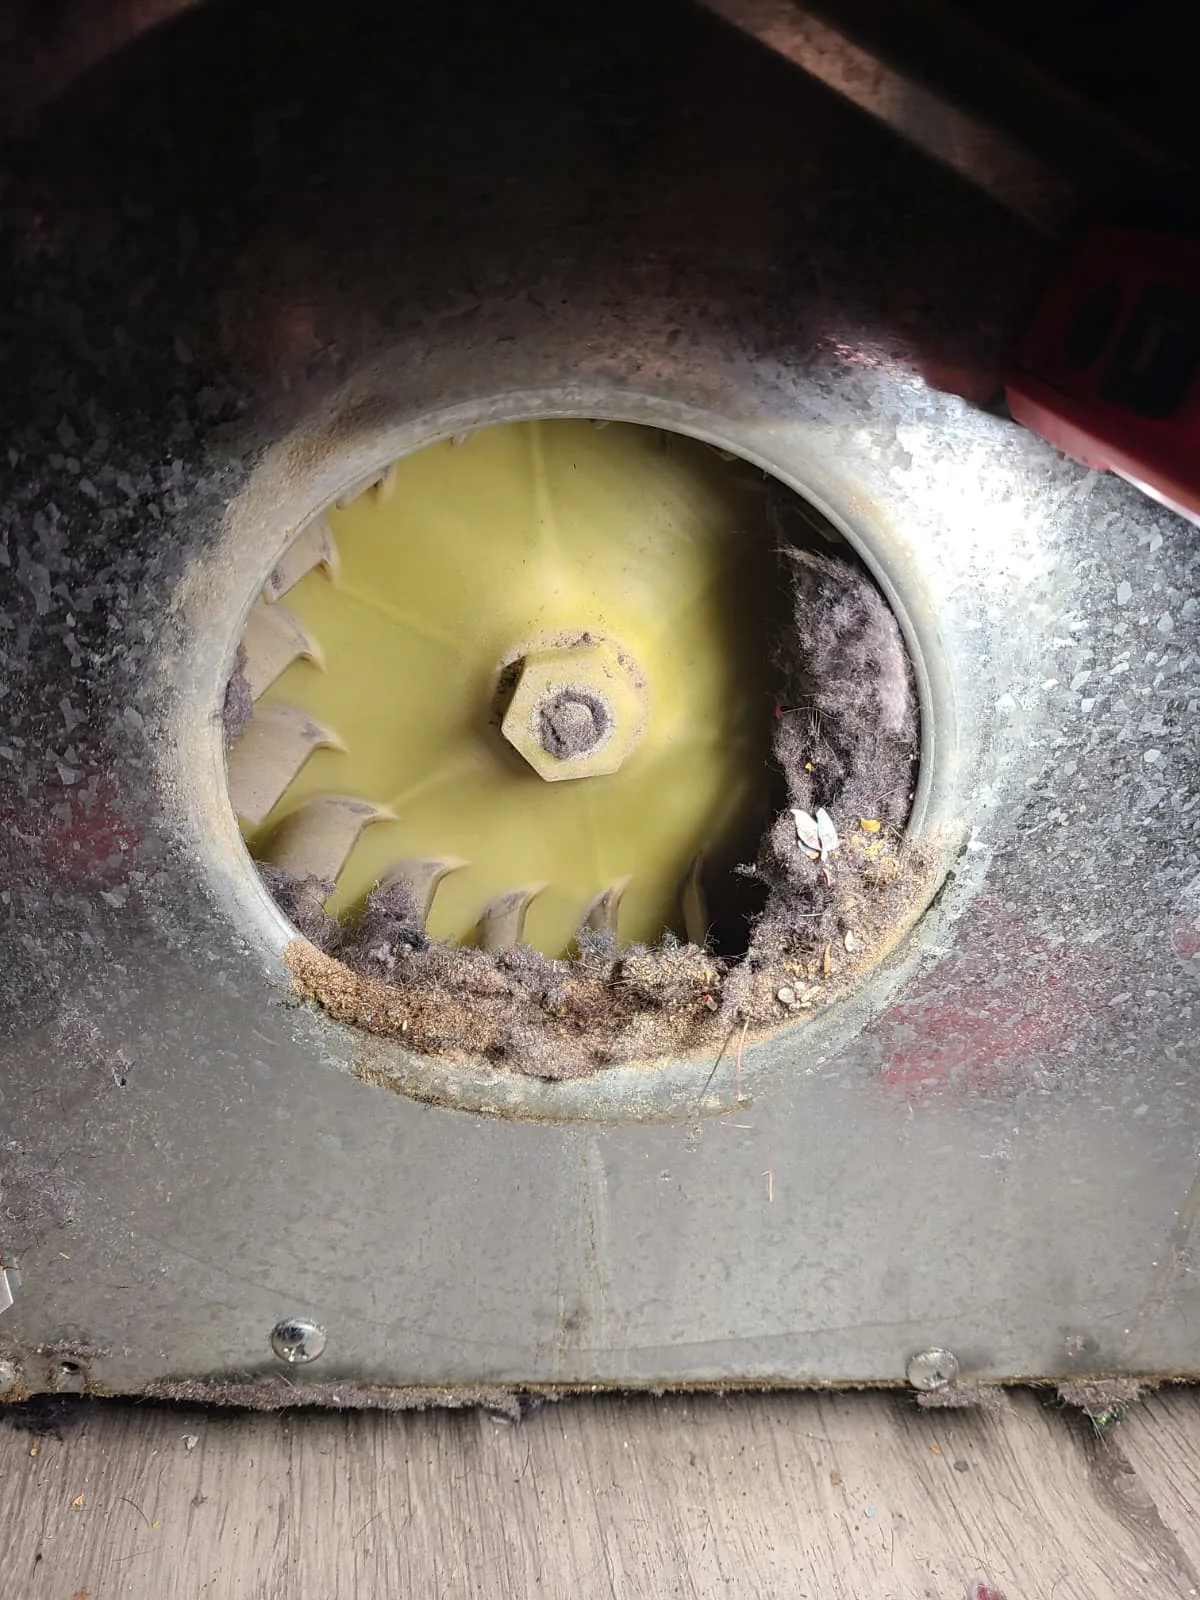
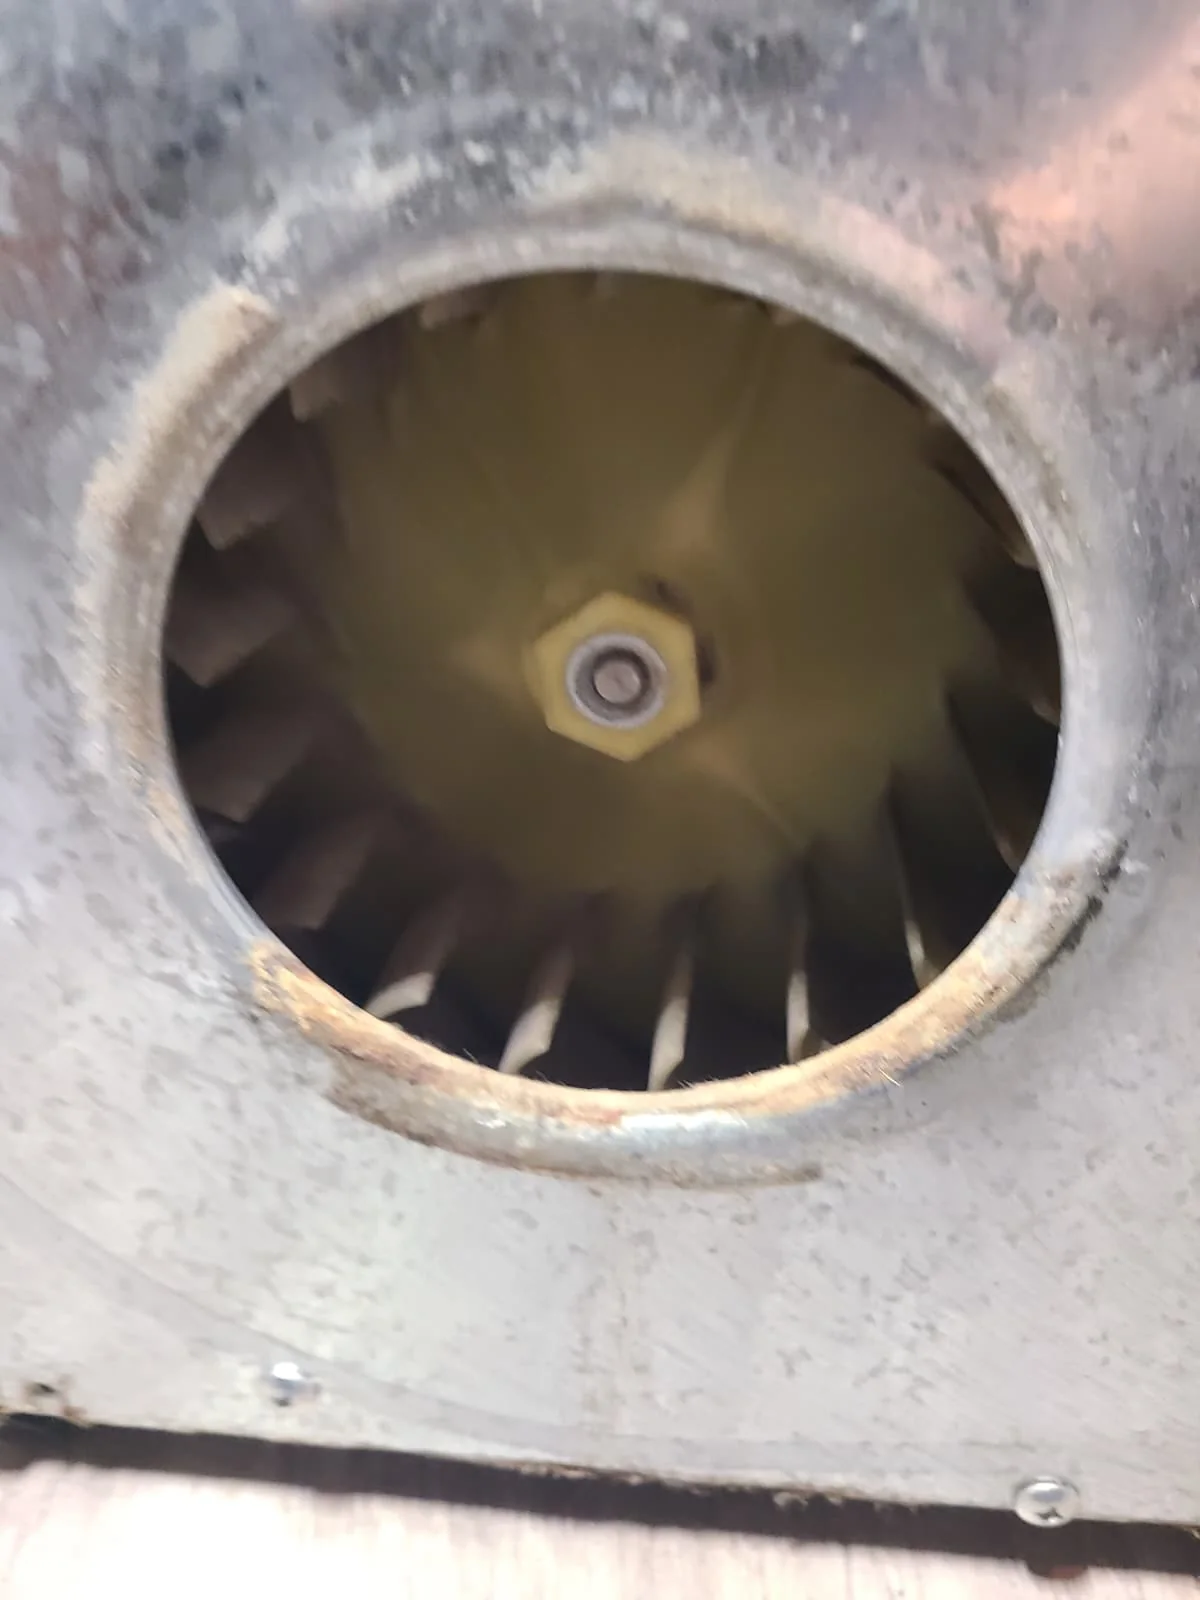
Blower Wheel: Clearing the Packed Debris
The close-up of the yellow blower wheel shows how tightly lint and debris had collected around the inlet. Cleaning the lint screen alone would not have reached this internal buildup. The second photograph records the opening after cleaning, with the wheel and individual blades much more clearly visible. These pictures document cleaning inside the dryer, rather than a separate whole-house exhaust-duct cleaning service.
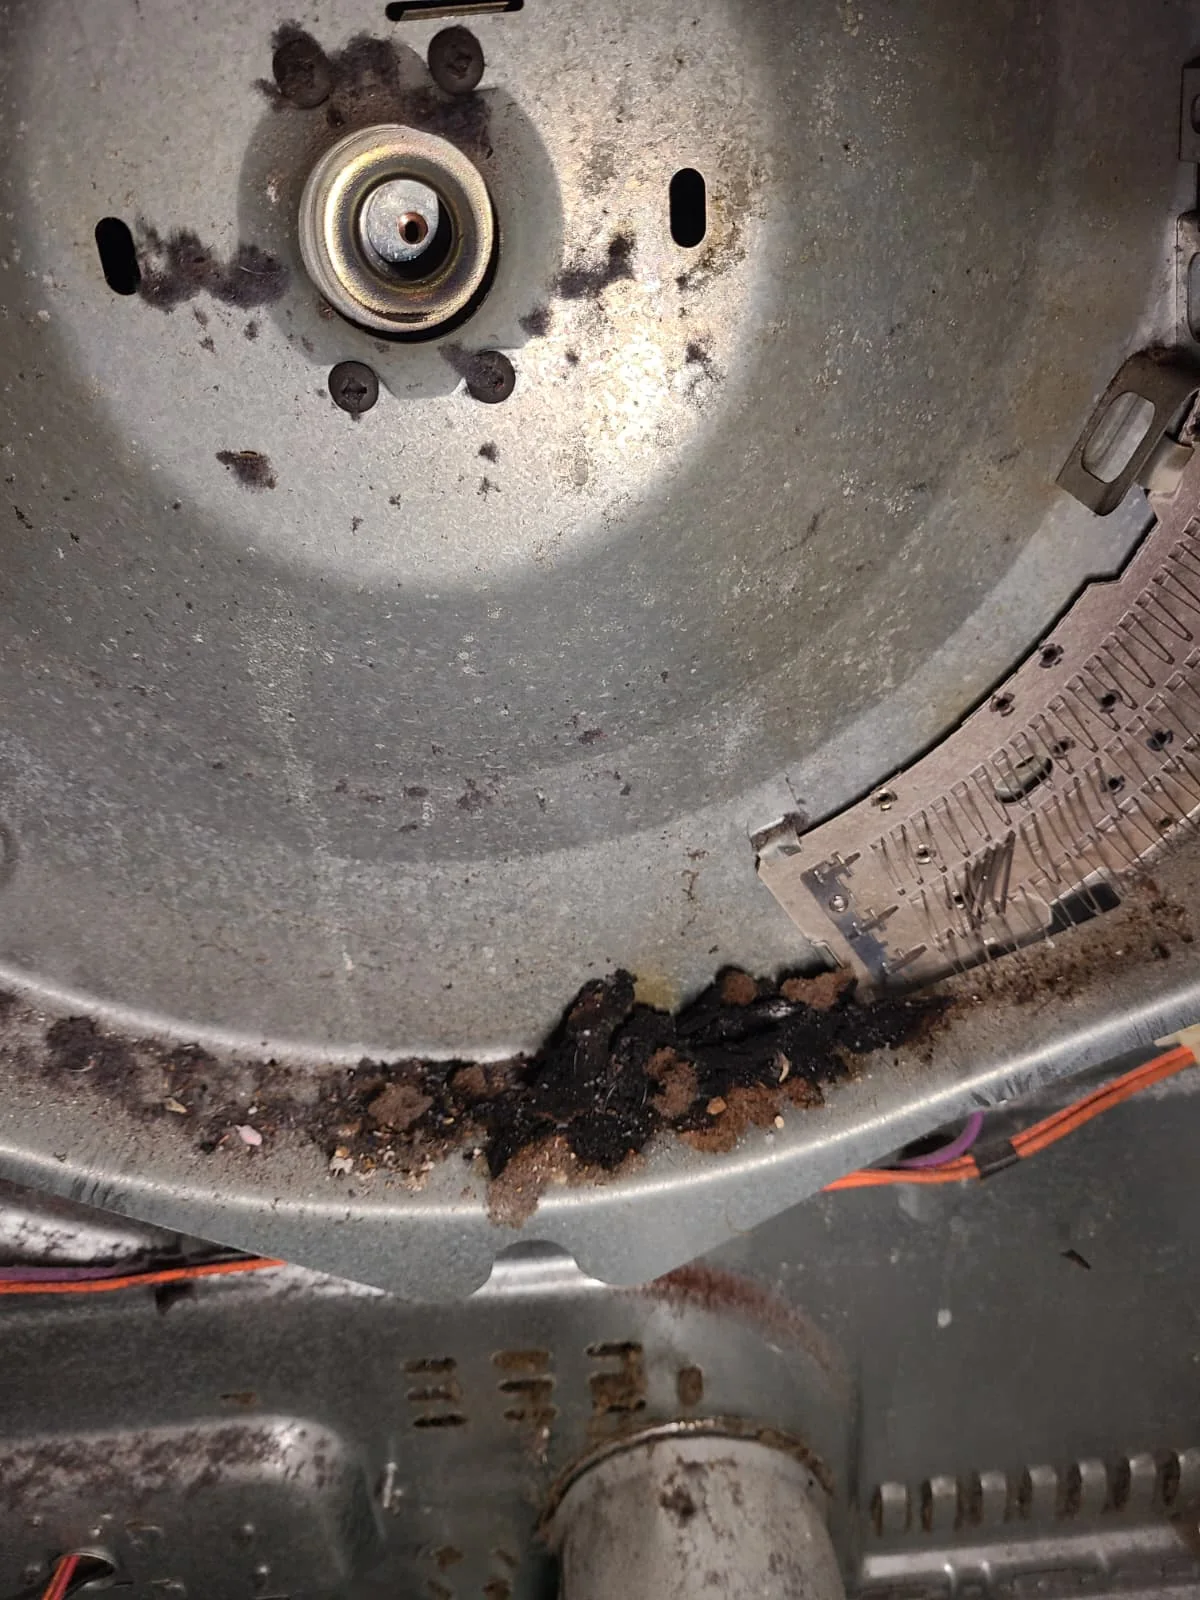
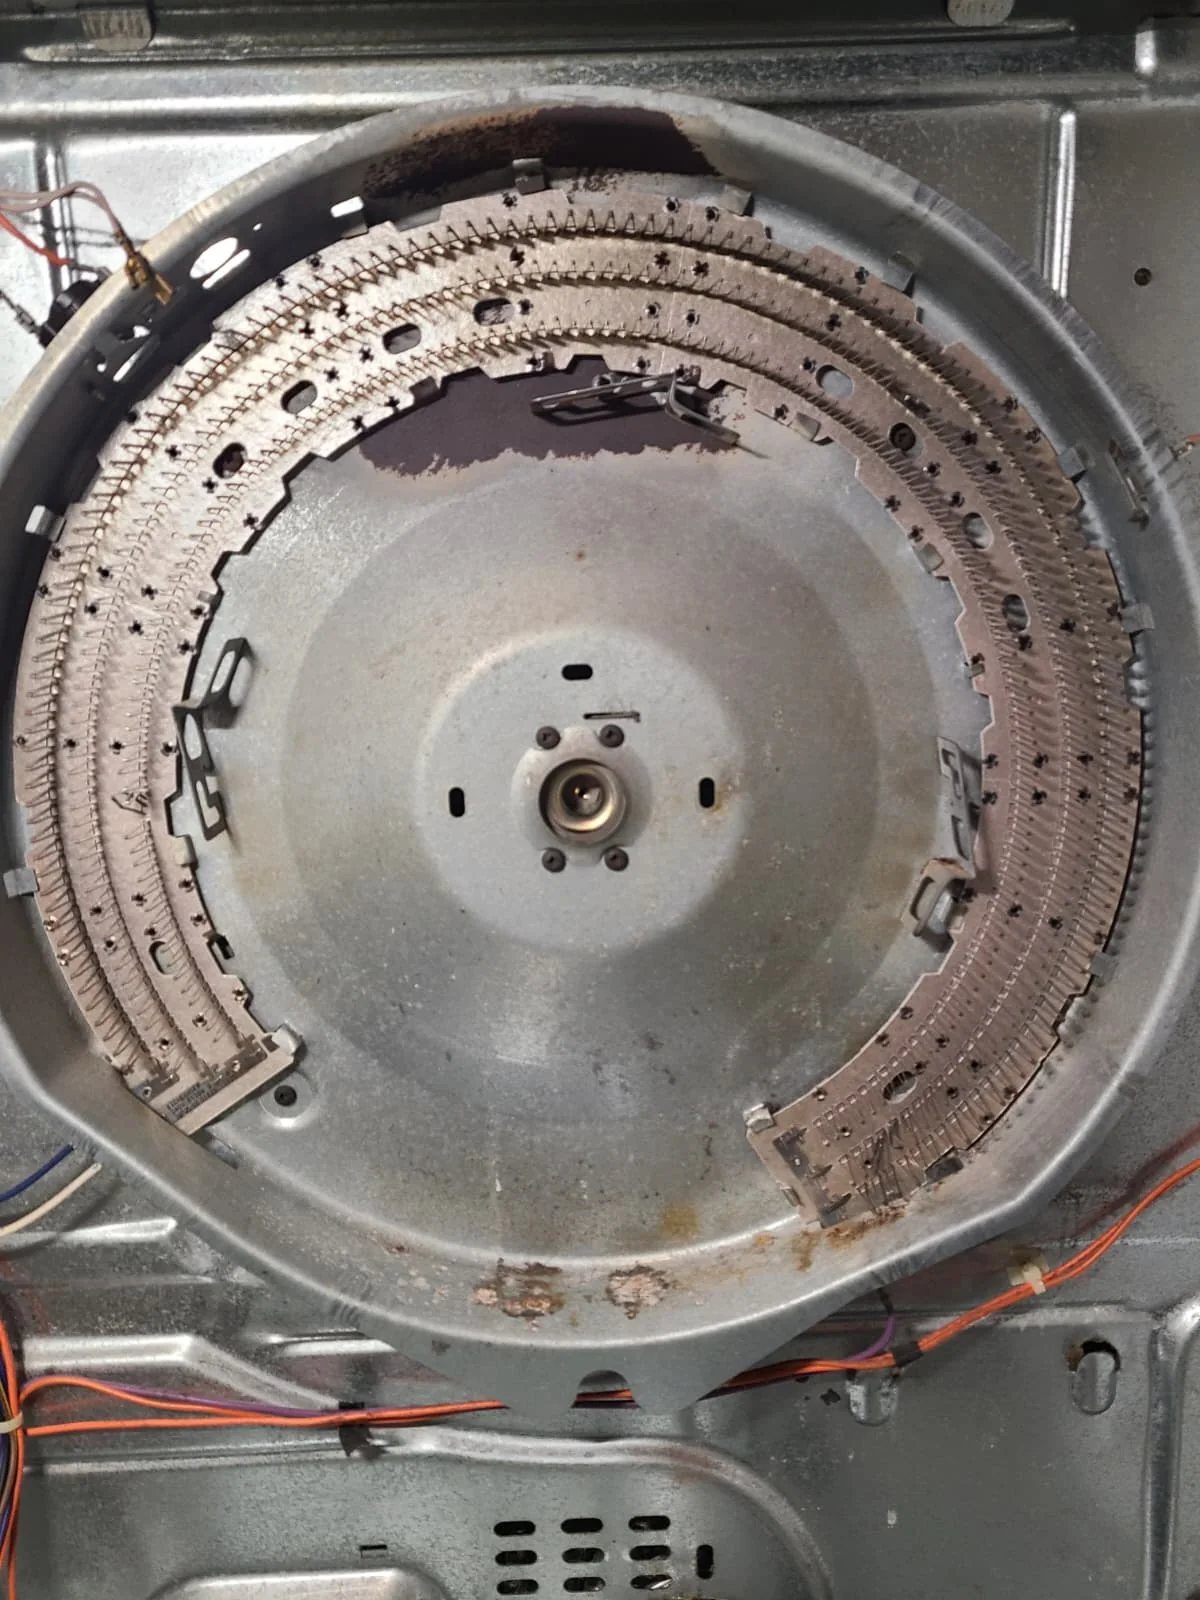
Rear Heater Area: Before and After
Dark, compacted debris had also gathered along the bottom of the rear heater area. We removed the accumulated material during the internal cleaning. The after view shows the same rear assembly without the heavy deposits at its lower edge. The photographs show remaining surface staining, and the work described here did not include replacement of the heater assembly.
Replacing the Failed Thermostat
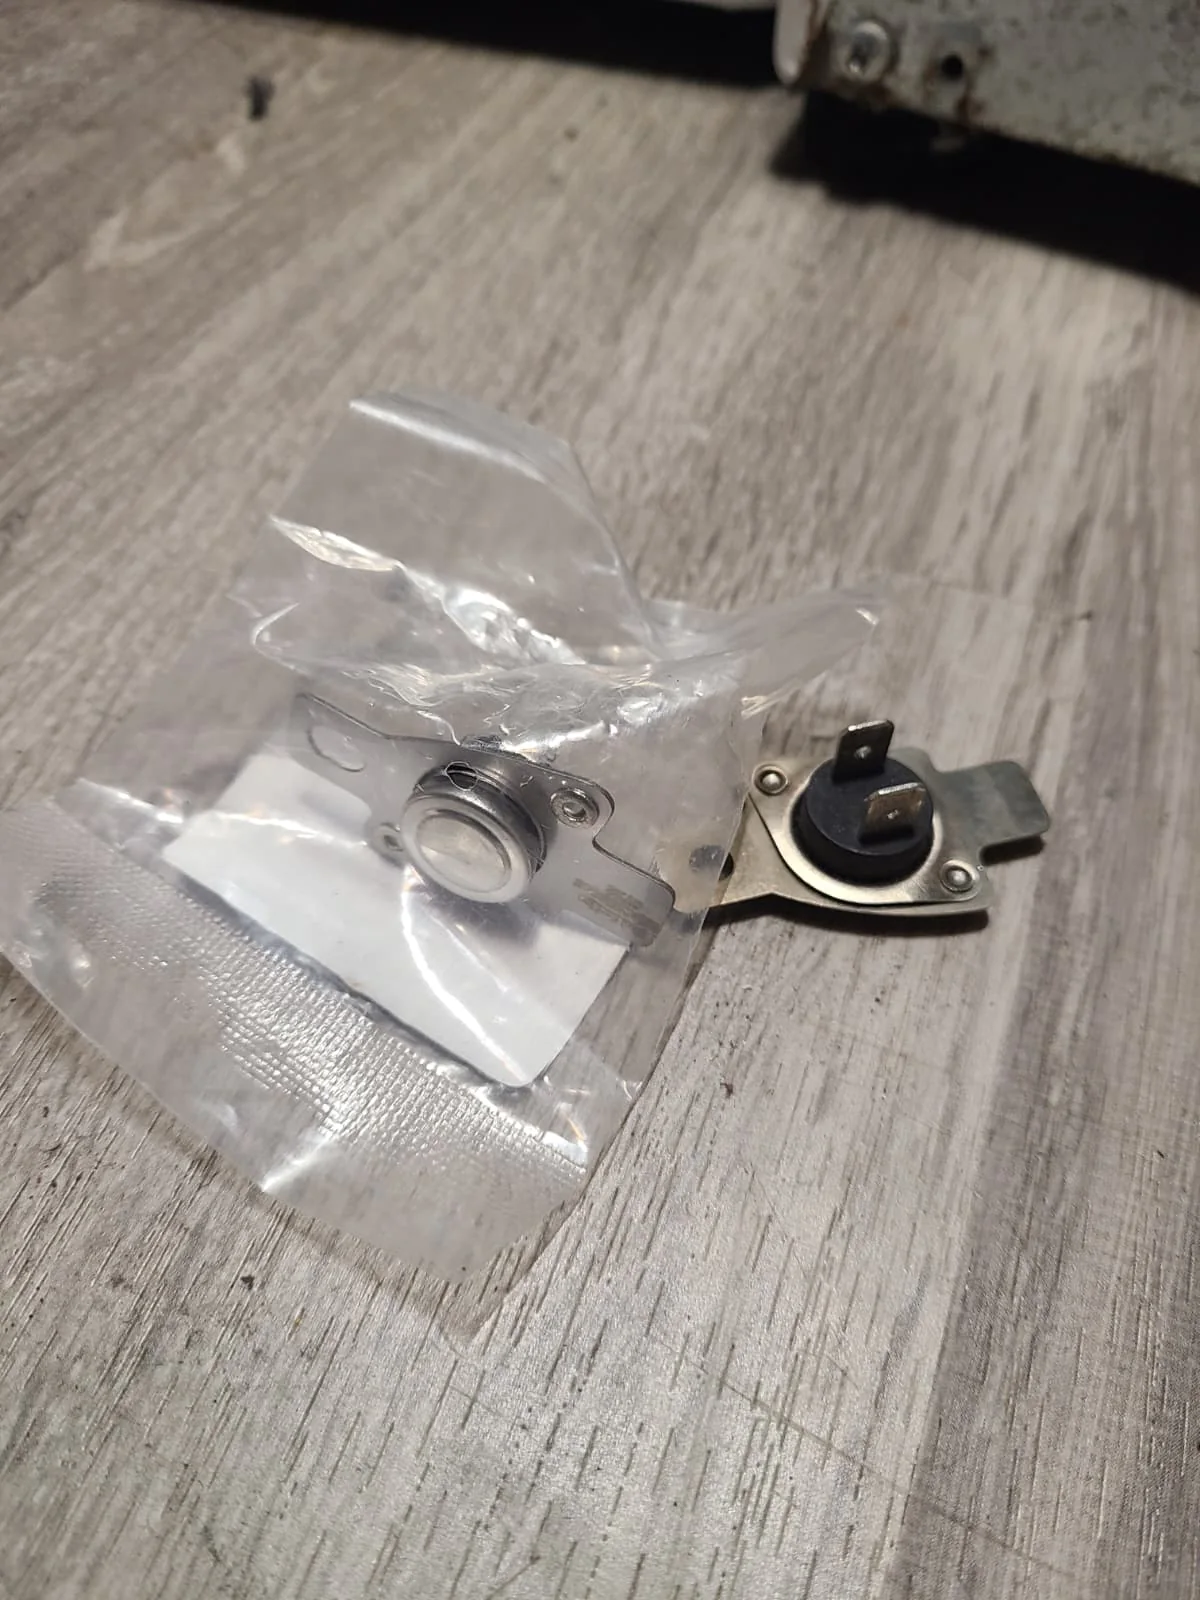
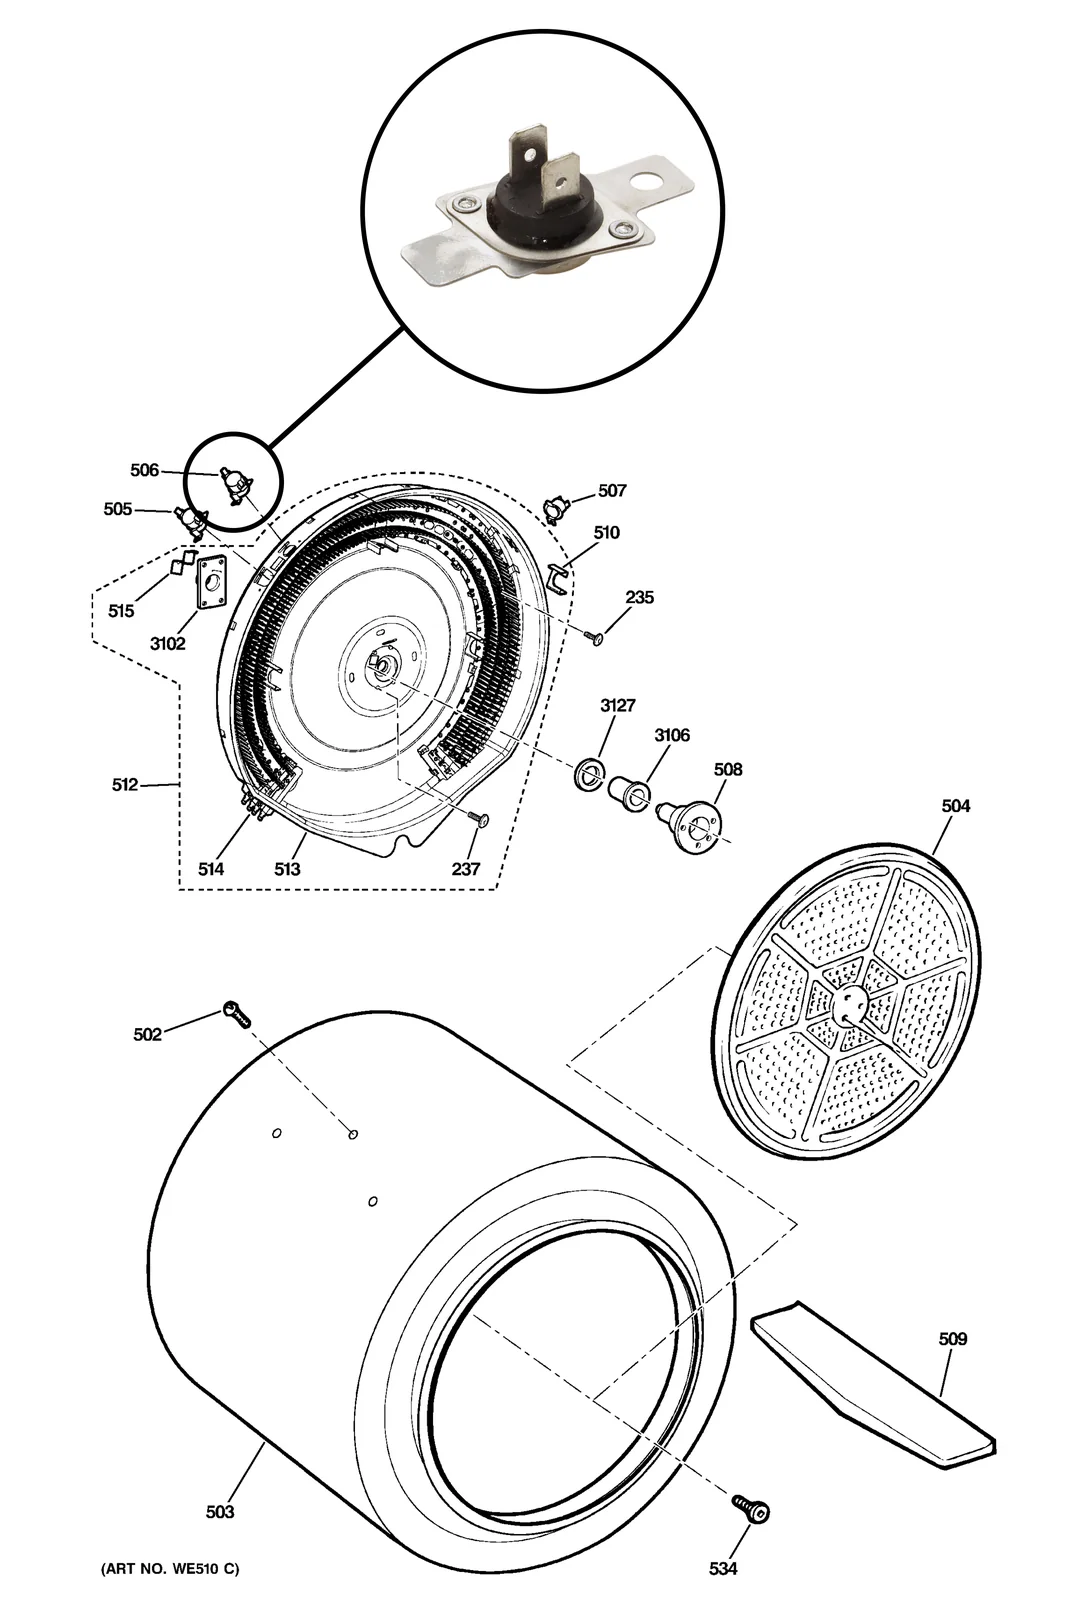
The thermostat was found to be nonworking during diagnosis and was replaced as part of this repair. The job photograph shows the removed component alongside the replacement in its packaging.
This was a separate finding from the broken drive belt. Both faults were addressed before the dryer was reassembled and tested. The final operating check confirmed heating as well as drum rotation.
Replacing the Front Drum Slide Bearings
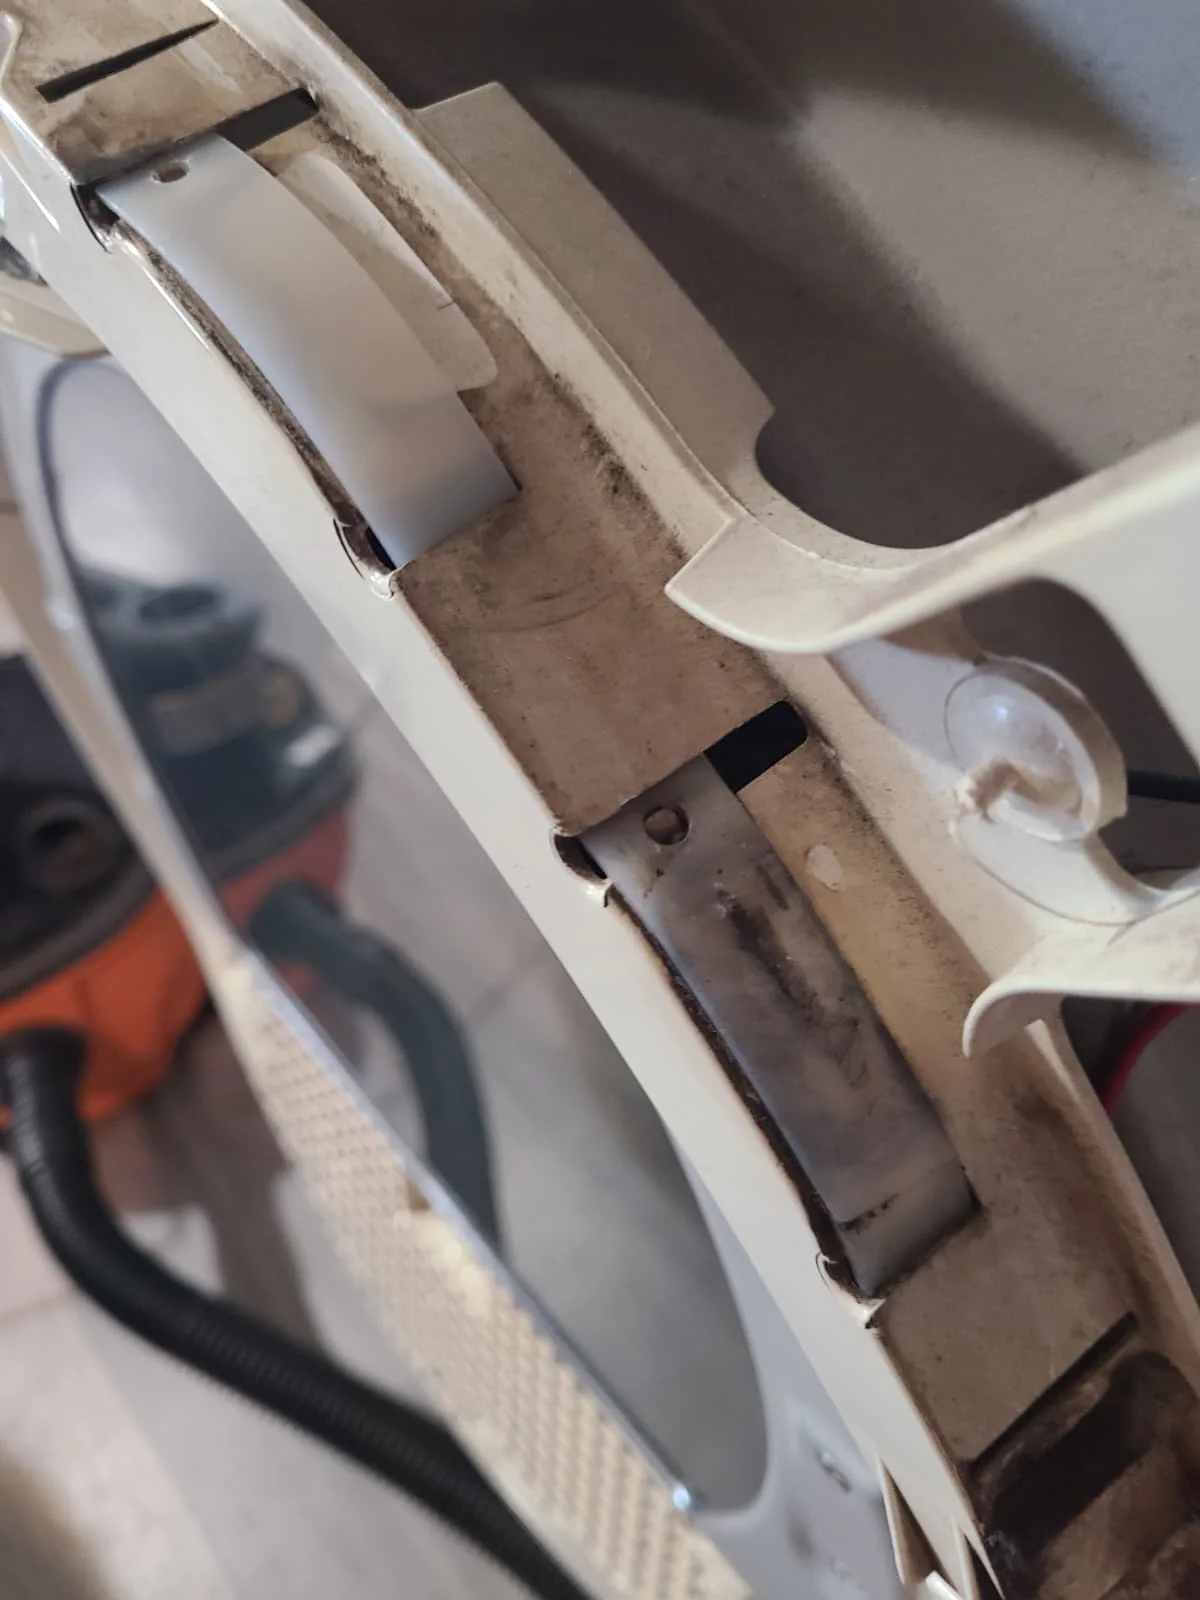
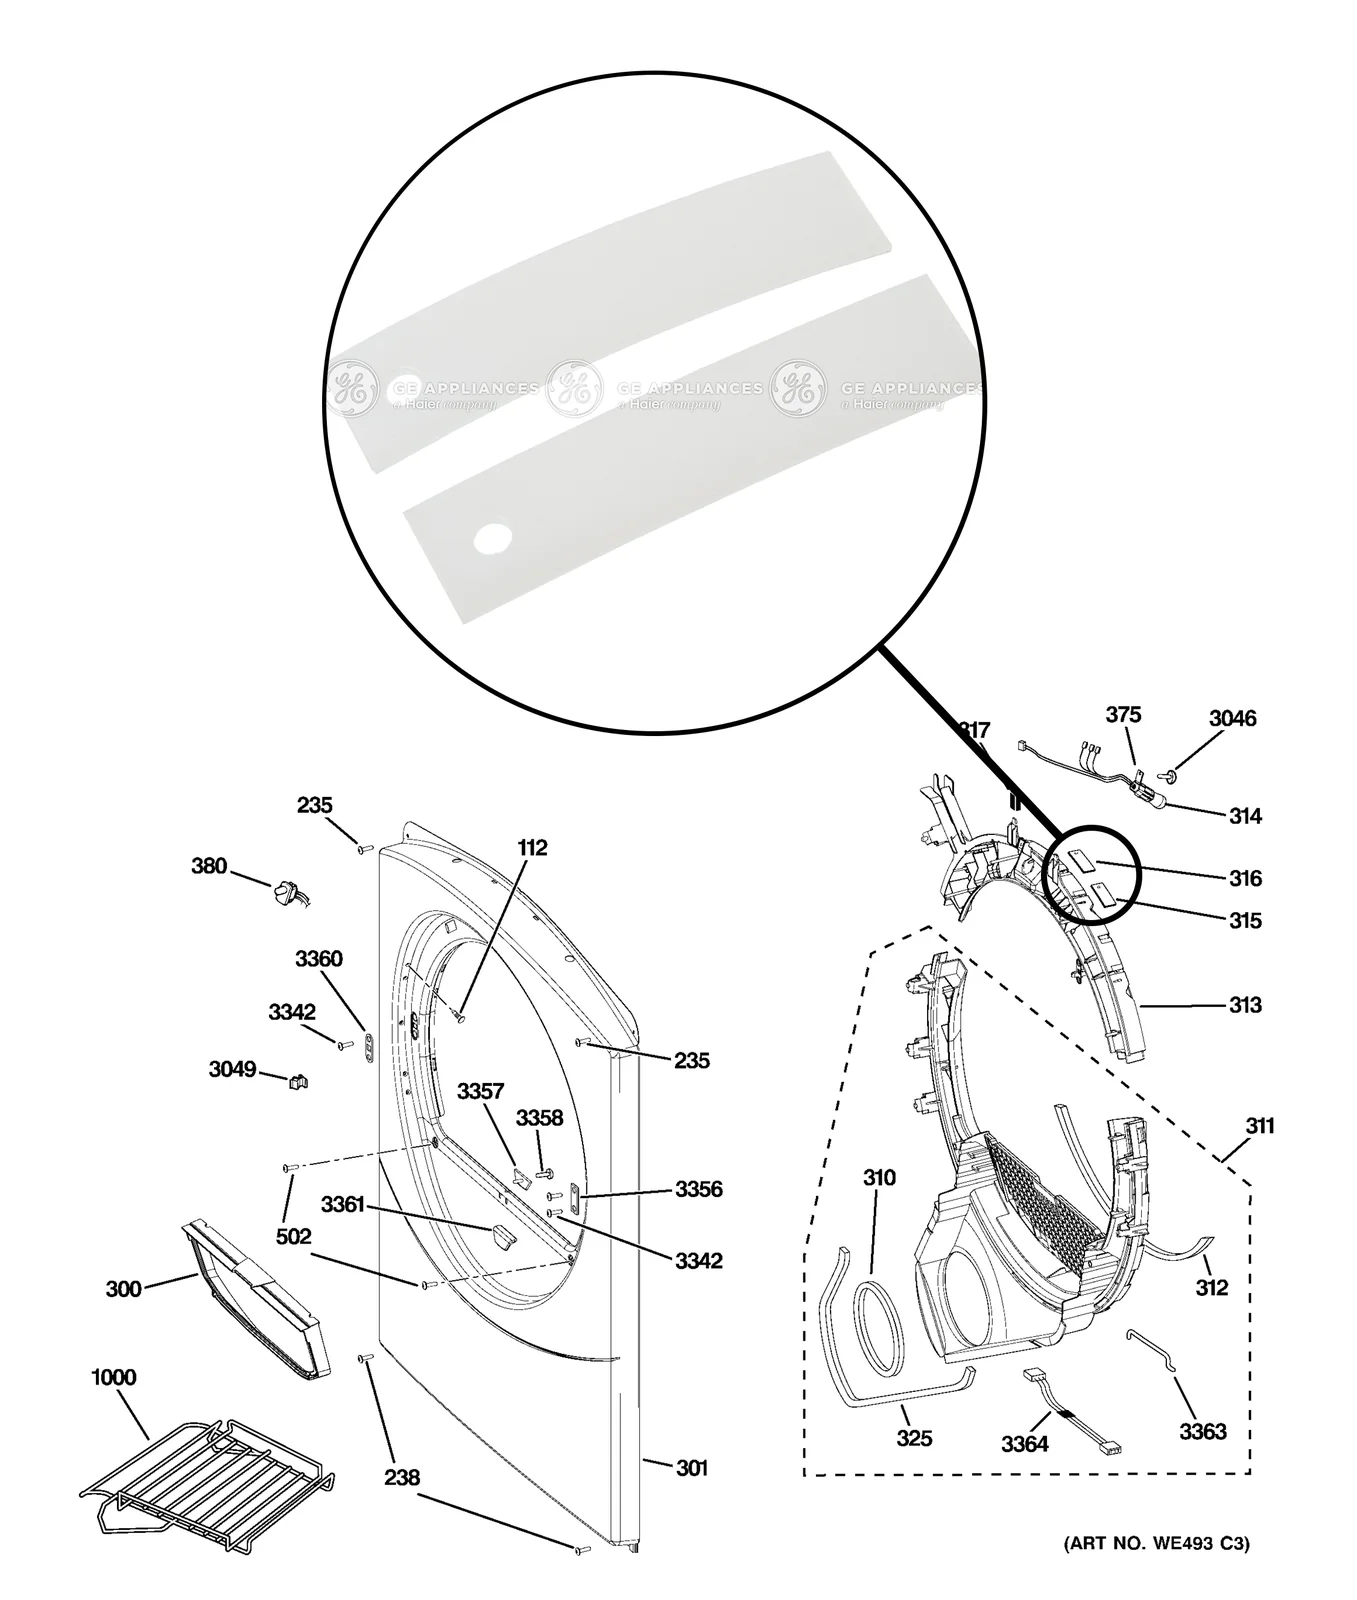
The upper portion of the front panel supports the drum through small sliding bearing surfaces, often called drum slides or glides. We replaced these front support slides during the service visit.
The close-up records the slide surfaces and their mounting positions on the curved support. Attention to these contact points was important alongside the new belt, so the repair addressed the drum support rather than only replacing the part that had broken.
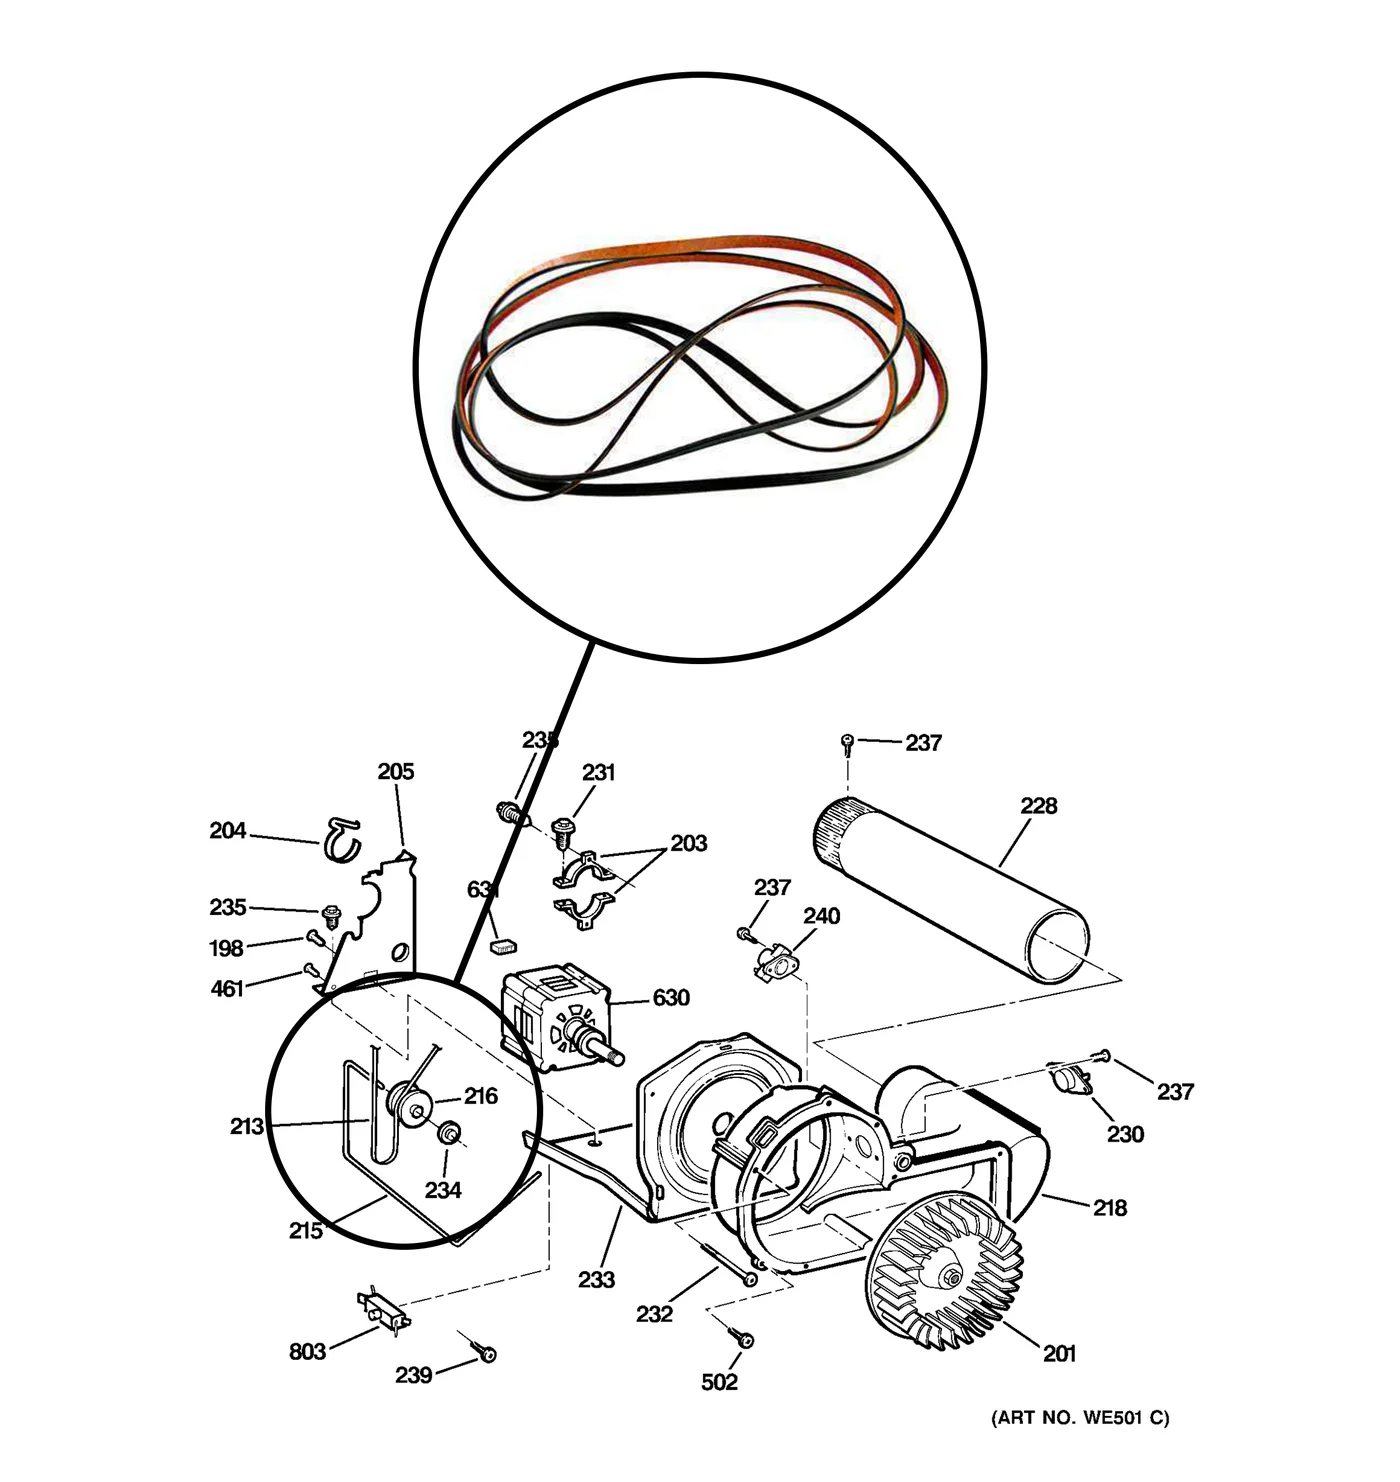
Installing the New Drive Belt
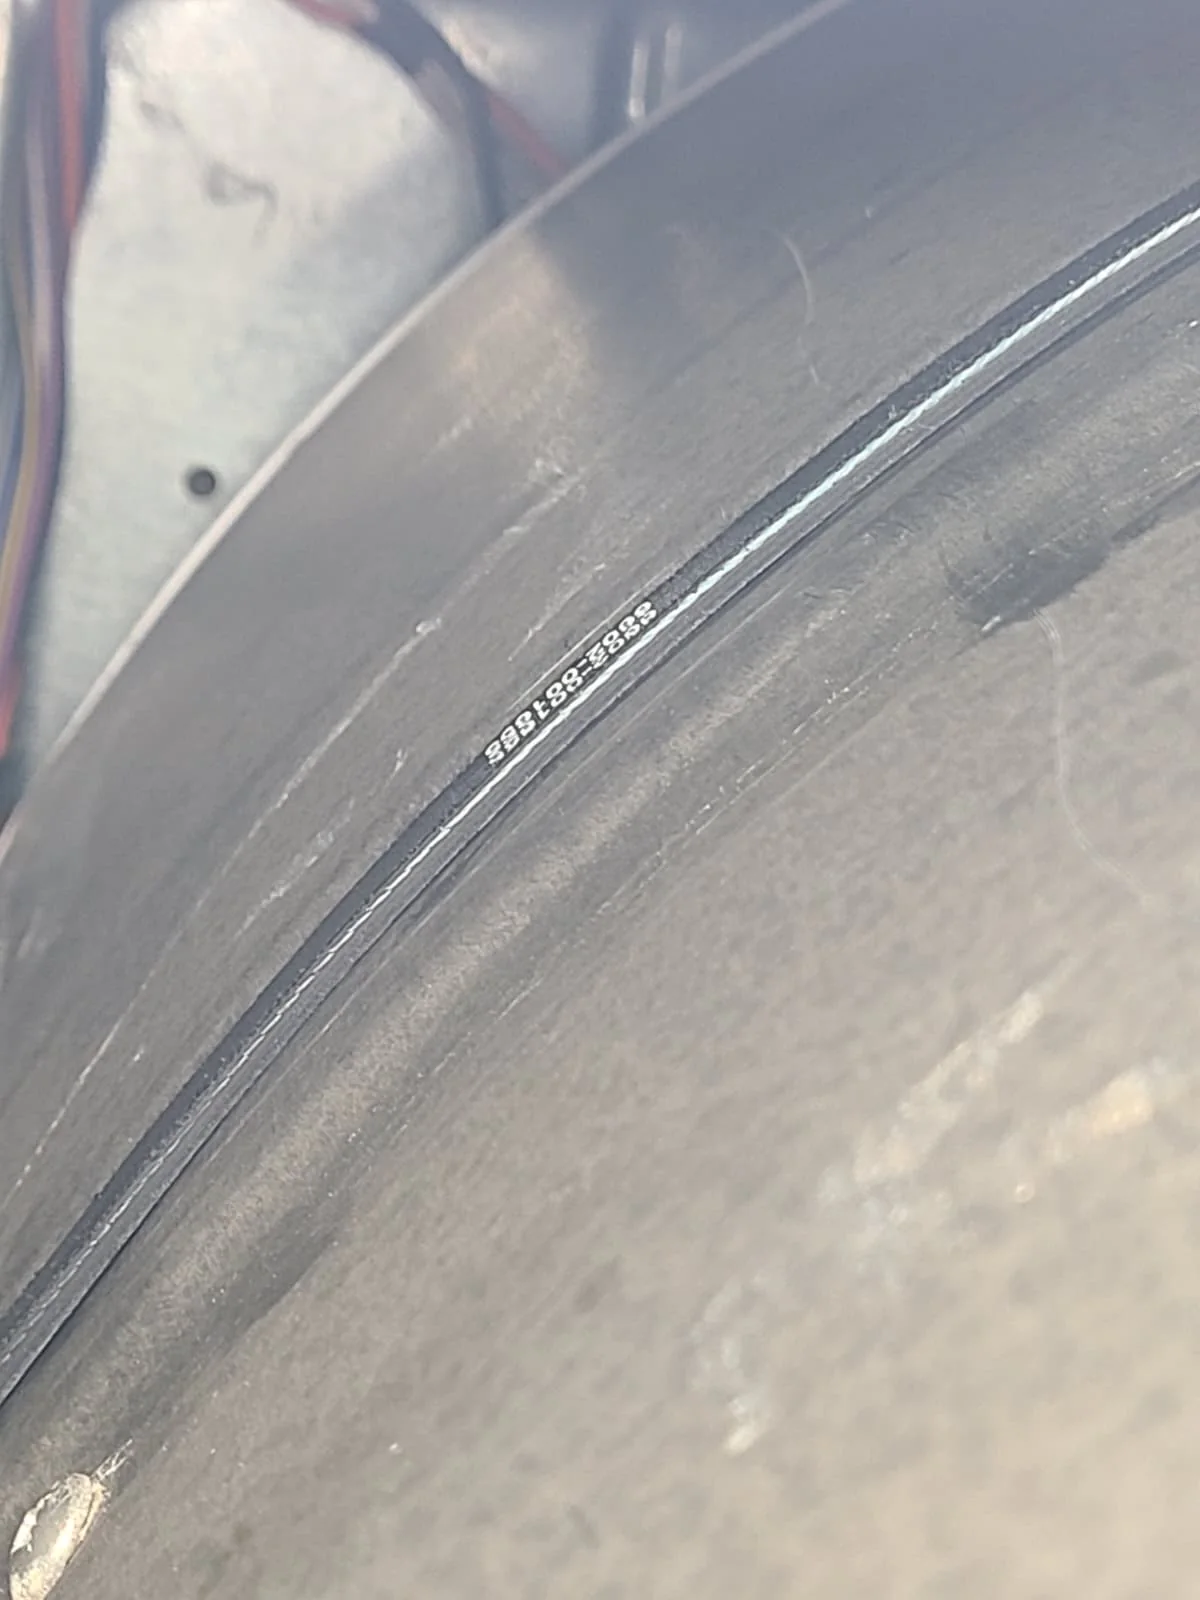
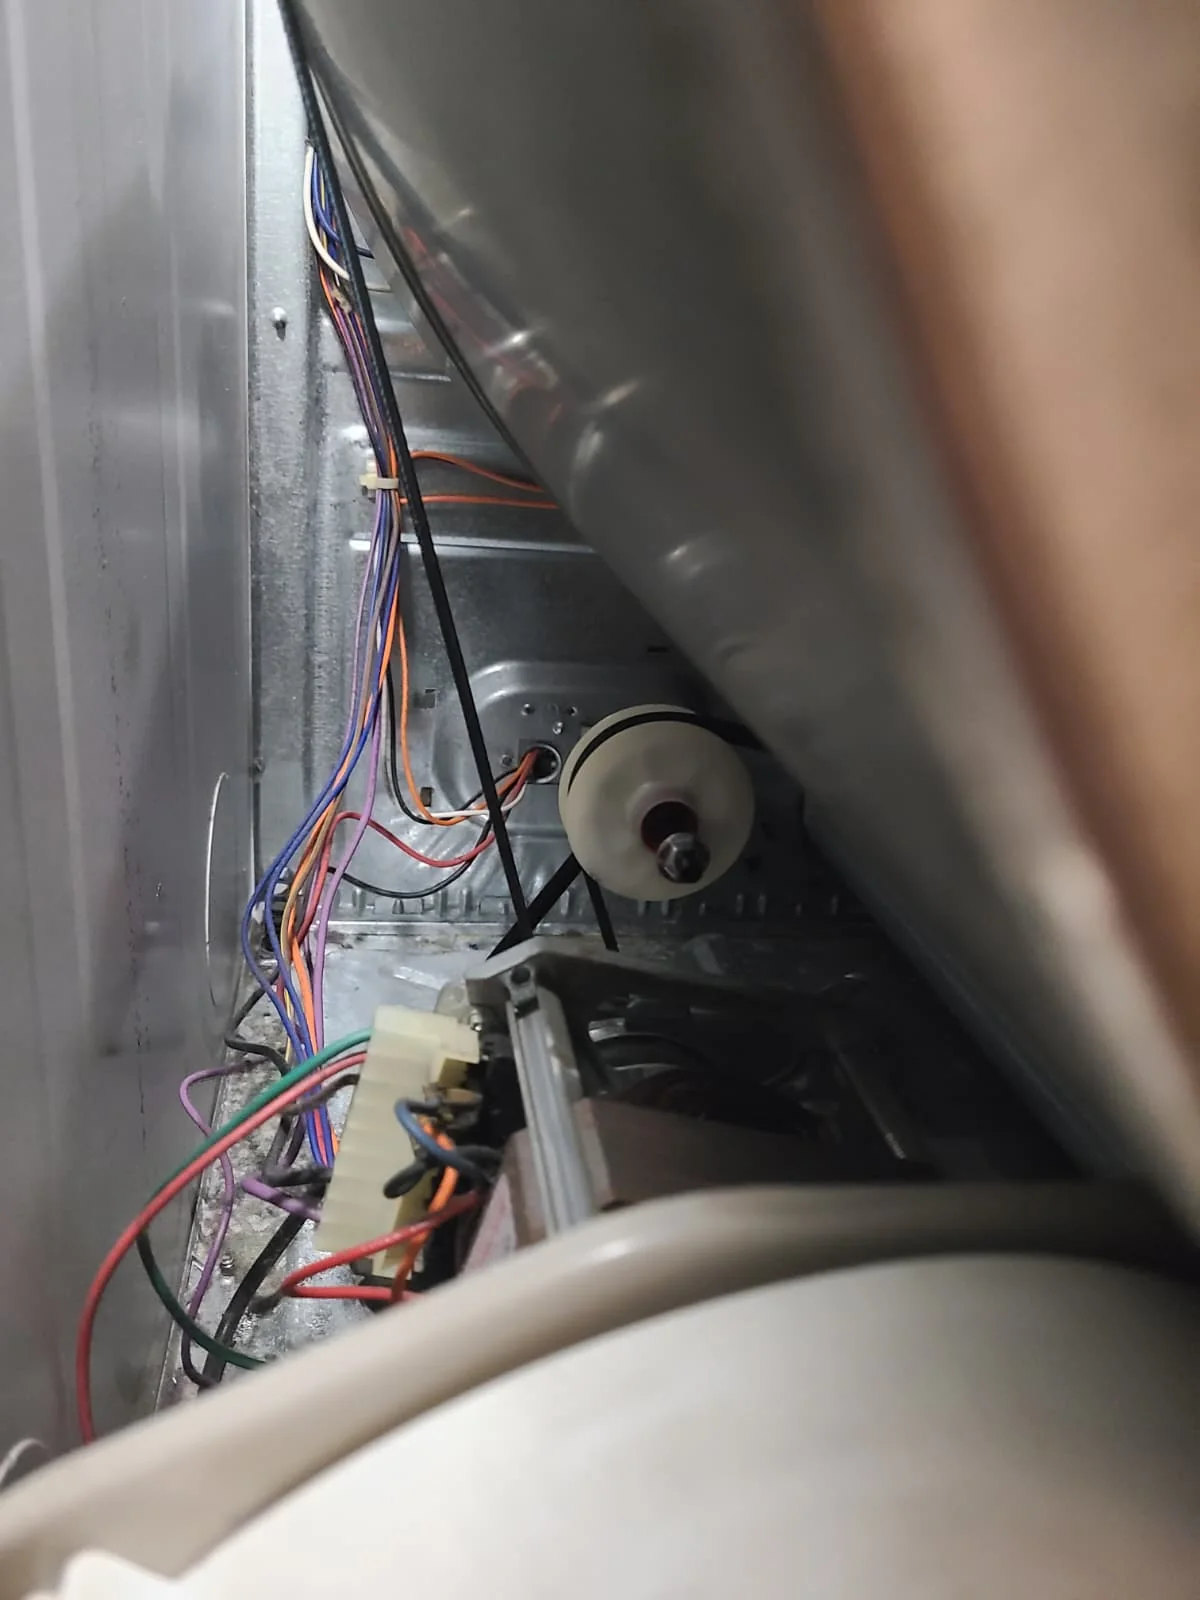
After cleaning and component replacement, the drum was reinstalled with a new drive belt. The first photograph shows the replacement belt around the drum. The second shows the installed belt beside the drum and idler pulley during reassembly. These are photographs of the actual repair, documenting the installation before the cabinet was closed.
Component Reference Diagrams
The supplied diagrams below help identify the three component groups discussed in this repair: the drive belt, front drum slides and thermostat. They are reference illustrations, separate from the original before-and-after service photographs above. Replacement parts must be matched to the exact appliance model; these illustrations are not a universal parts guide for all GE dryers.
Final Test: Heating and Drum Rotation Restored
After reassembly, we tested the dryer. The drum rotated and the dryer heated properly. Internal cleaning, a new belt, a replacement thermostat and new front drum slides brought this GE dryer back into operation. The work was completed and the customer was pleased with the result.
The visit is a useful example of why a no-start complaint needs diagnosis of the appliance as a whole. In this case, the broken belt was only one part of the work: accumulated lint and the additional component faults also needed attention.
Dryer Repair in Northern Indianapolis
When requesting service for a dryer that will not start or tumble, share its model number and describe the symptoms. A similar complaint on another dryer may have a different cause and requires its own diagnosis.
Learn about our dryer repair service, check our service area, or explore more repair stories with original photographs. Alex Appliance Repair is an independent appliance repair provider operated by Aksenov LLC.
Book service online