



Parts Reference: Idler Pulley
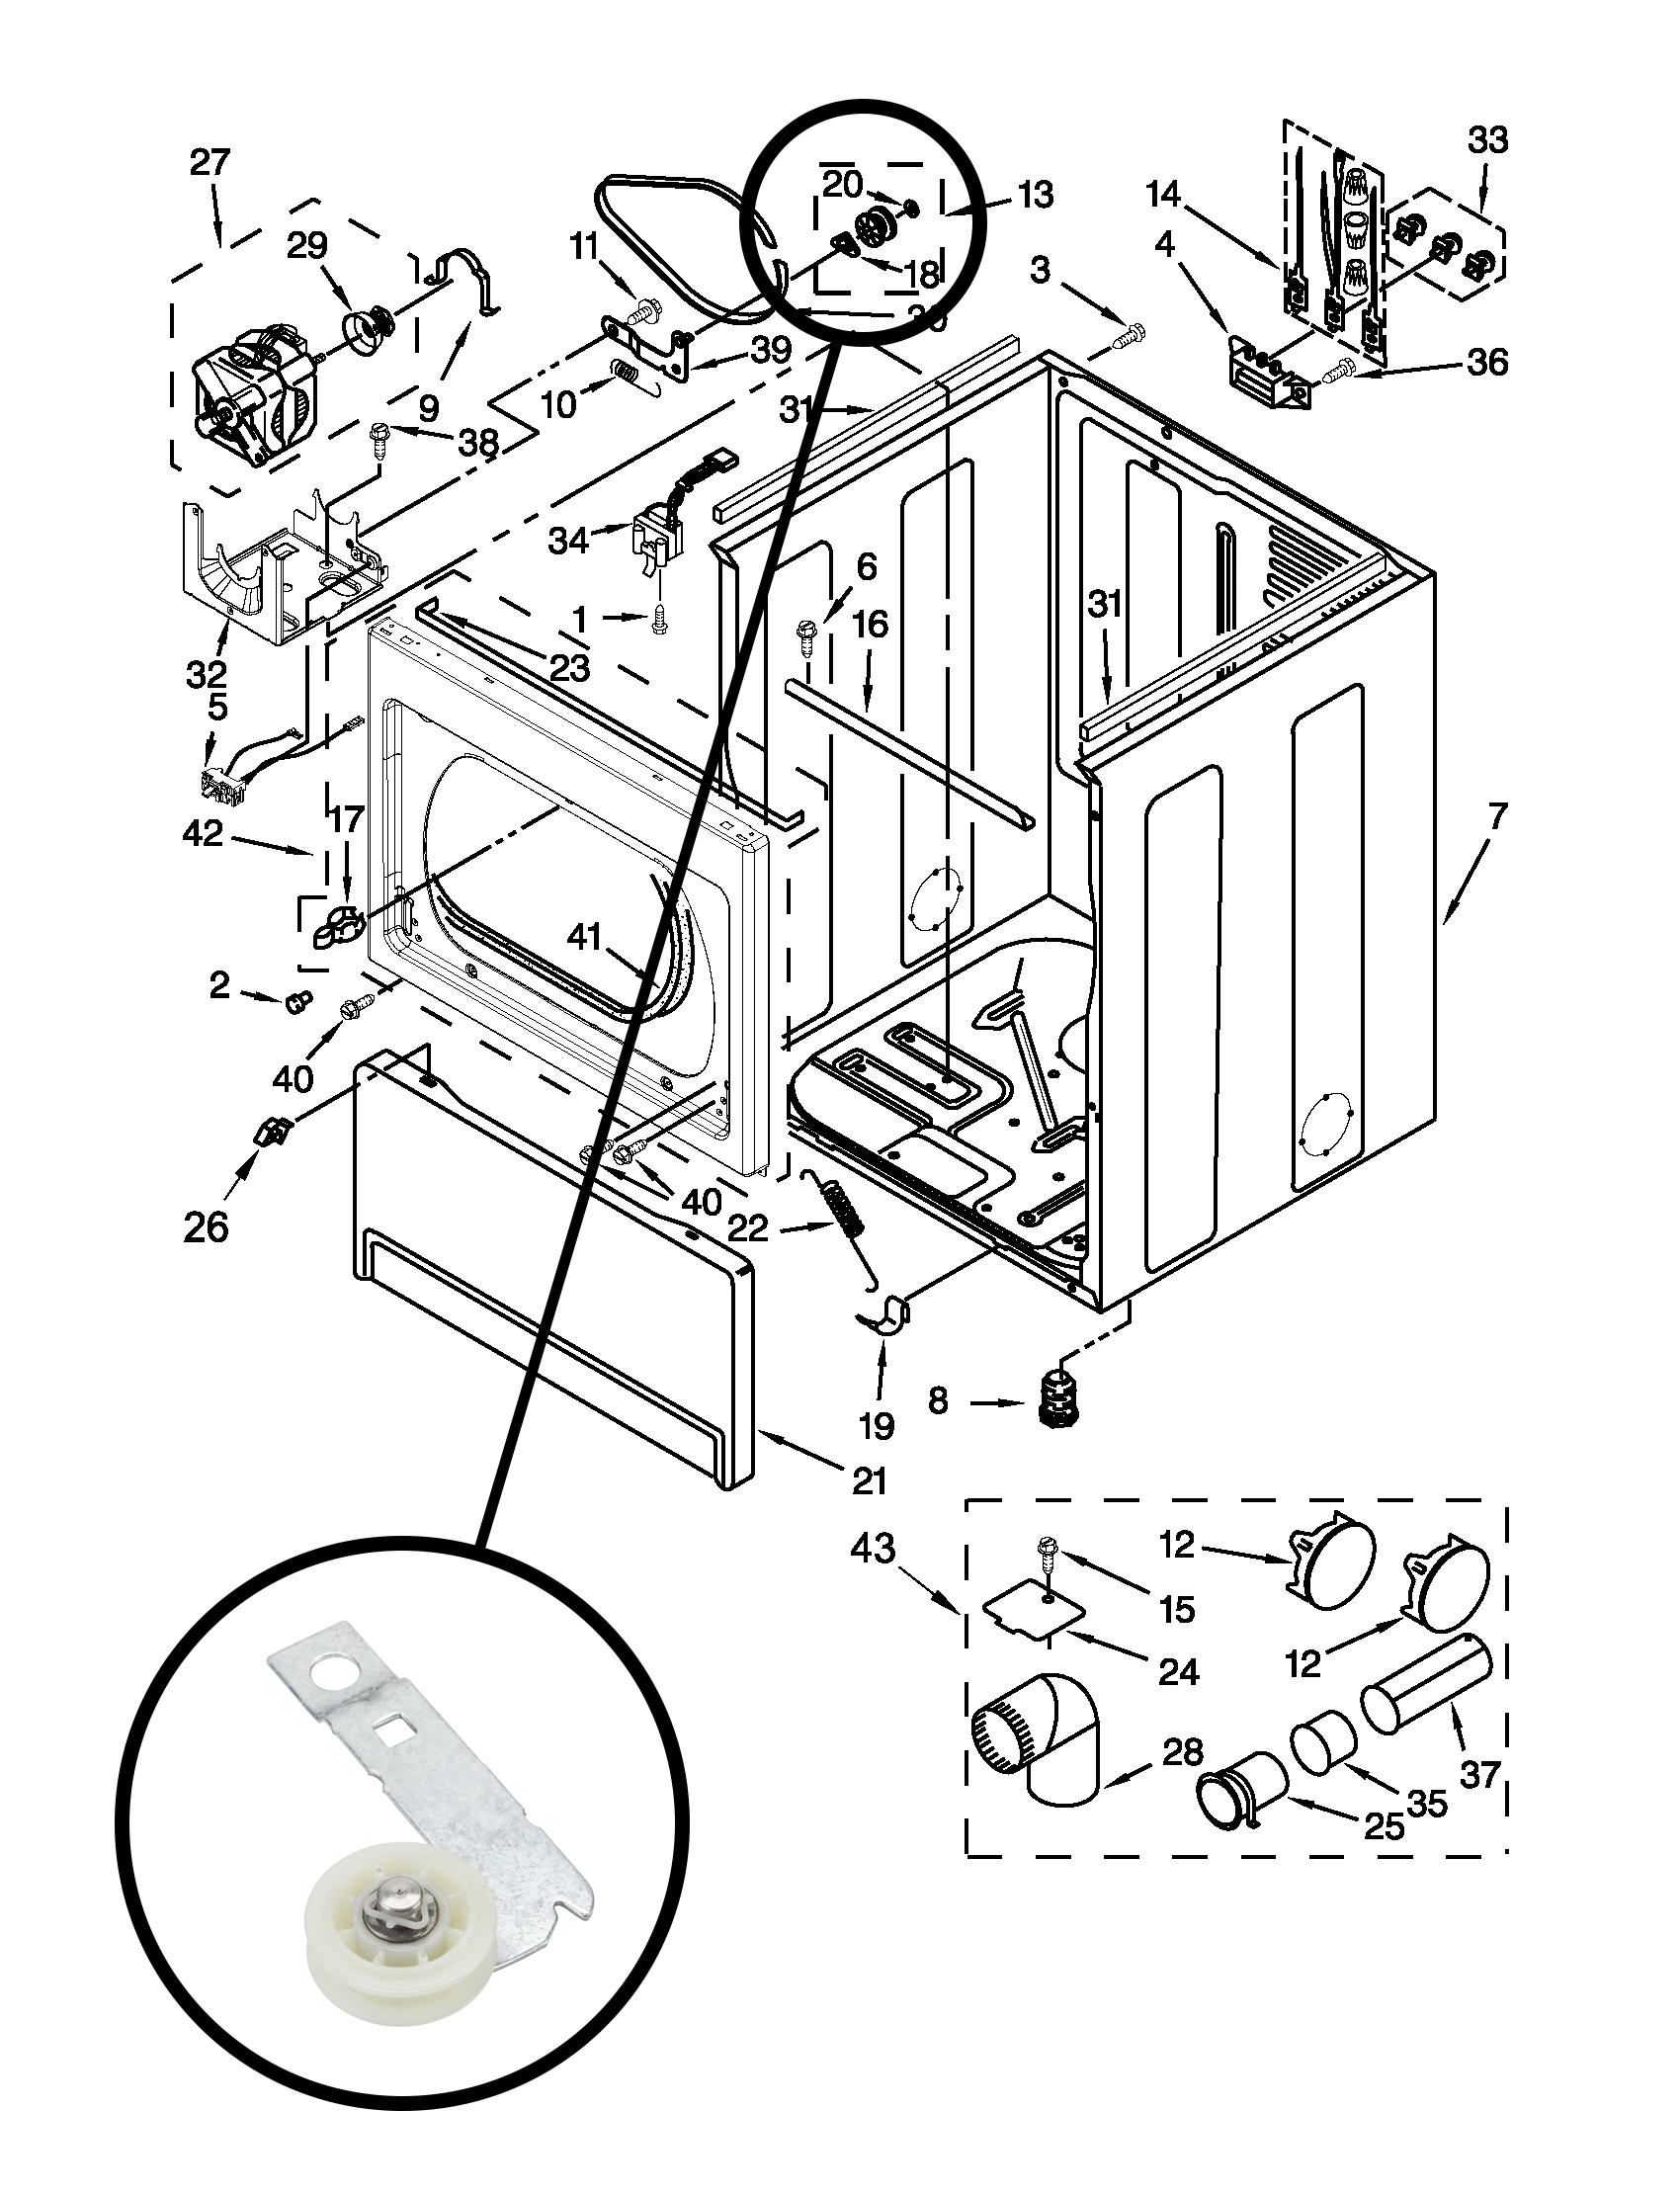
This supplied drawing is a Whirlpool WED5800BW0 reference diagram, not an exact parts diagram for the Maytag MEDB835DC4 repaired here. Its highlighted callout illustrates the belt-tensioning idler assembly.
The service photographs below document the actual Maytag repair. This reference drawing should not be used by itself to select compatible parts.
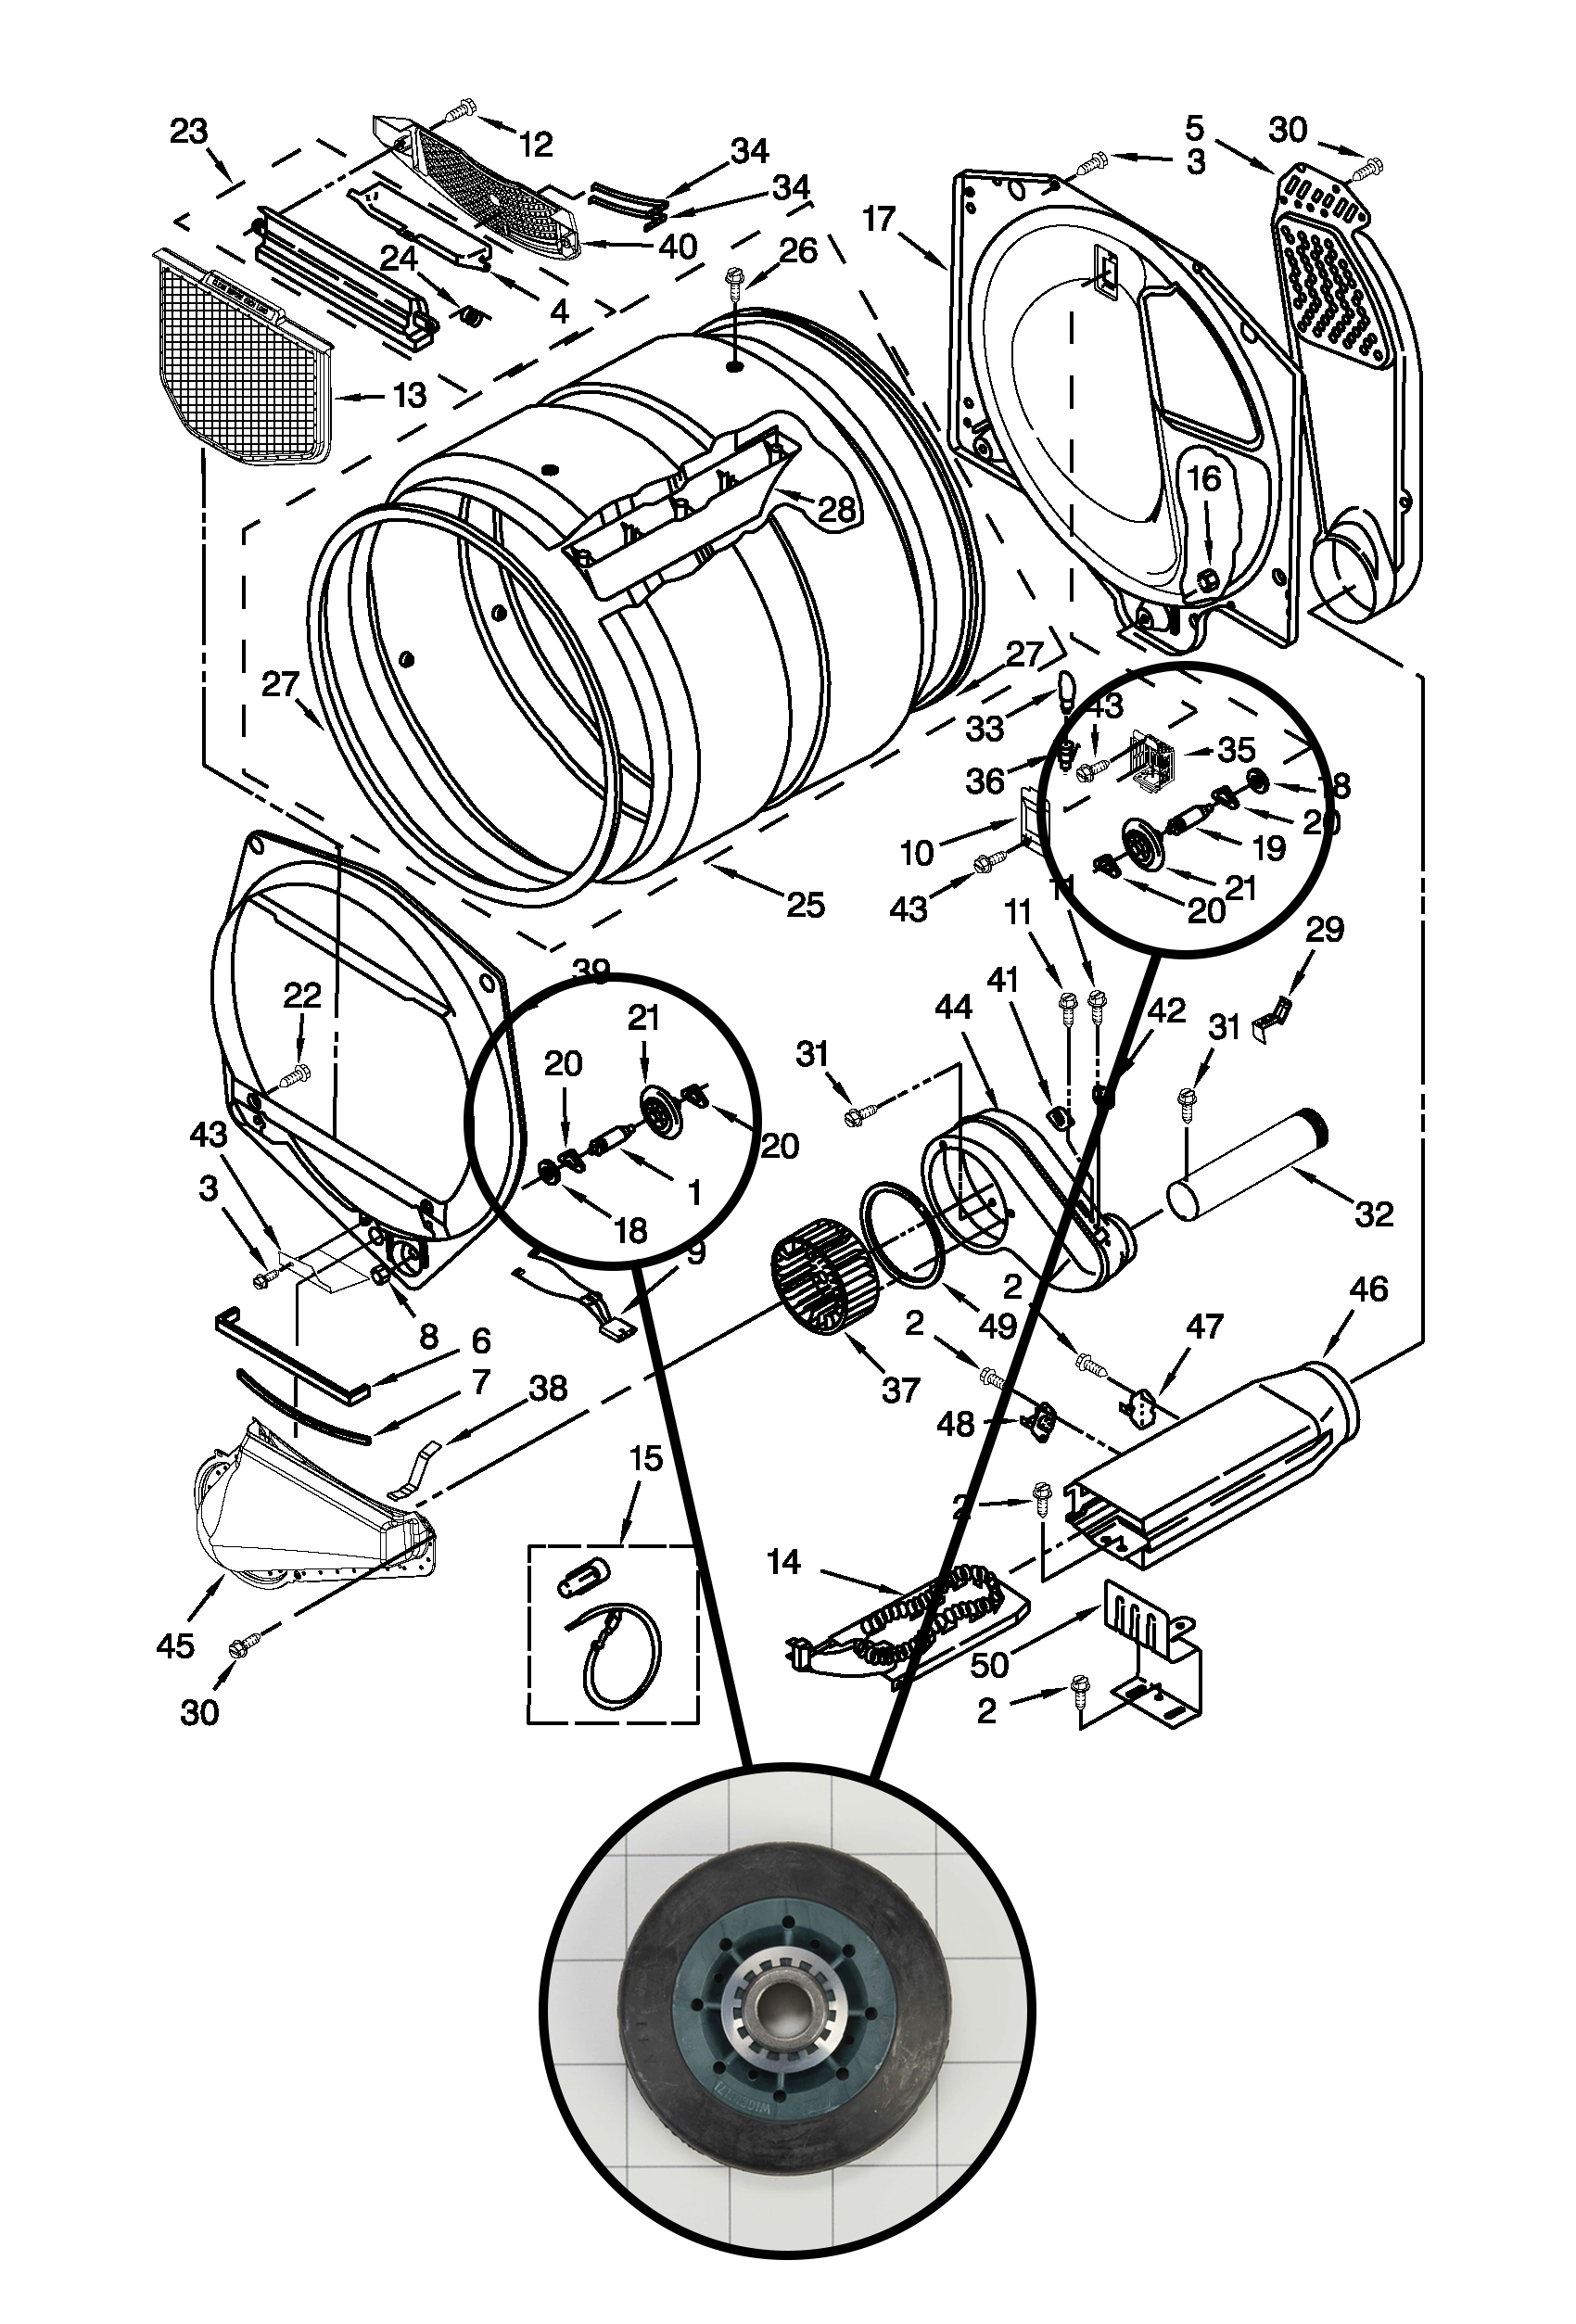
Parts Reference: Drum Support Rollers
The second supplied WED5800BW0 reference diagram illustrates front and rear drum support rollers. Its layout differs from this Maytag: the serviced dryer has five rollers, three at the front and two at the rear, as shown in the repair photographs.
The drawings provide context for the components discussed below; they do not establish the exact Maytag parts layout or compatibility.
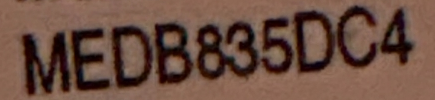
Maytag Model MEDB835DC4
The photographed appliance label identifies this dryer as Maytag MEDB835DC4, a Bravos XL electric dryer. The crop preserves the original model line and excludes the serial number.
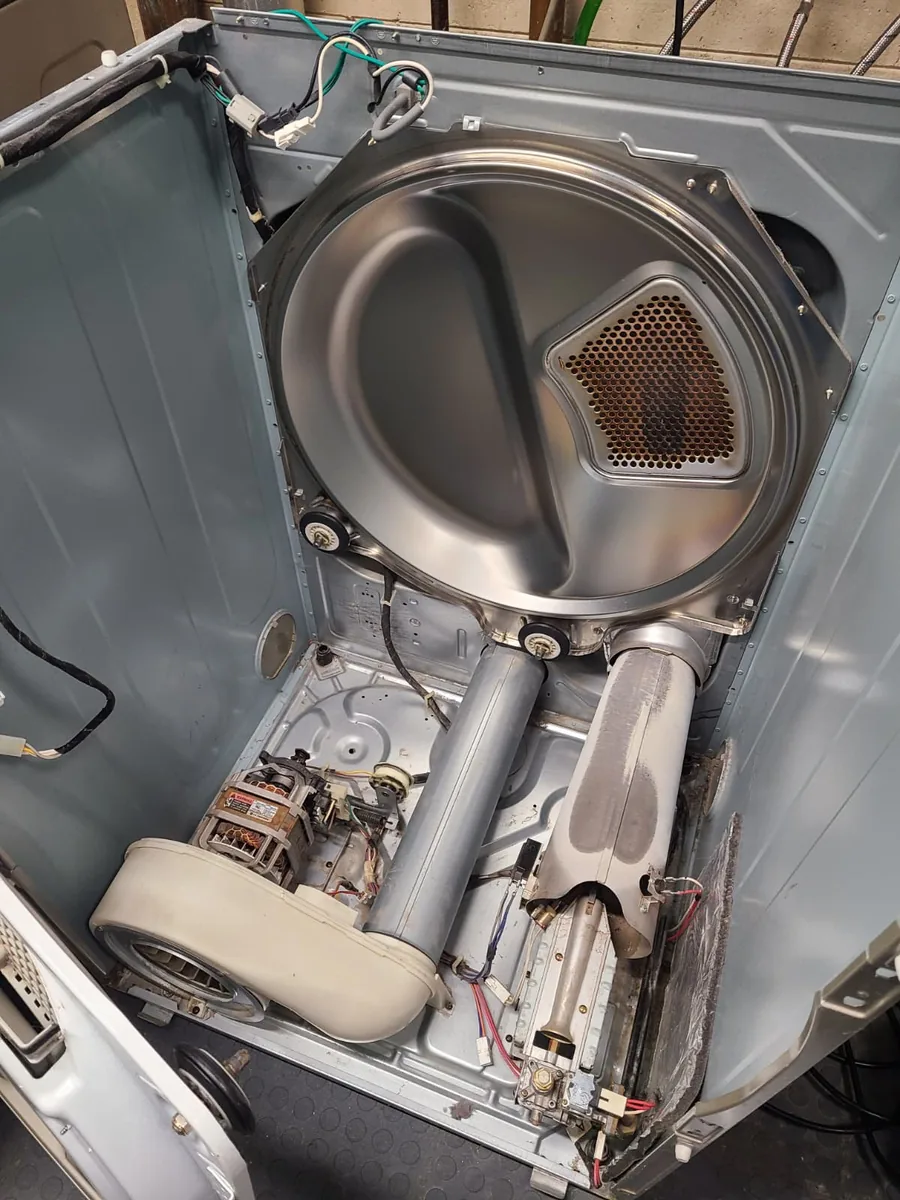
At this service visit in McCordsville, Indiana, the customer reported a squeaking noise together with a drum that bounced and made a thumping sound. Diagnosis identified the drum support rollers and idler pulley for replacement.
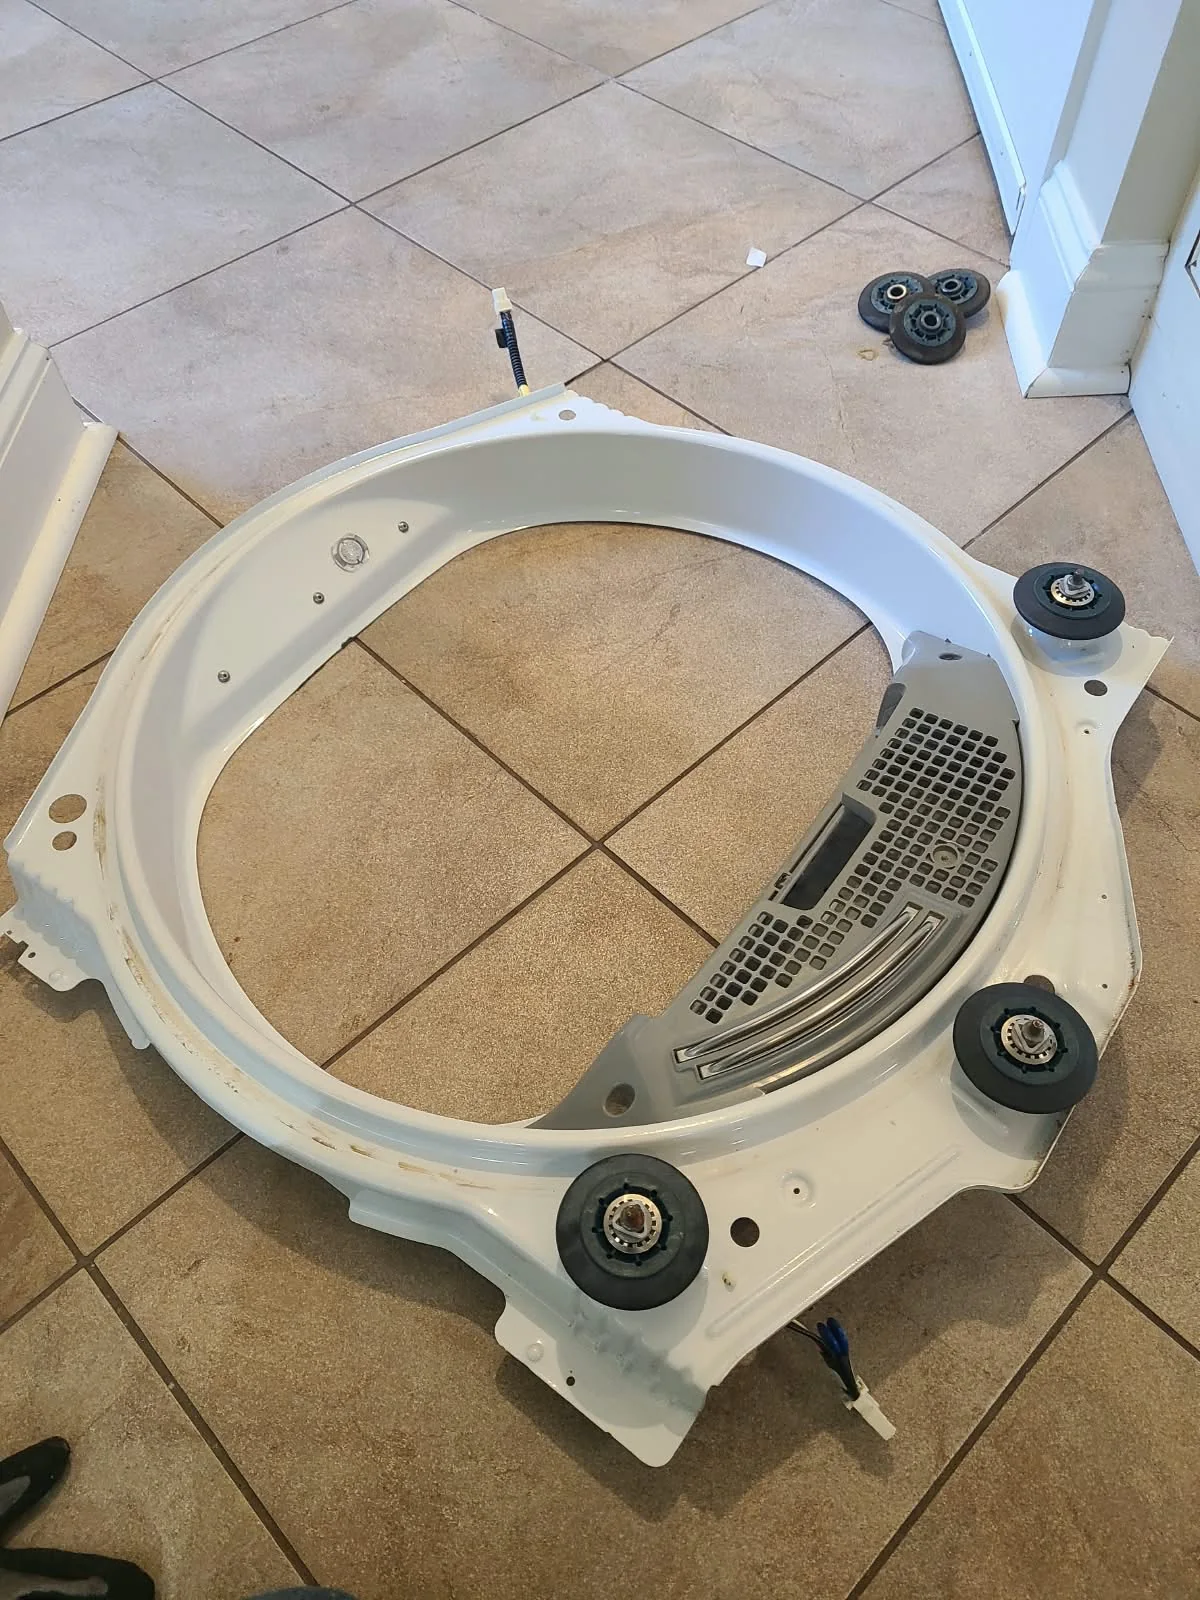
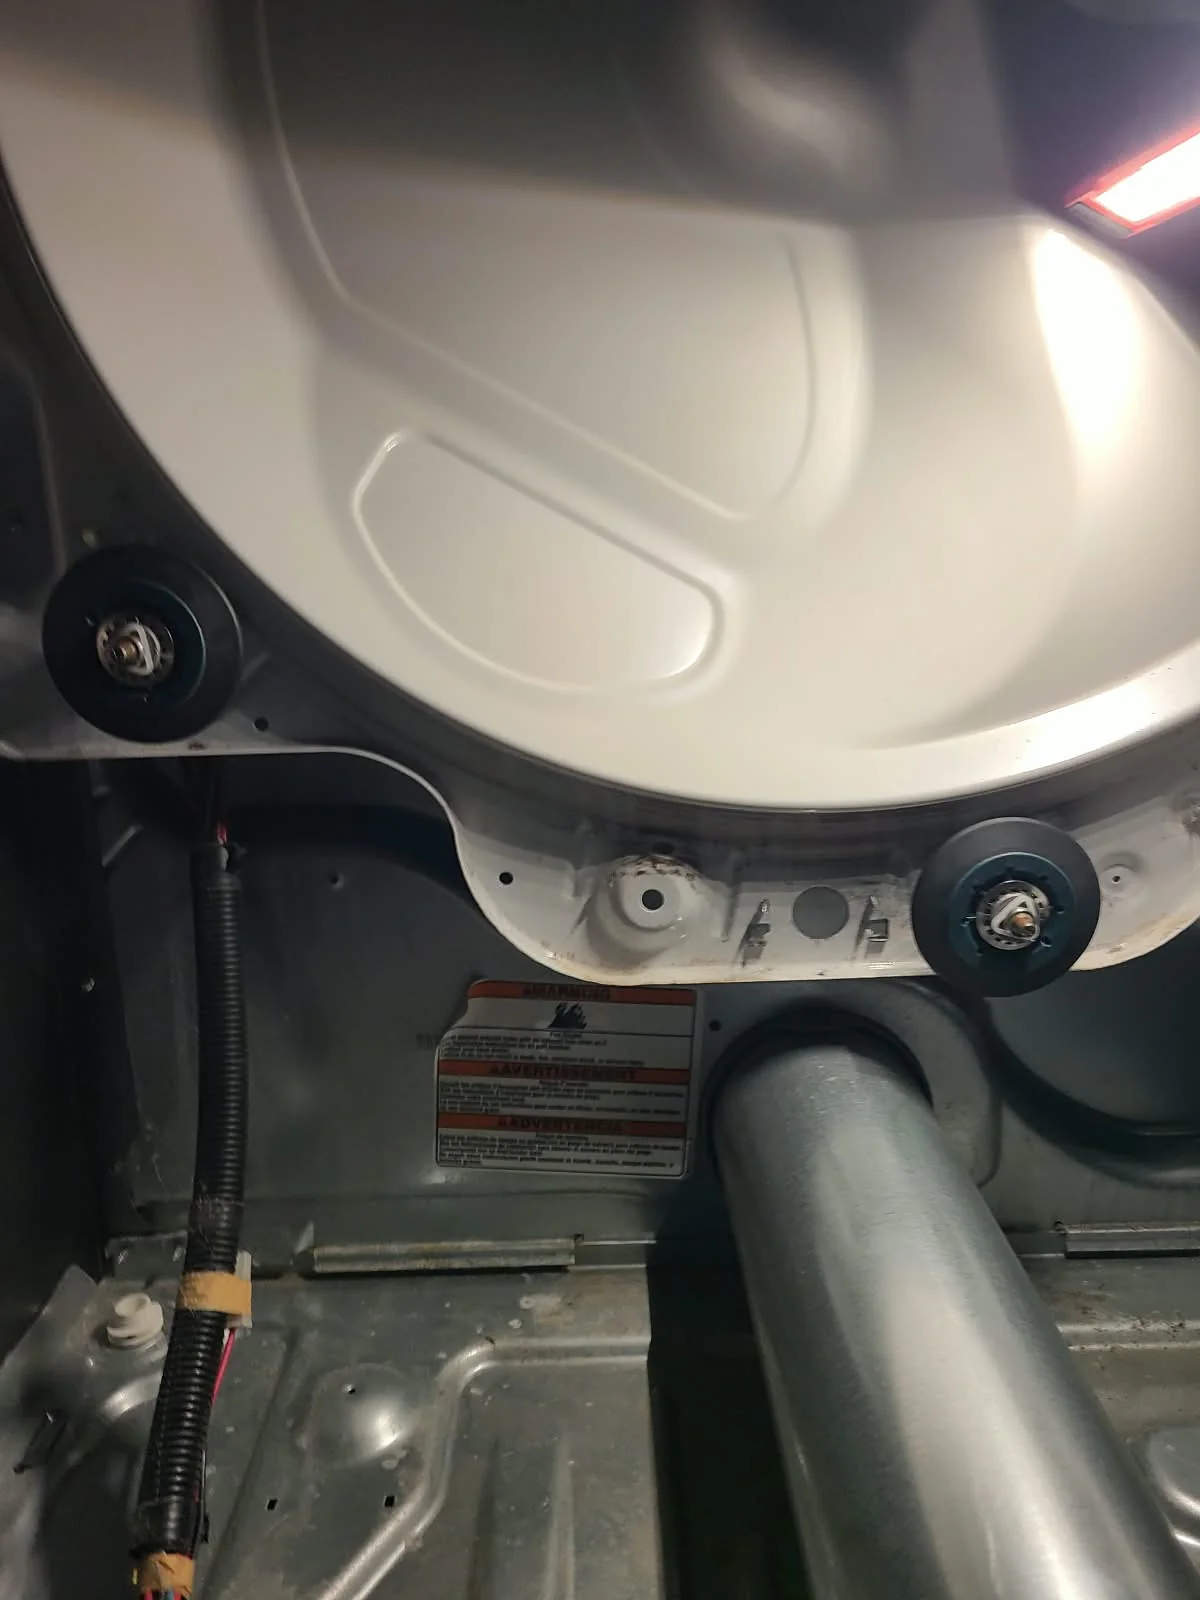
Replacing All Five Drum Support Rollers
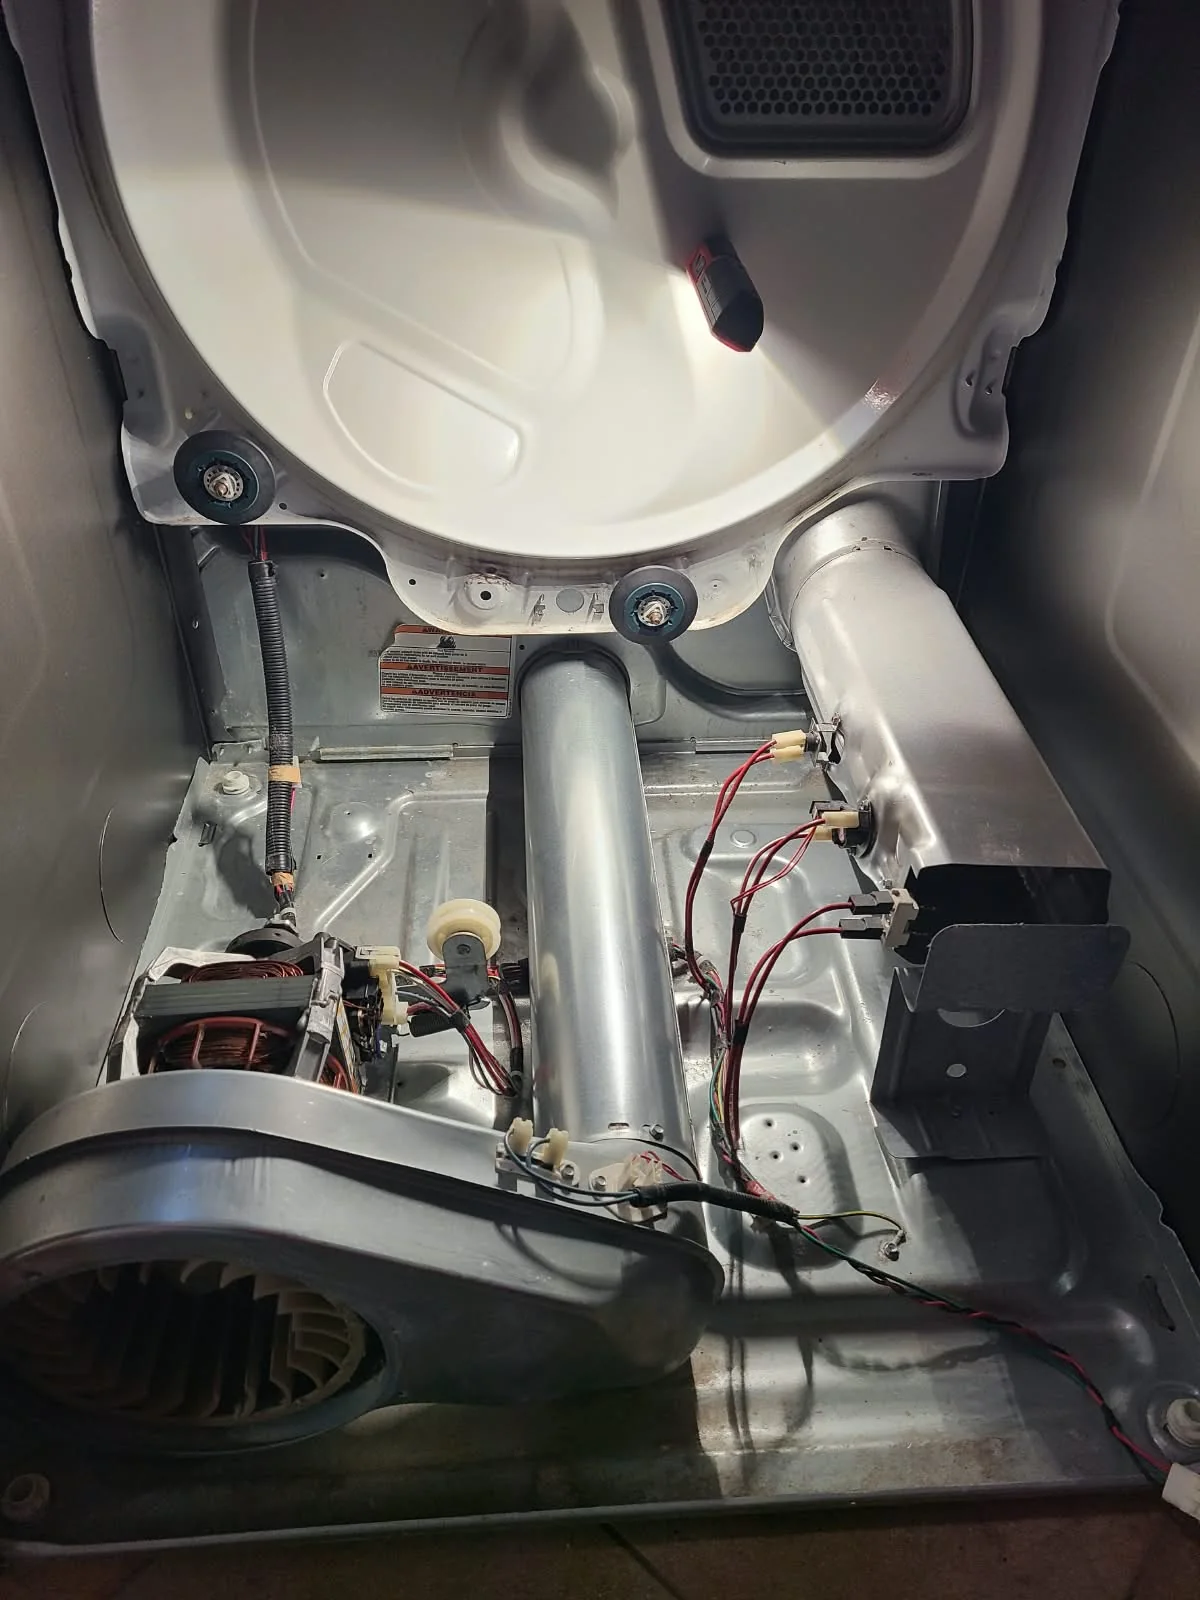
We replaced all five support rollers: three on the front bulkhead and two on the rear support. The removed front assembly made the three front positions accessible; the rear pair was accessible with the drum out of the cabinet.
Drum support rollers carry the drum as it turns. In this case, the reported uneven drum movement and noise led to inspection and replacement of the complete set, not just one roller. These photographs show the replacements installed.
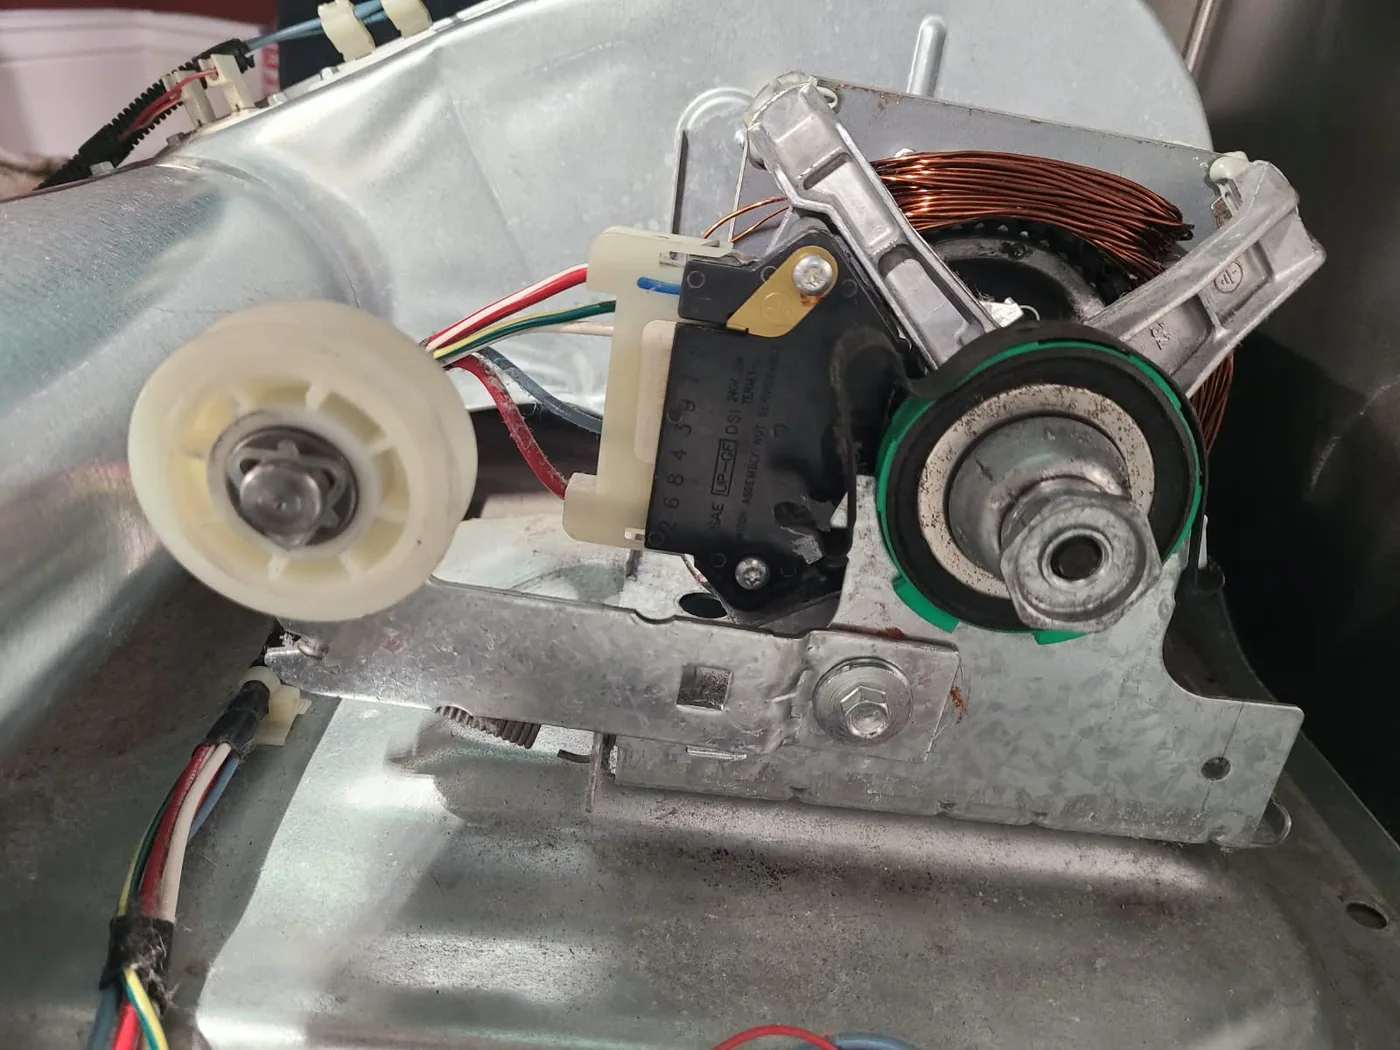
Replacing the Idler Pulley
The idler pulley maintains tension on the drive belt and is separate from the five rollers supporting the drum. We replaced the idler as part of the same noise repair.
The service photograph shows the replacement pulley beside the motor. The documented replacement work for this visit was the five support rollers and the idler pulley.
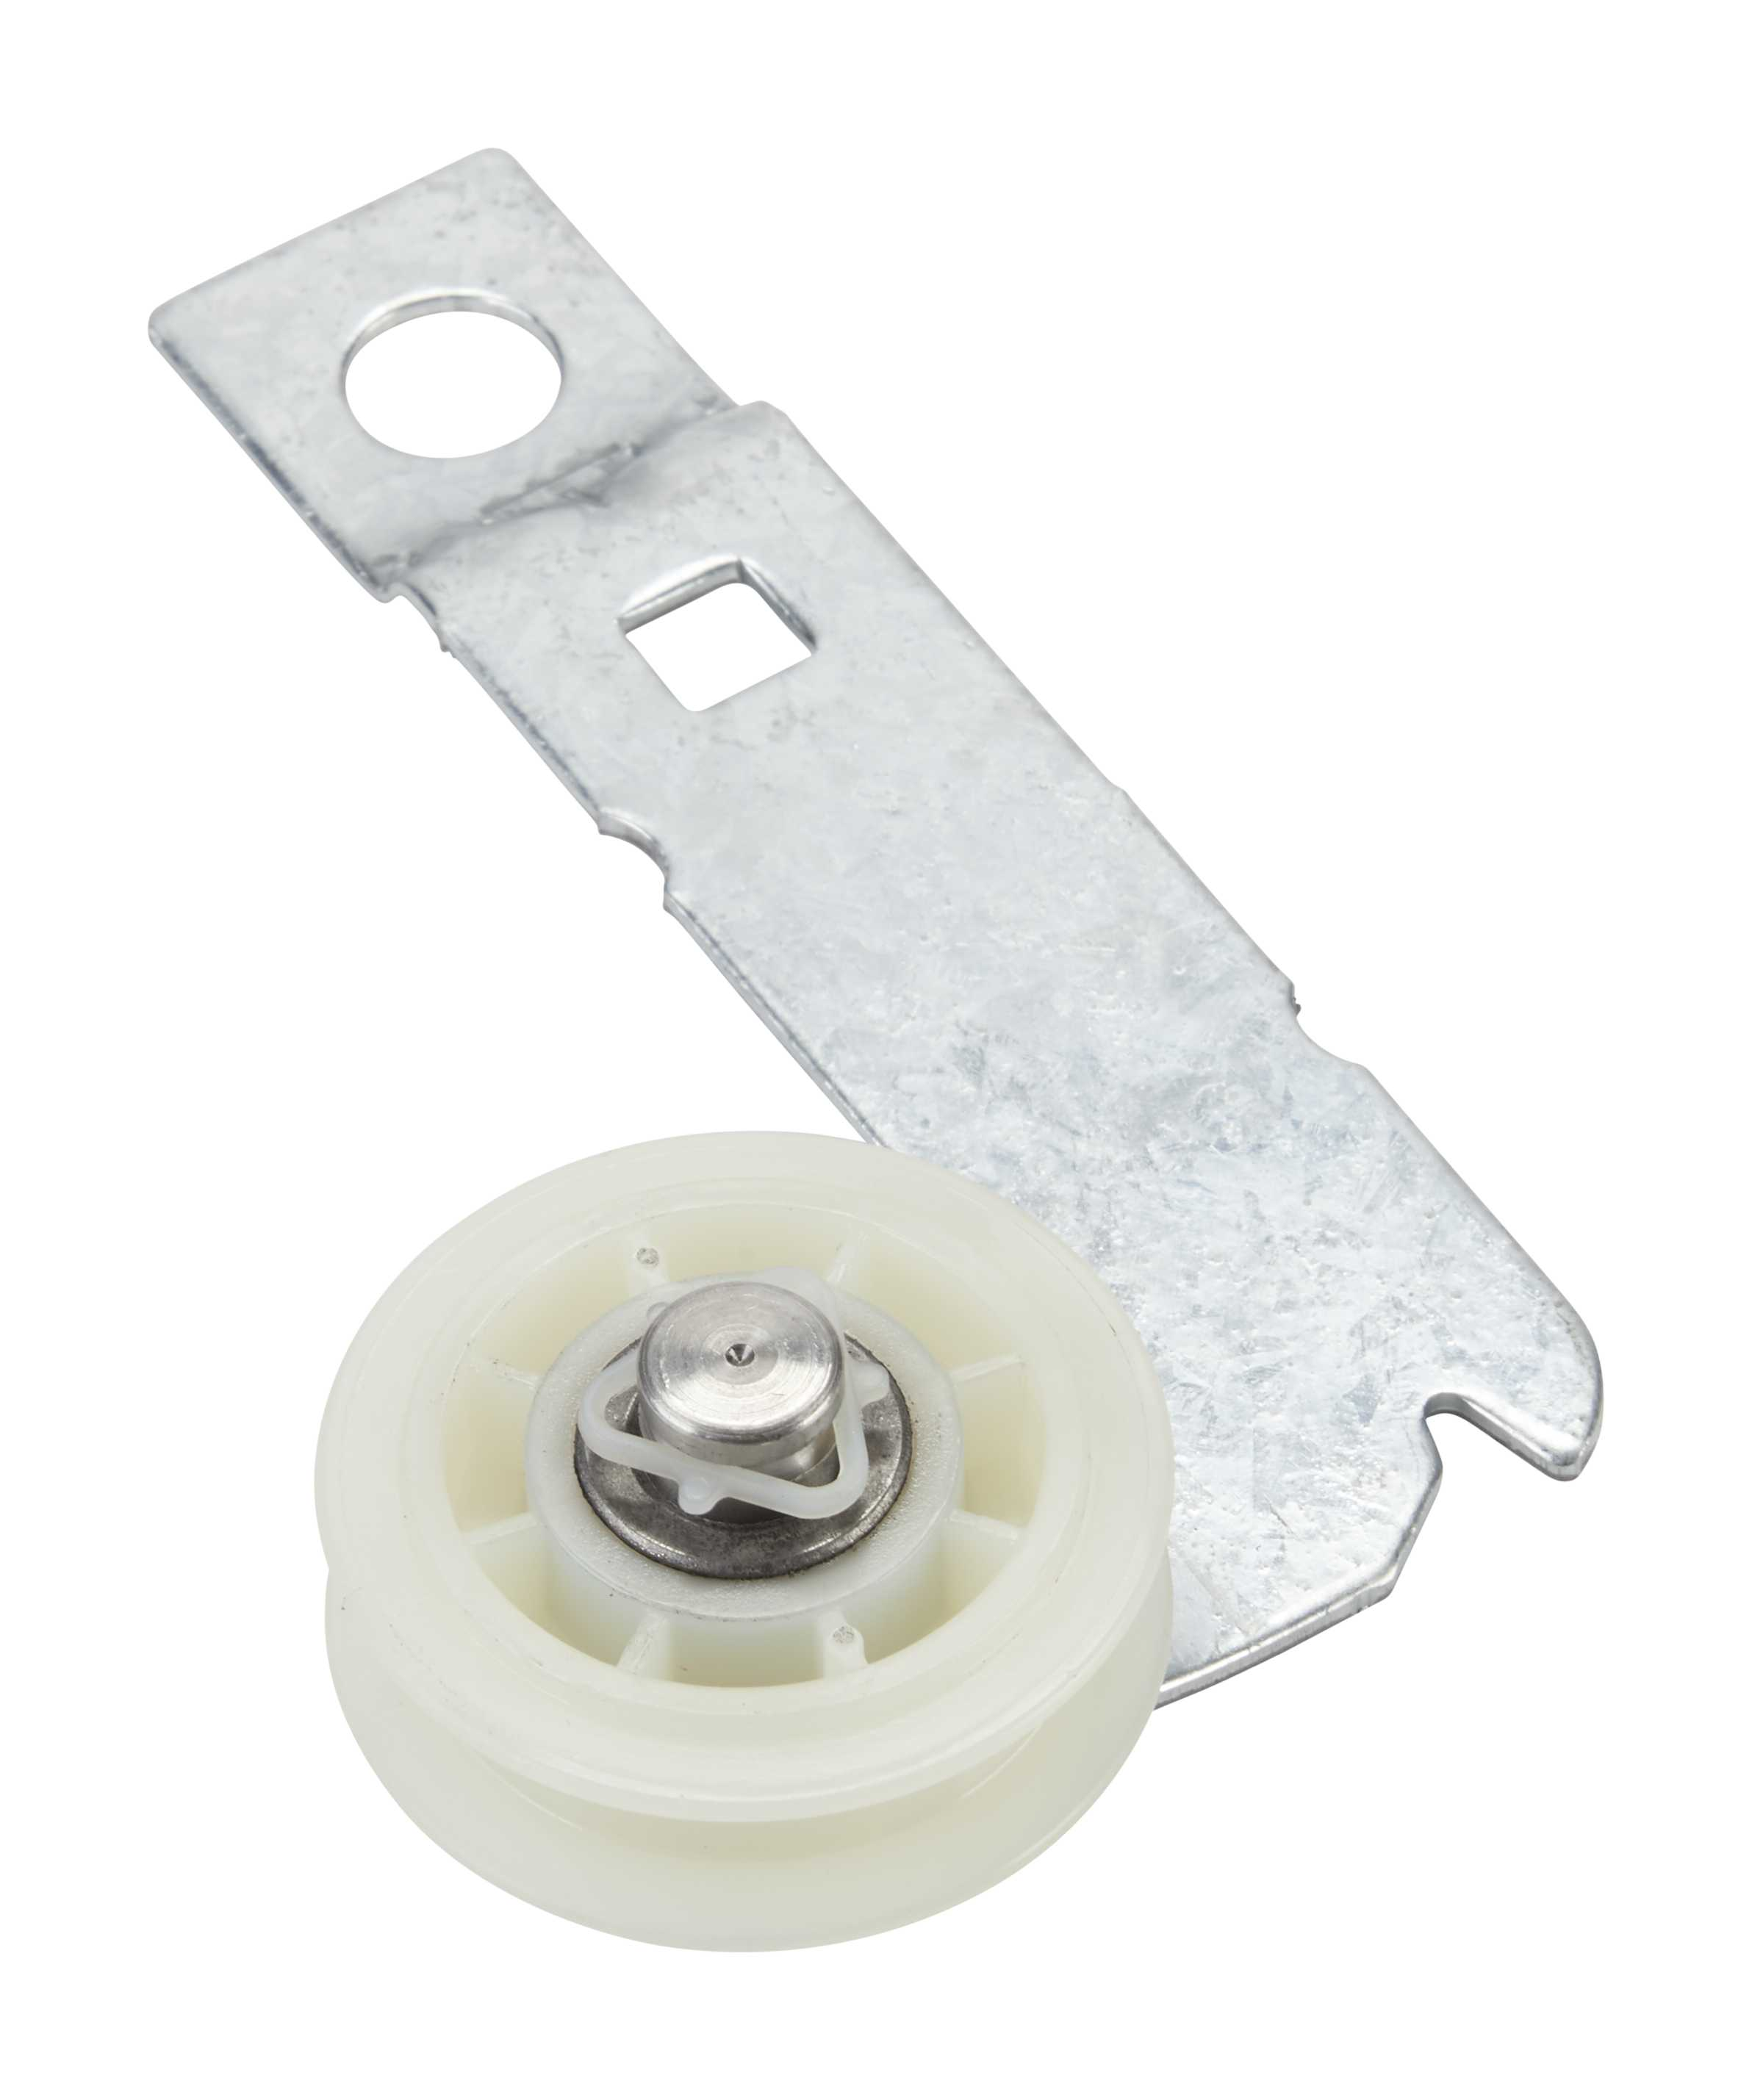
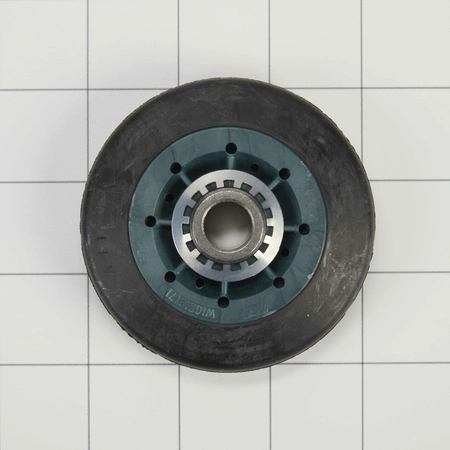
Supplied Component References
The supplied product images are labeled W10837240 for the idler assembly and WPW10314173 for the roller. They are visual references, not a verified Maytag MEDB835DC4 ordering list. Part selection requires checking the full appliance model and the applicable parts information.
Vacuuming Lint From the Cabinet
Removing the drum also revealed accumulated lint across the cabinet floor and around the internal assemblies. We vacuumed and cleaned the accessible cabinet interior while the dryer was apart.
The before-and-after photographs show the same cabinet. Cleaning removed the loose buildup; it was additional work performed during the mechanical repair, not a claim that lint alone caused the drum to bounce.
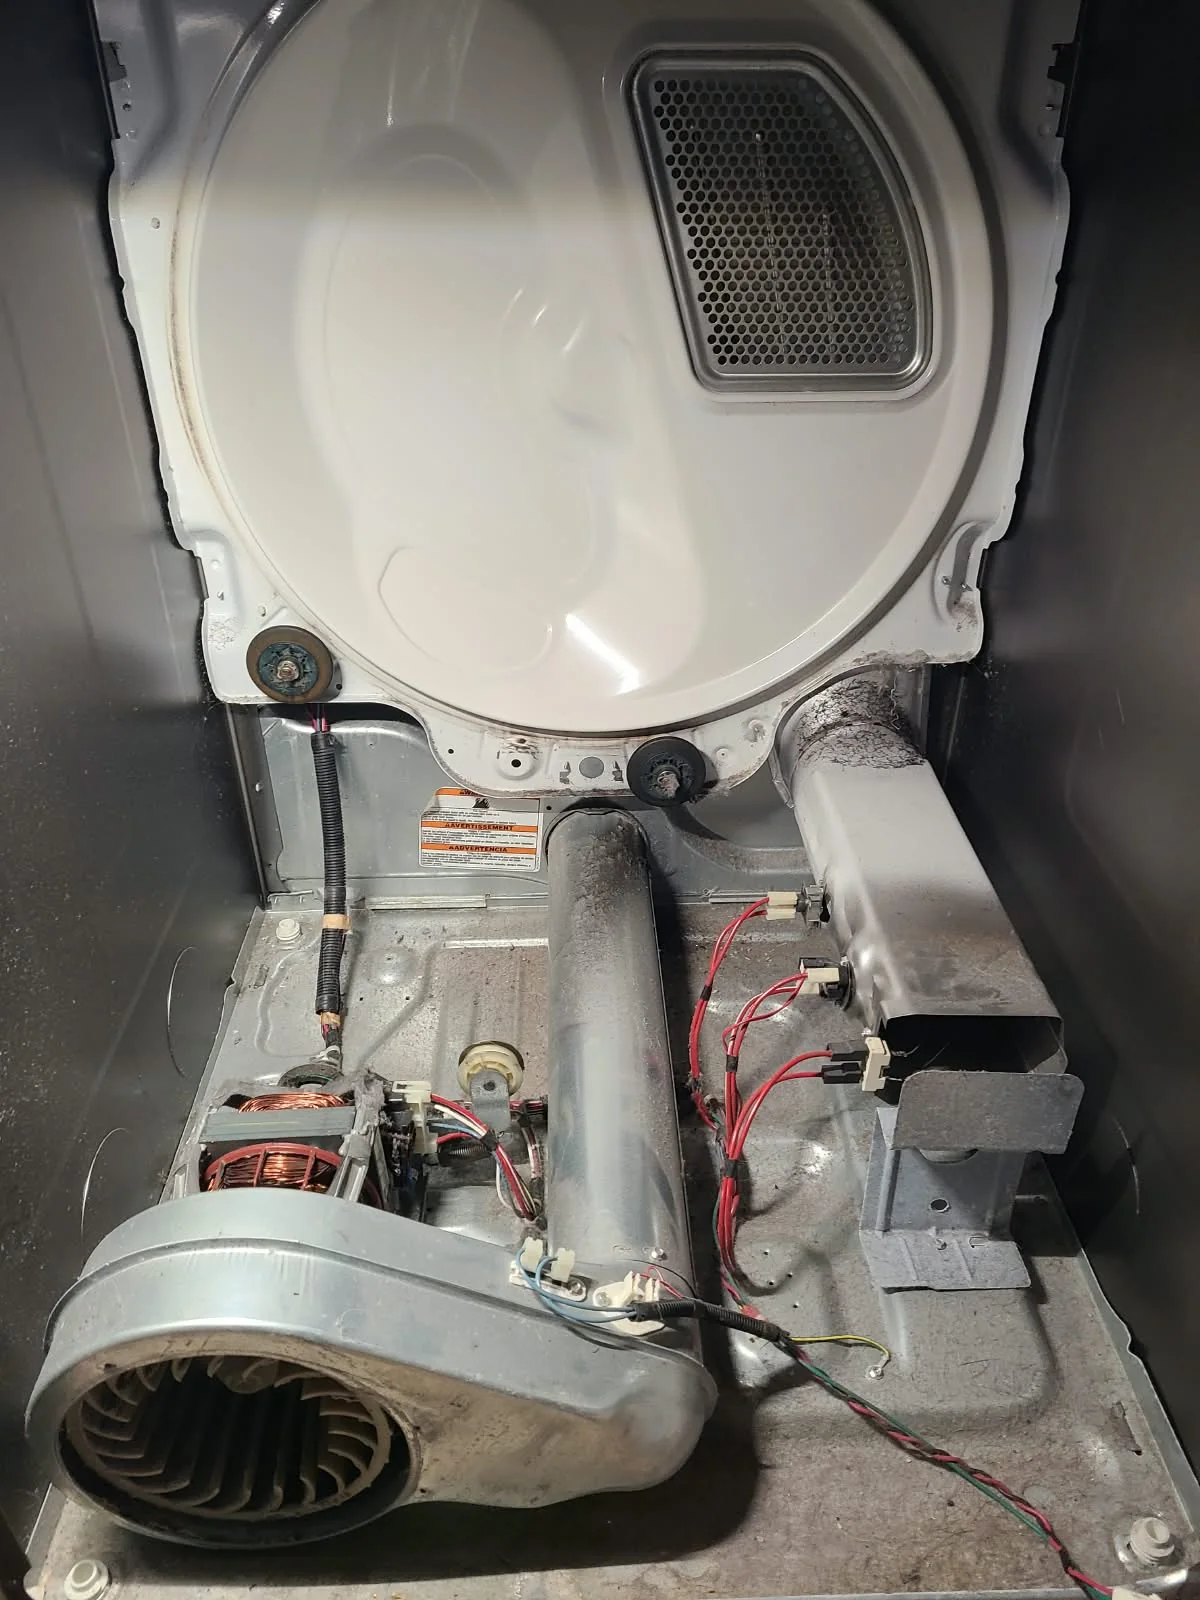
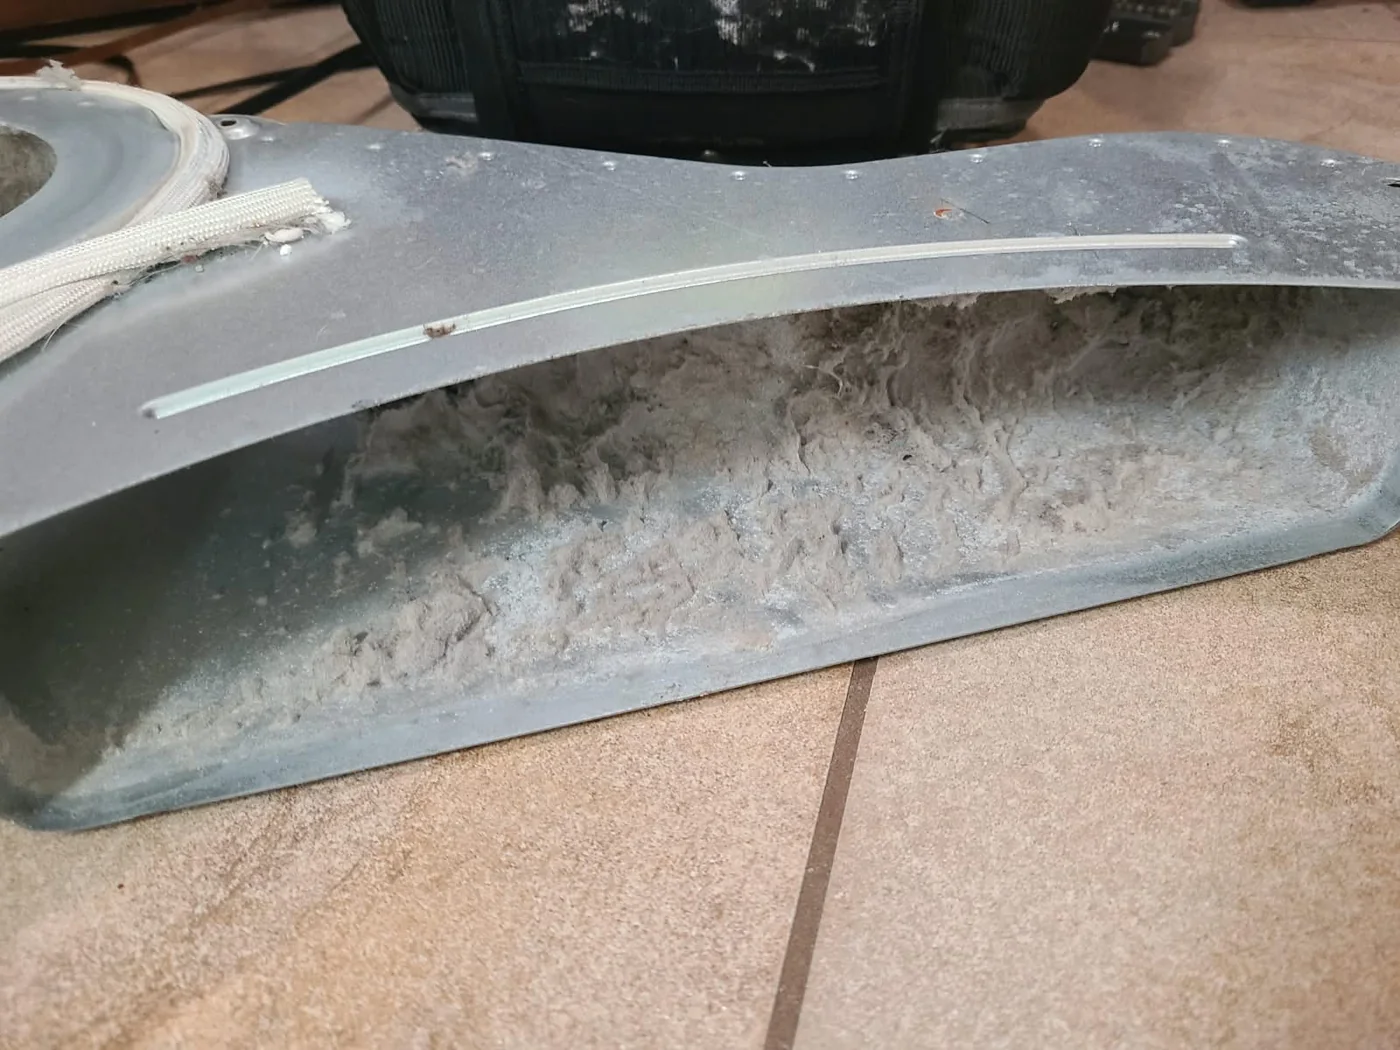
Cleaning the Internal Lint Duct
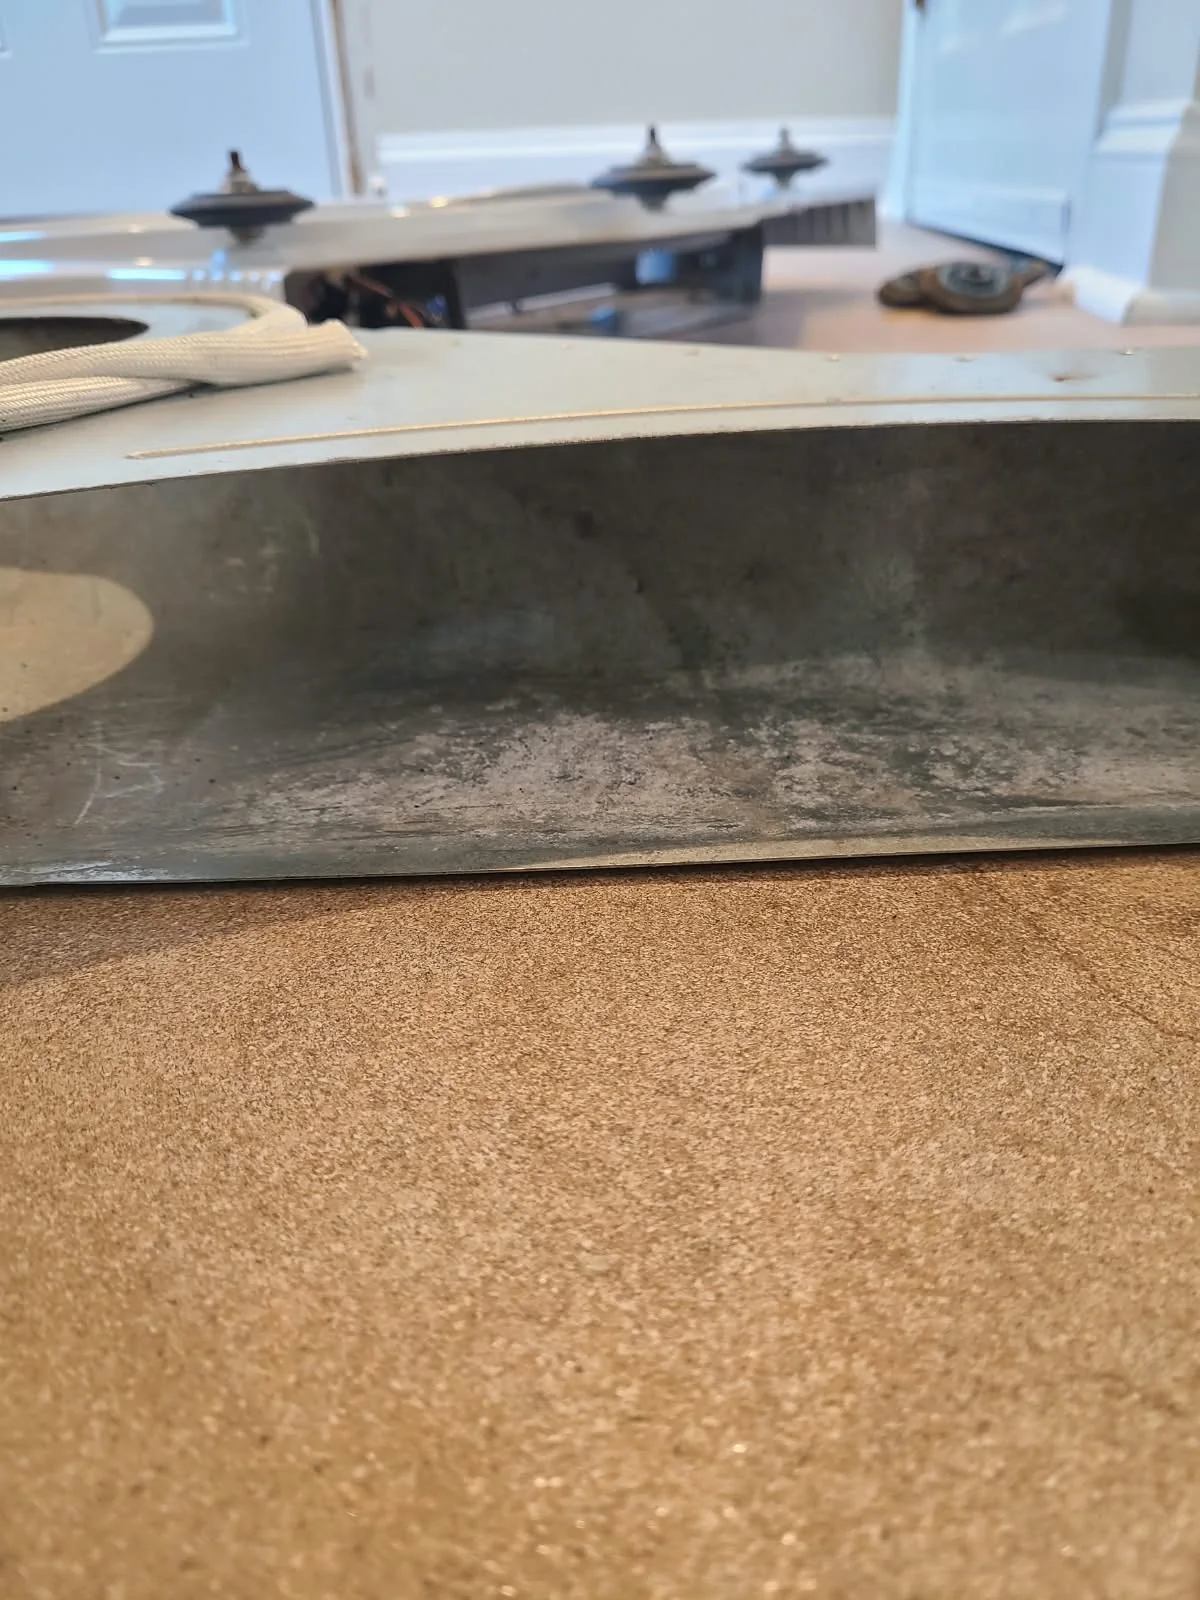
The removed internal duct contained a thick layer of lint. We cleaned this passage before putting it back into the dryer. The paired images show the lint-filled passage and its condition after cleaning.
This was cleaning inside the appliance. The work described here does not include a documented cleaning of the entire household exhaust duct.
Cleaning the Felt at Both Ends of the Drum
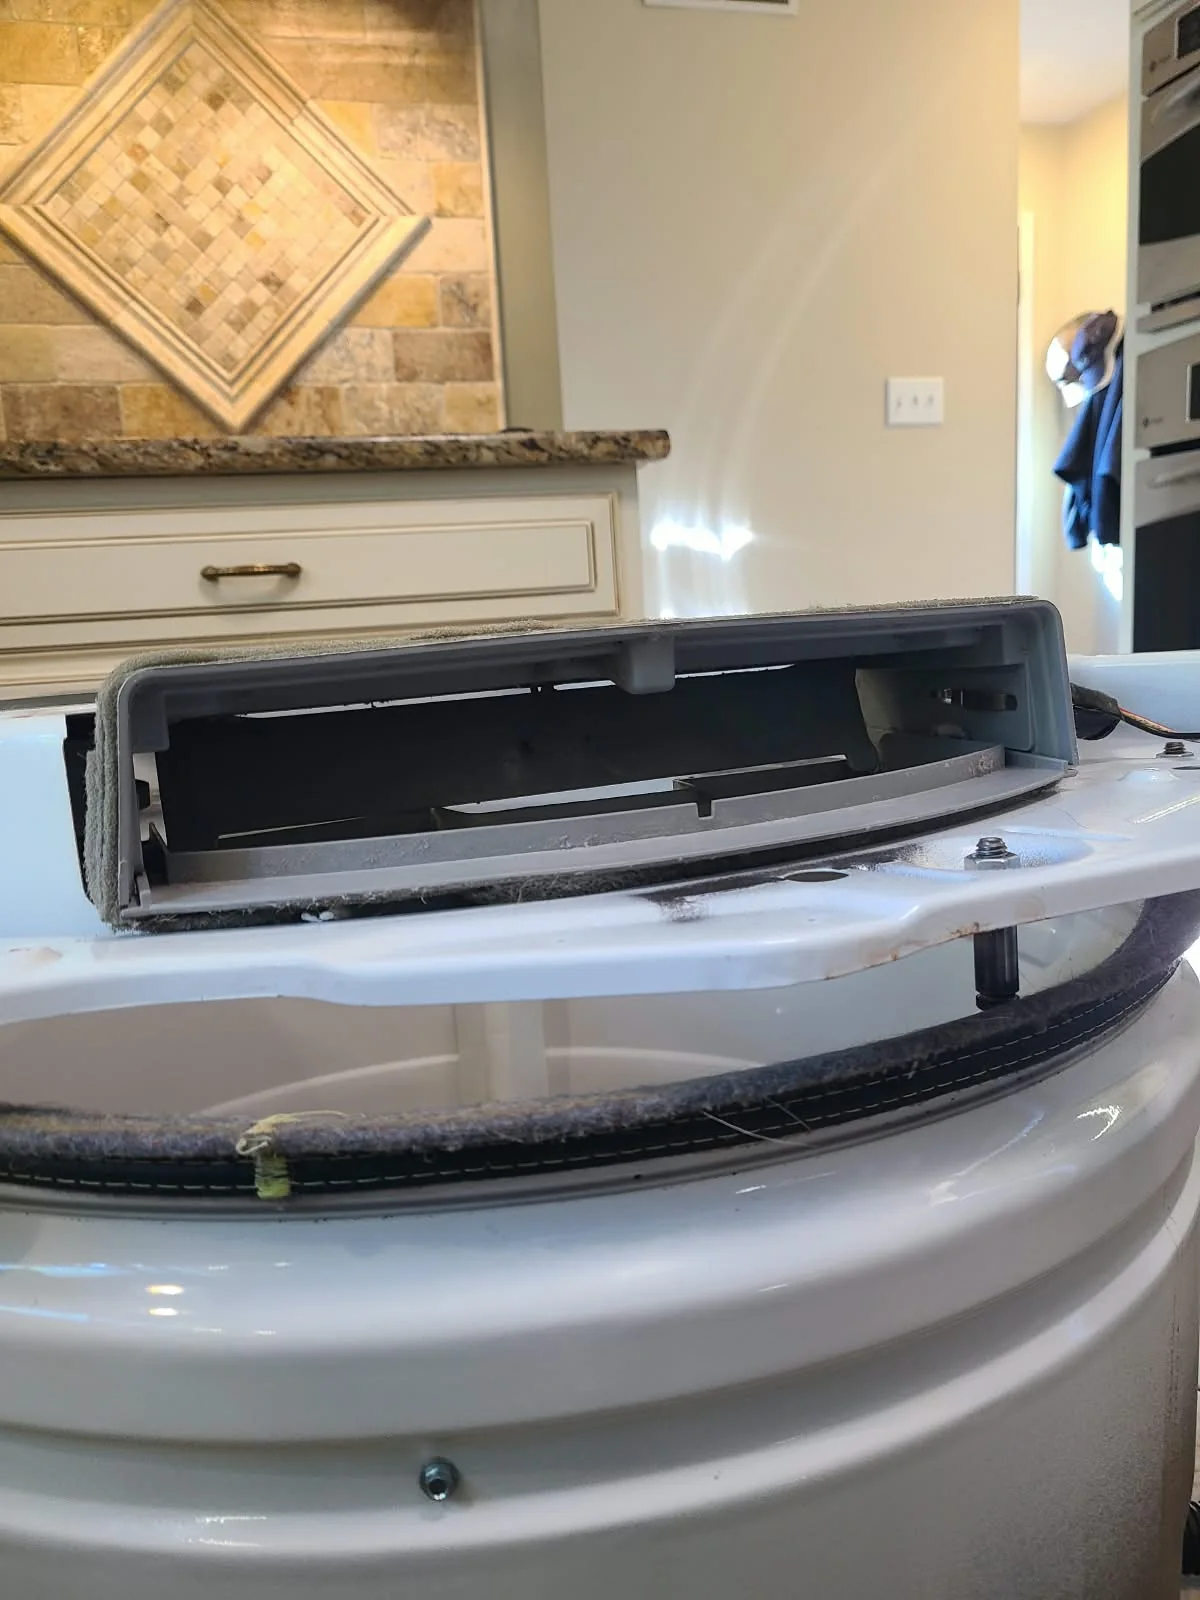
Lint was also caught in the felt at both ends of the drum. With the drum removed, we vacuumed the felt on both sides and cleaned the accessible surrounding areas.
The felt seals were cleaned, not replaced. The detail photographs show the accumulated lint and a cleaned section of the existing felt.
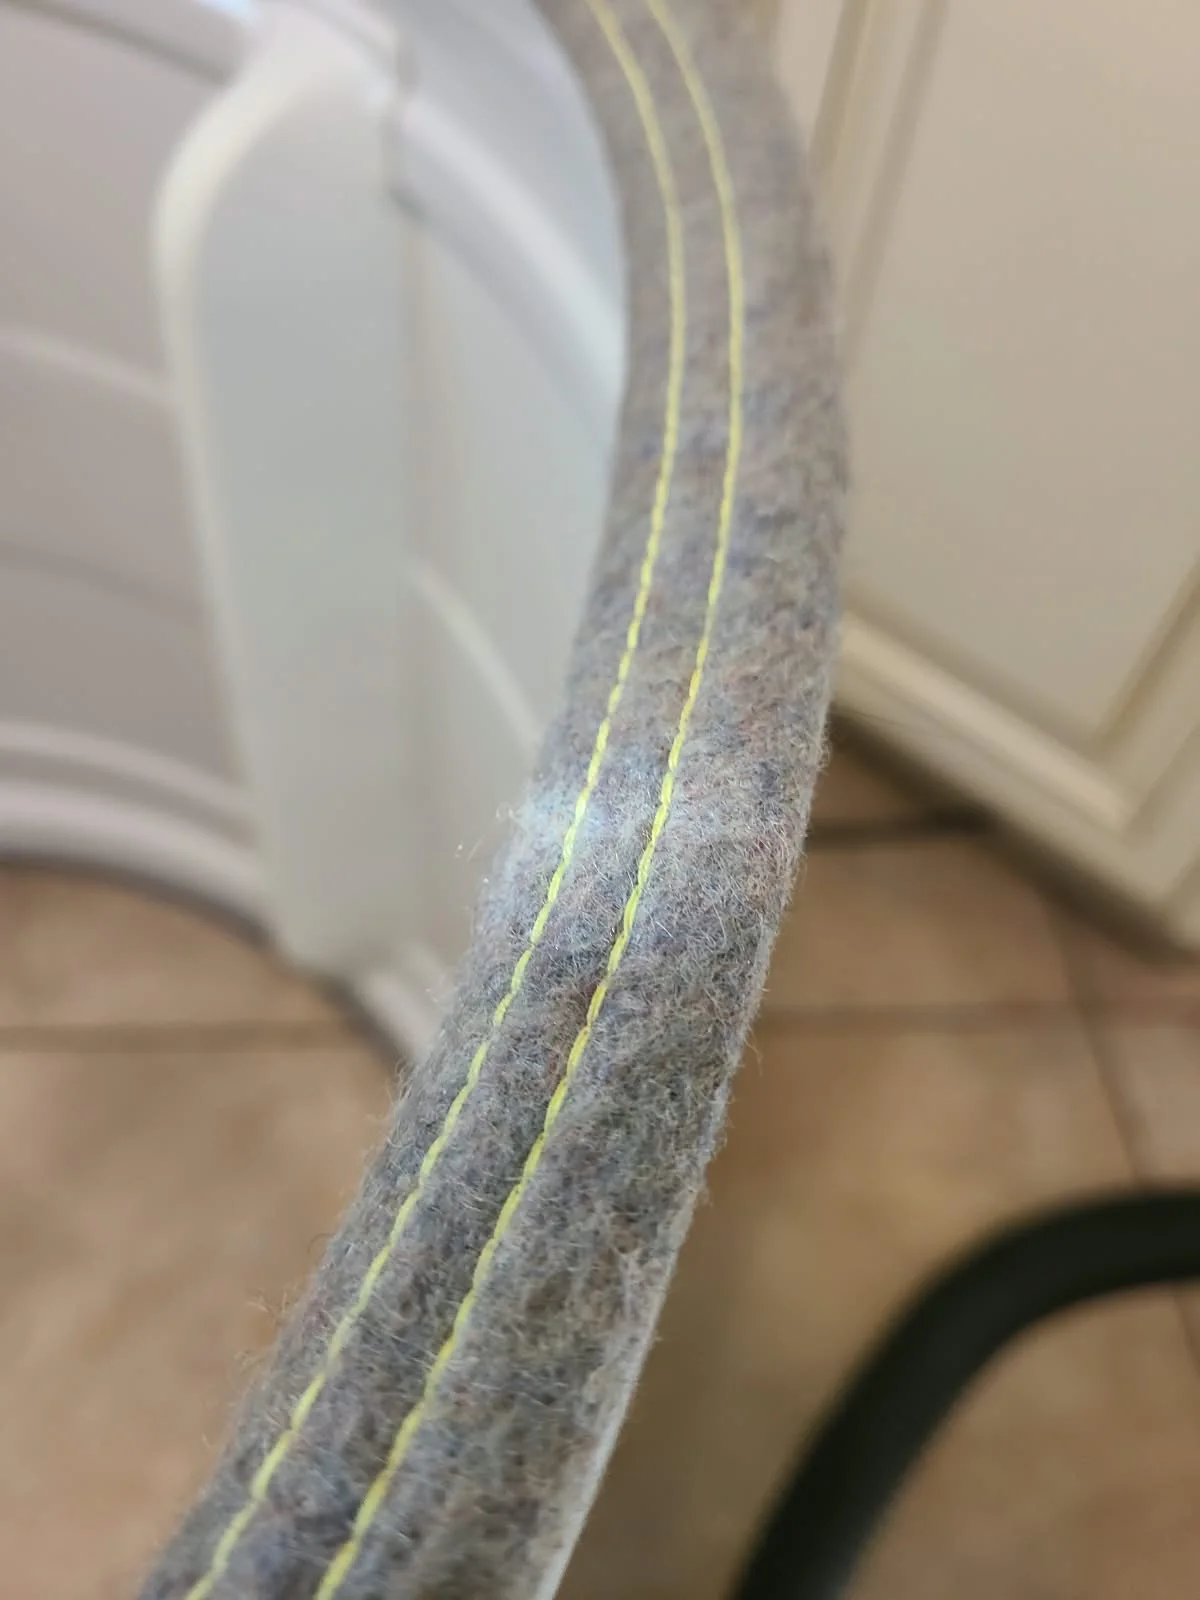
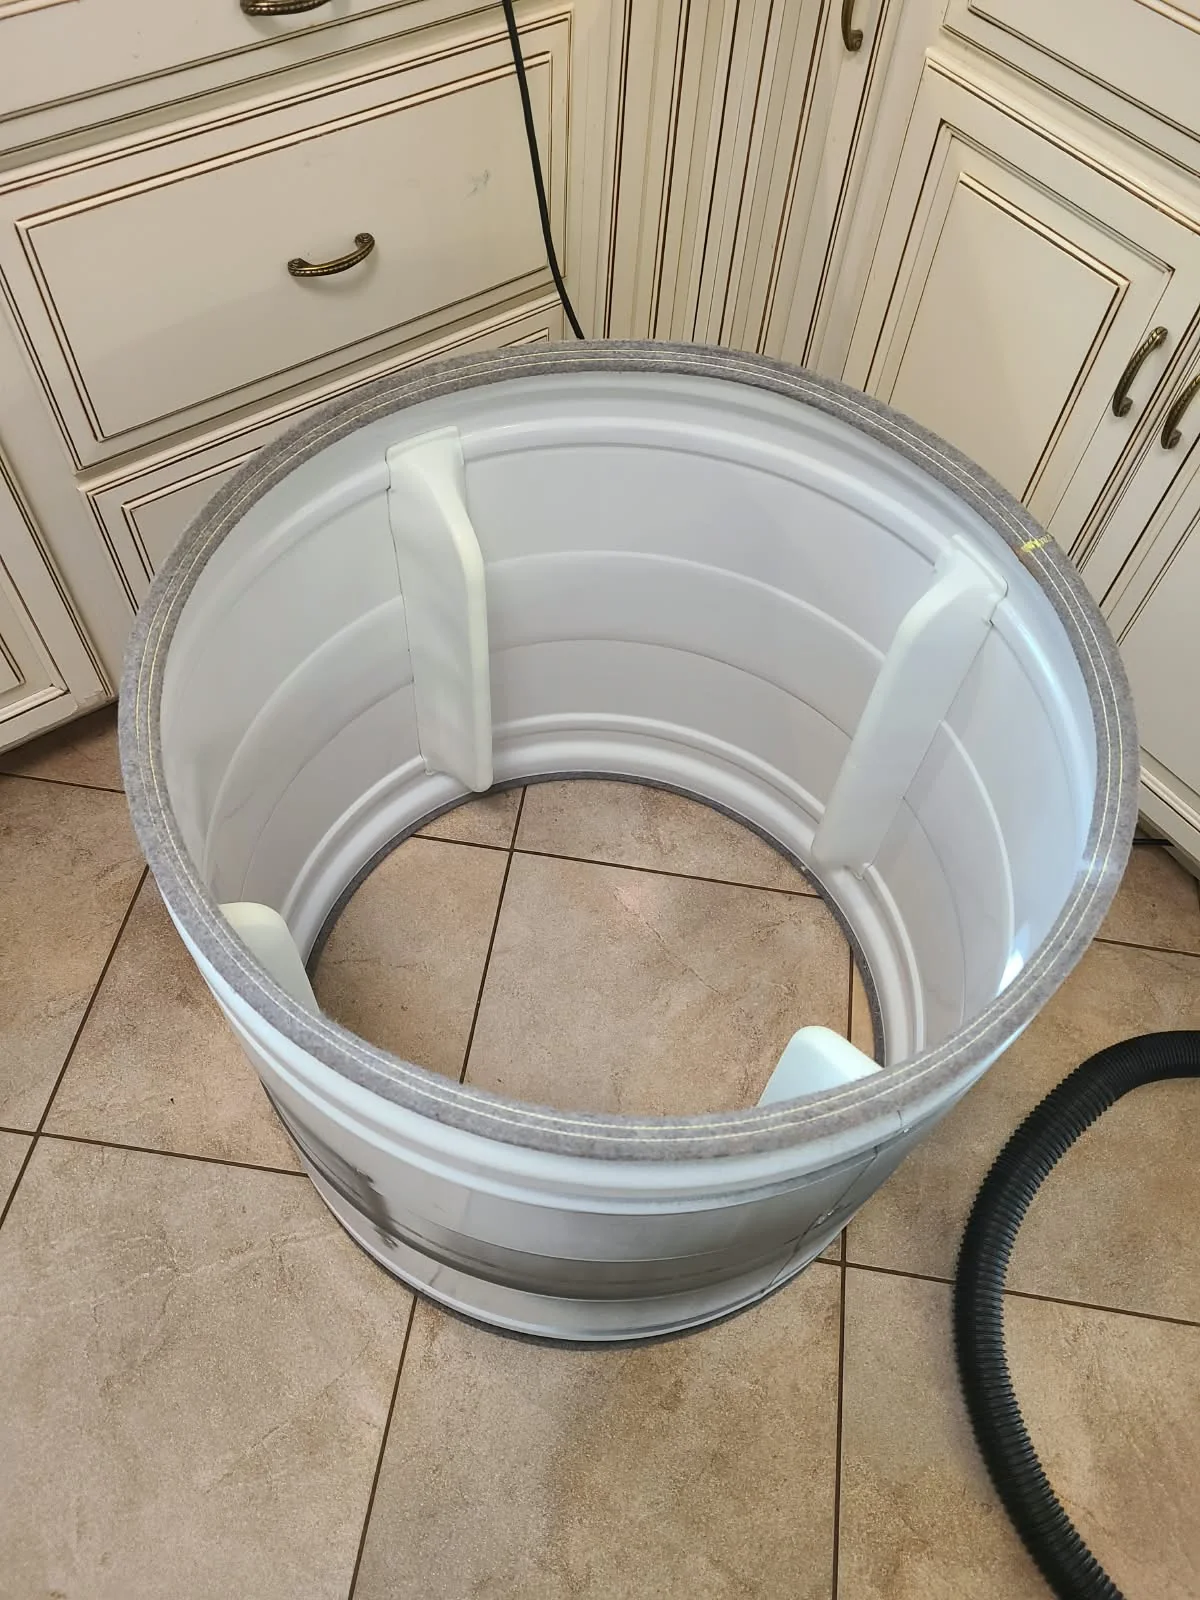
Drum Ready for Reassembly
After cleaning the felt on both ends, we prepared the drum for installation. The photograph shows the removed drum and its cleaned felt edge.
The replacement rollers and idler were already installed, and the cabinet and internal duct had been cleaned before reassembly continued.
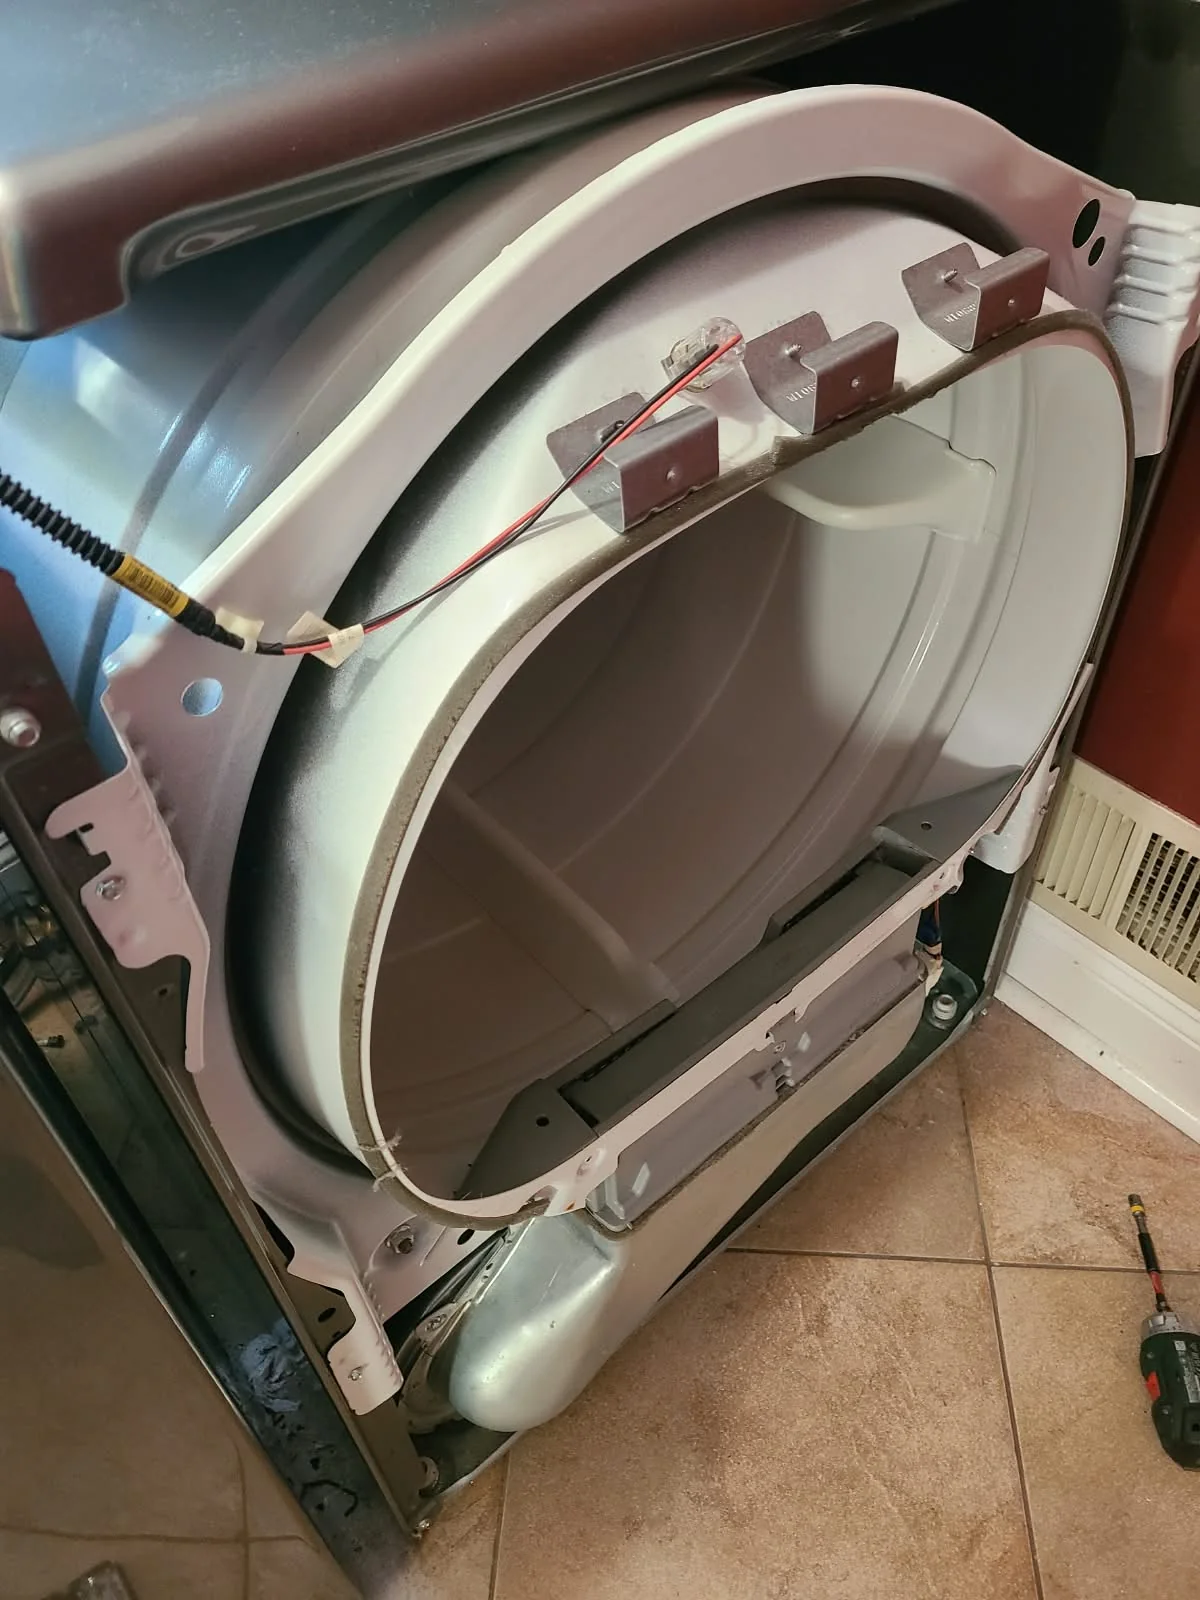
Putting the Dryer Back Together
We reinstalled the drum and front support assembly, then completed reassembly of the dryer. This photograph records the work in progress before the exterior was fully closed.
The completed repair combined mechanical parts replacement with internal lint removal and cleaning of the existing drum felt.
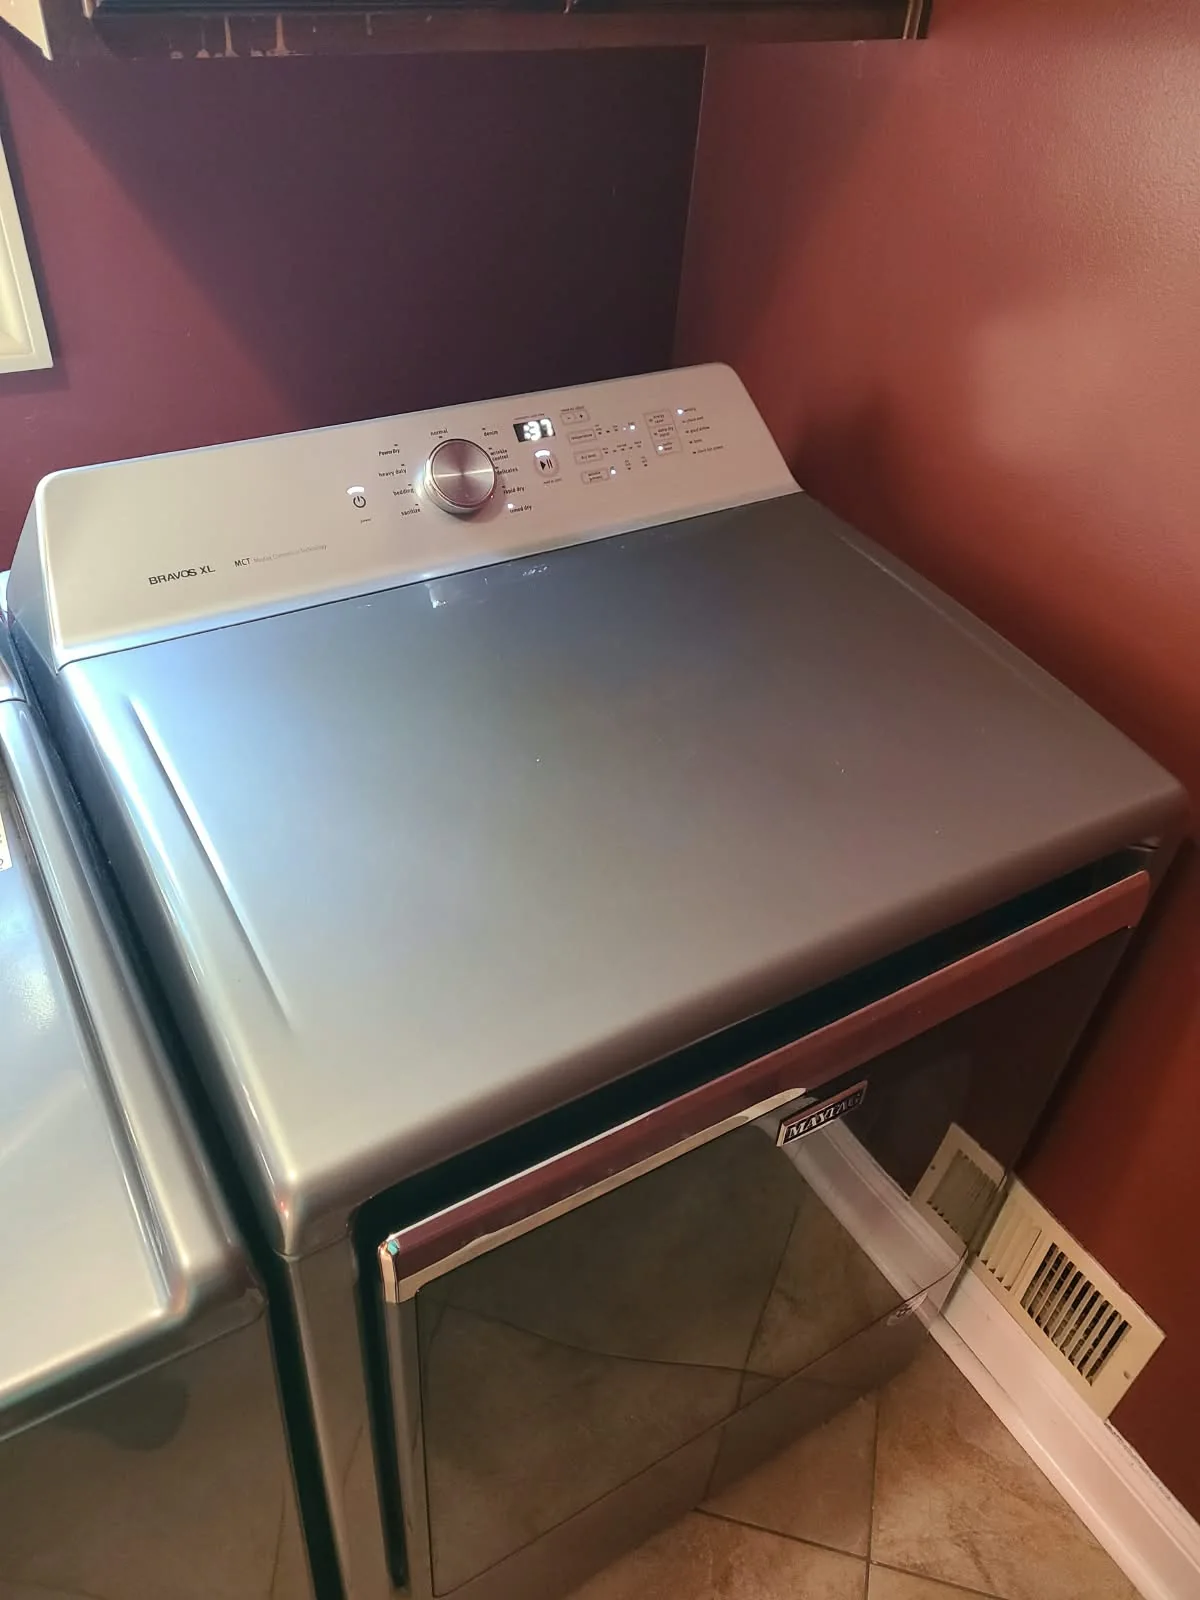
Reassembled and Tested in McCordsville
Once assembled, the dryer was tested. The final photograph shows the Maytag back together with its controls powered during the test.
The completed service included all five drum support rollers, the idler pulley, cabinet and internal duct cleaning, and vacuuming the felt at both ends of the drum.
Questions About This Maytag Dryer Repair
How many rollers were replaced?
Five: three front rollers and two rear rollers. The idler pulley was an additional, separate component.
Were the drum felt seals replaced?
No. The existing felt on both ends of the drum was vacuumed and cleaned.
Does every squeaking Maytag need the same repair?
No. These findings belong to this appliance and service visit. Similar sounds can require a different repair, so the dryer needs its own inspection.
What information helps when booking service?
Share the full model number and describe the sound and drum movement. A recording of the symptom can help communicate the complaint before the on-site inspection.
Maytag Dryer Repair in McCordsville
For a squeaking or thumping dryer, Alex Appliance Repair provides dryer repair in McCordsville, Indiana. See our recent repair stories, including a Whirlpool dryer roller and idler repair in Westfield.
Alex Appliance Repair is an independent service operated by Aksenov LLC.
Book dryer repair