



The Idler Pulley Behind This Repair
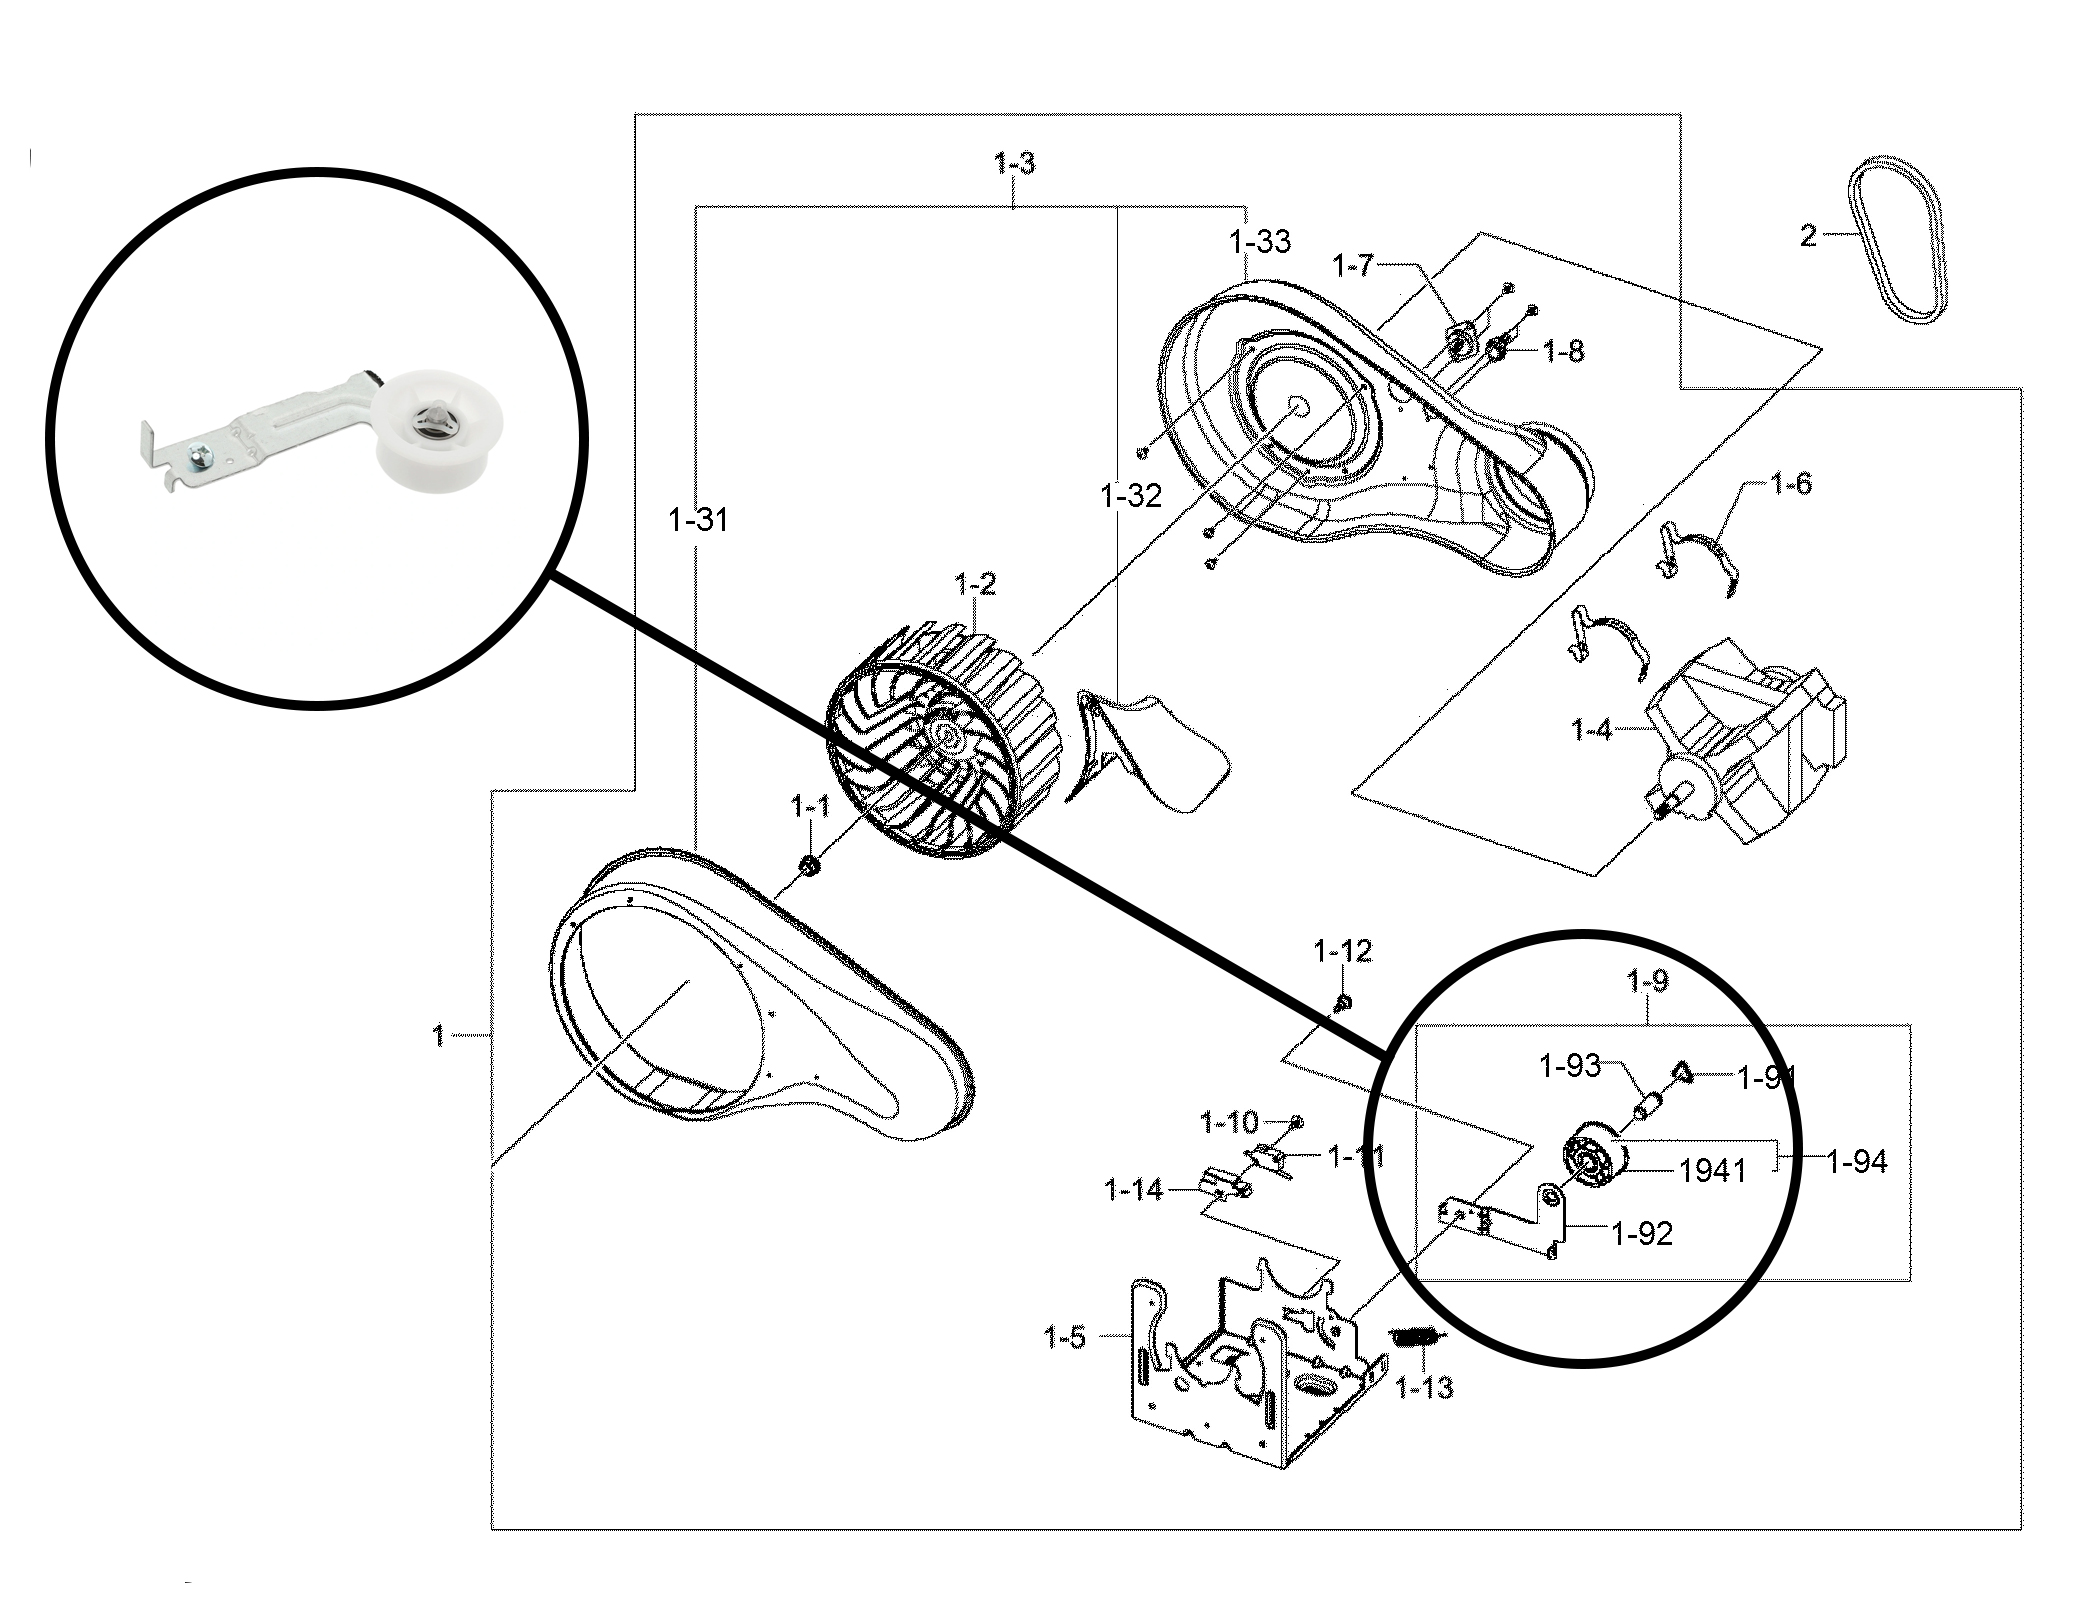
The highlighted diagram identifies the idler pulley assembly near the dryer motor. The enlarged reference view makes it easier to recognize the white pulley and metal arm in the service photographs below.
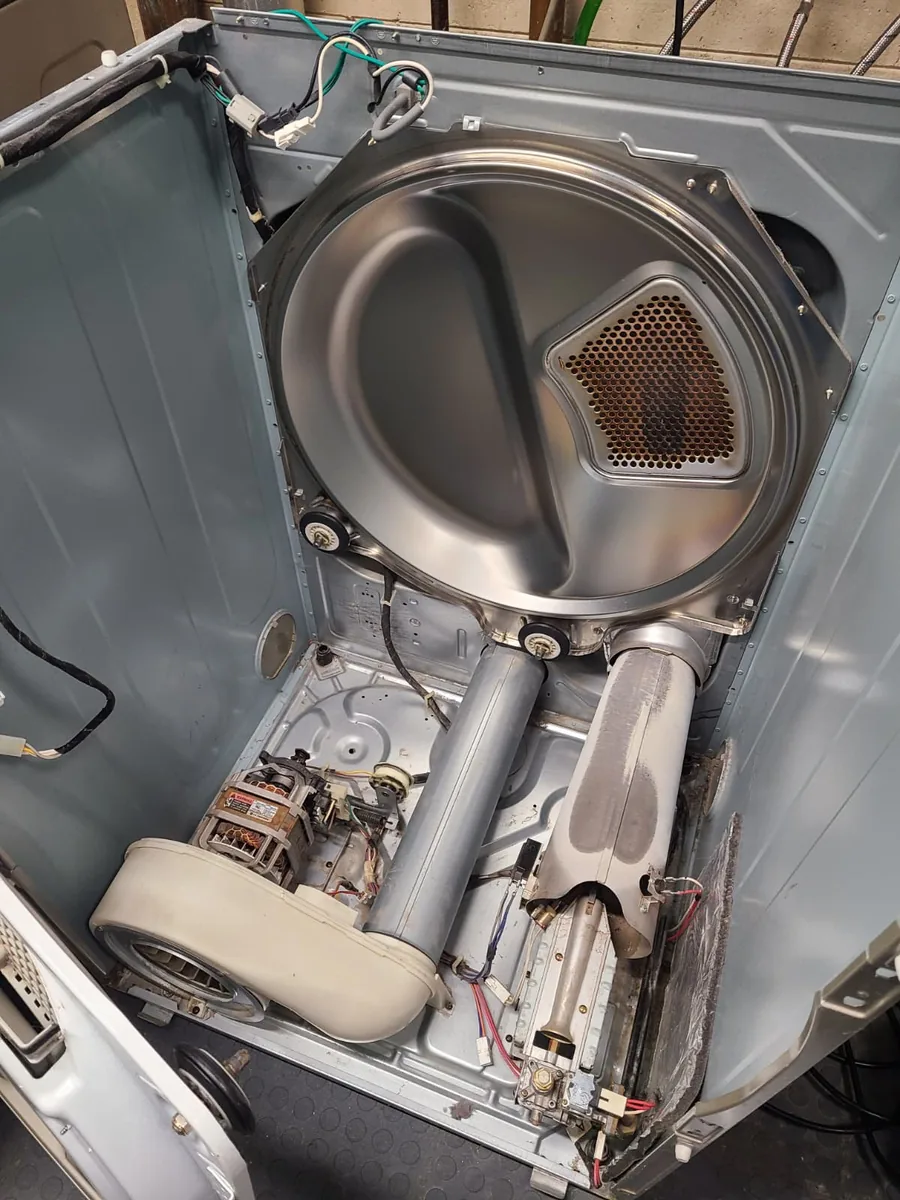
At this Fishers, Indiana service call, the Samsung dryer powered on at the control panel but would not start. Disassembly revealed a damaged idler pulley and extensive lint accumulation inside the cabinet. The diagrams explain component locations; the photographs document the actual machine and repair.
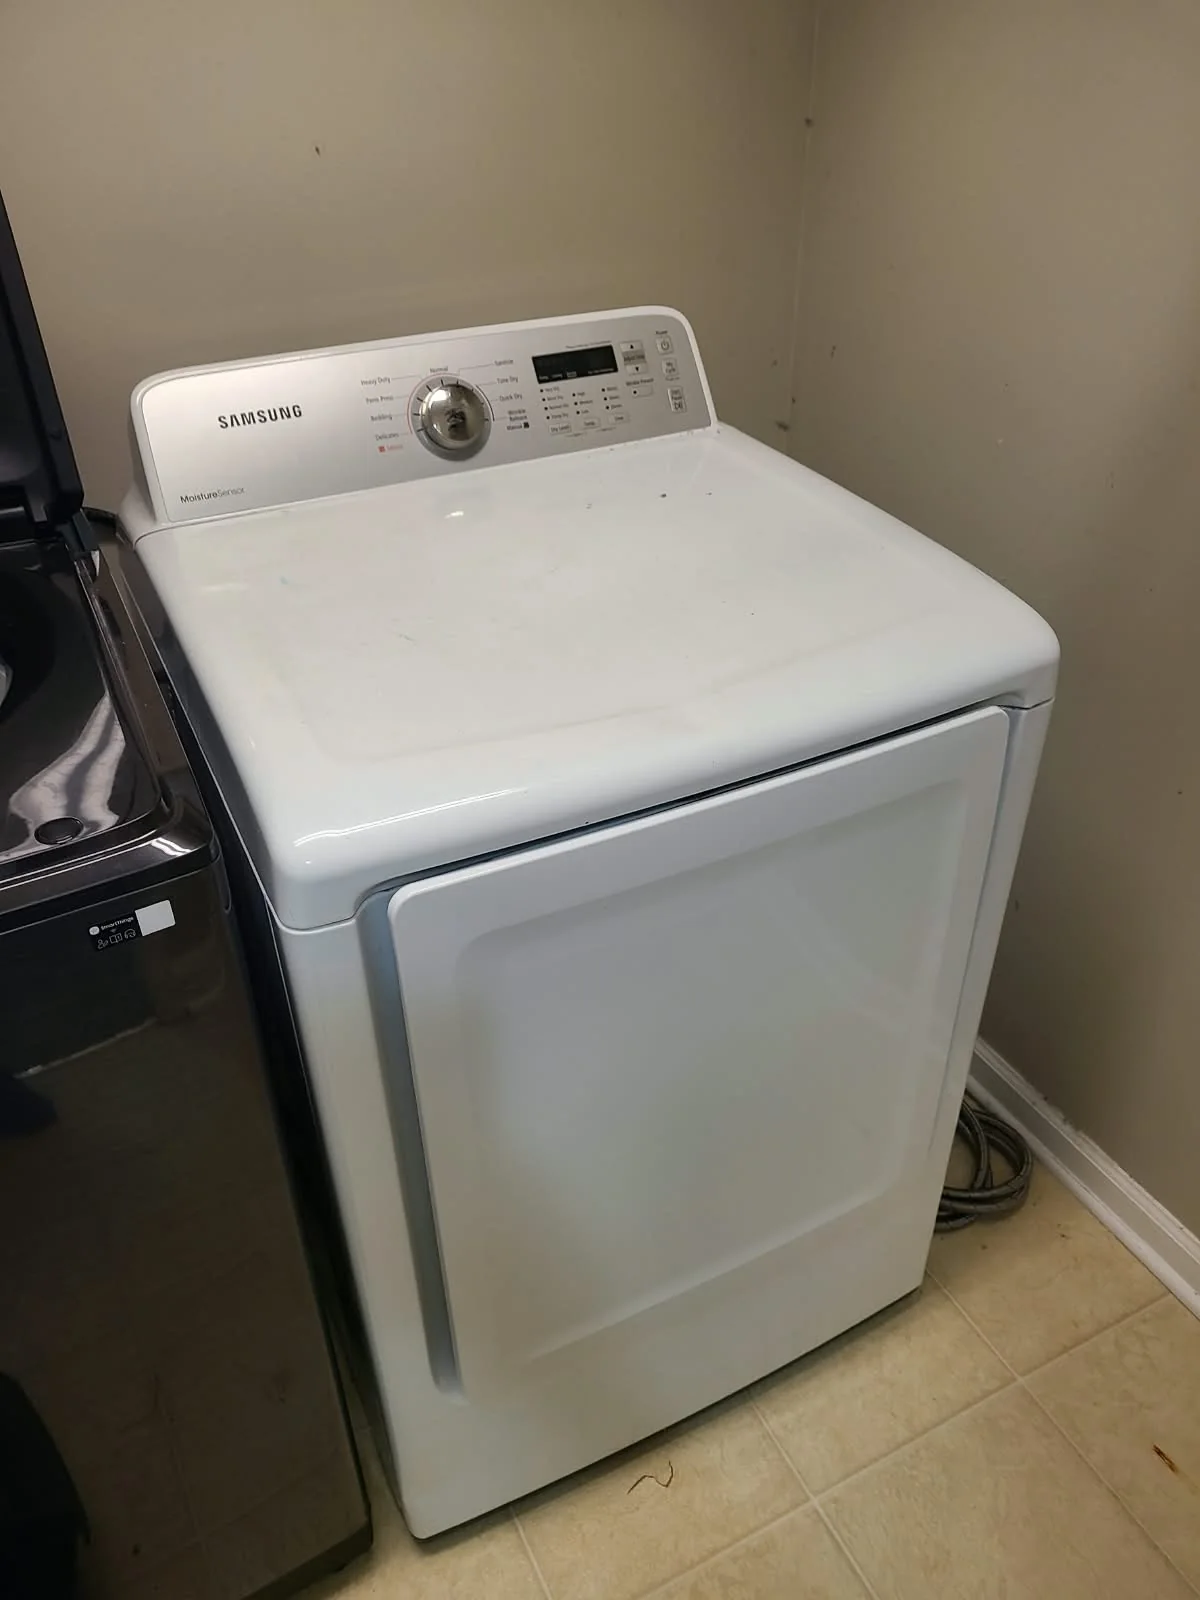
The Complaint: Lights On, but Nothing Happens at Start
The homeowner could turn on the control panel, but pressing Start did not start the dryer. This was not simply a complaint about clothes taking longer to dry: the machine was not beginning its cycle.
A working display does not establish that the entire appliance is ready to run. We opened the dryer to investigate the reported symptom and assess the internal components. The exterior photograph shows the appliance before service.

Confirming the Samsung Model
The original appliance label identifies the dryer as DV400EWHDWR/AA. This unretouched crop retains the model line without publishing the serial number.
When arranging dryer repair in Fishers, send the complete model number together with the symptom. A description such as "the panel lights up, but Start does nothing" is more informative than saying only that the dryer is broken.
What We Found Inside the Cabinet
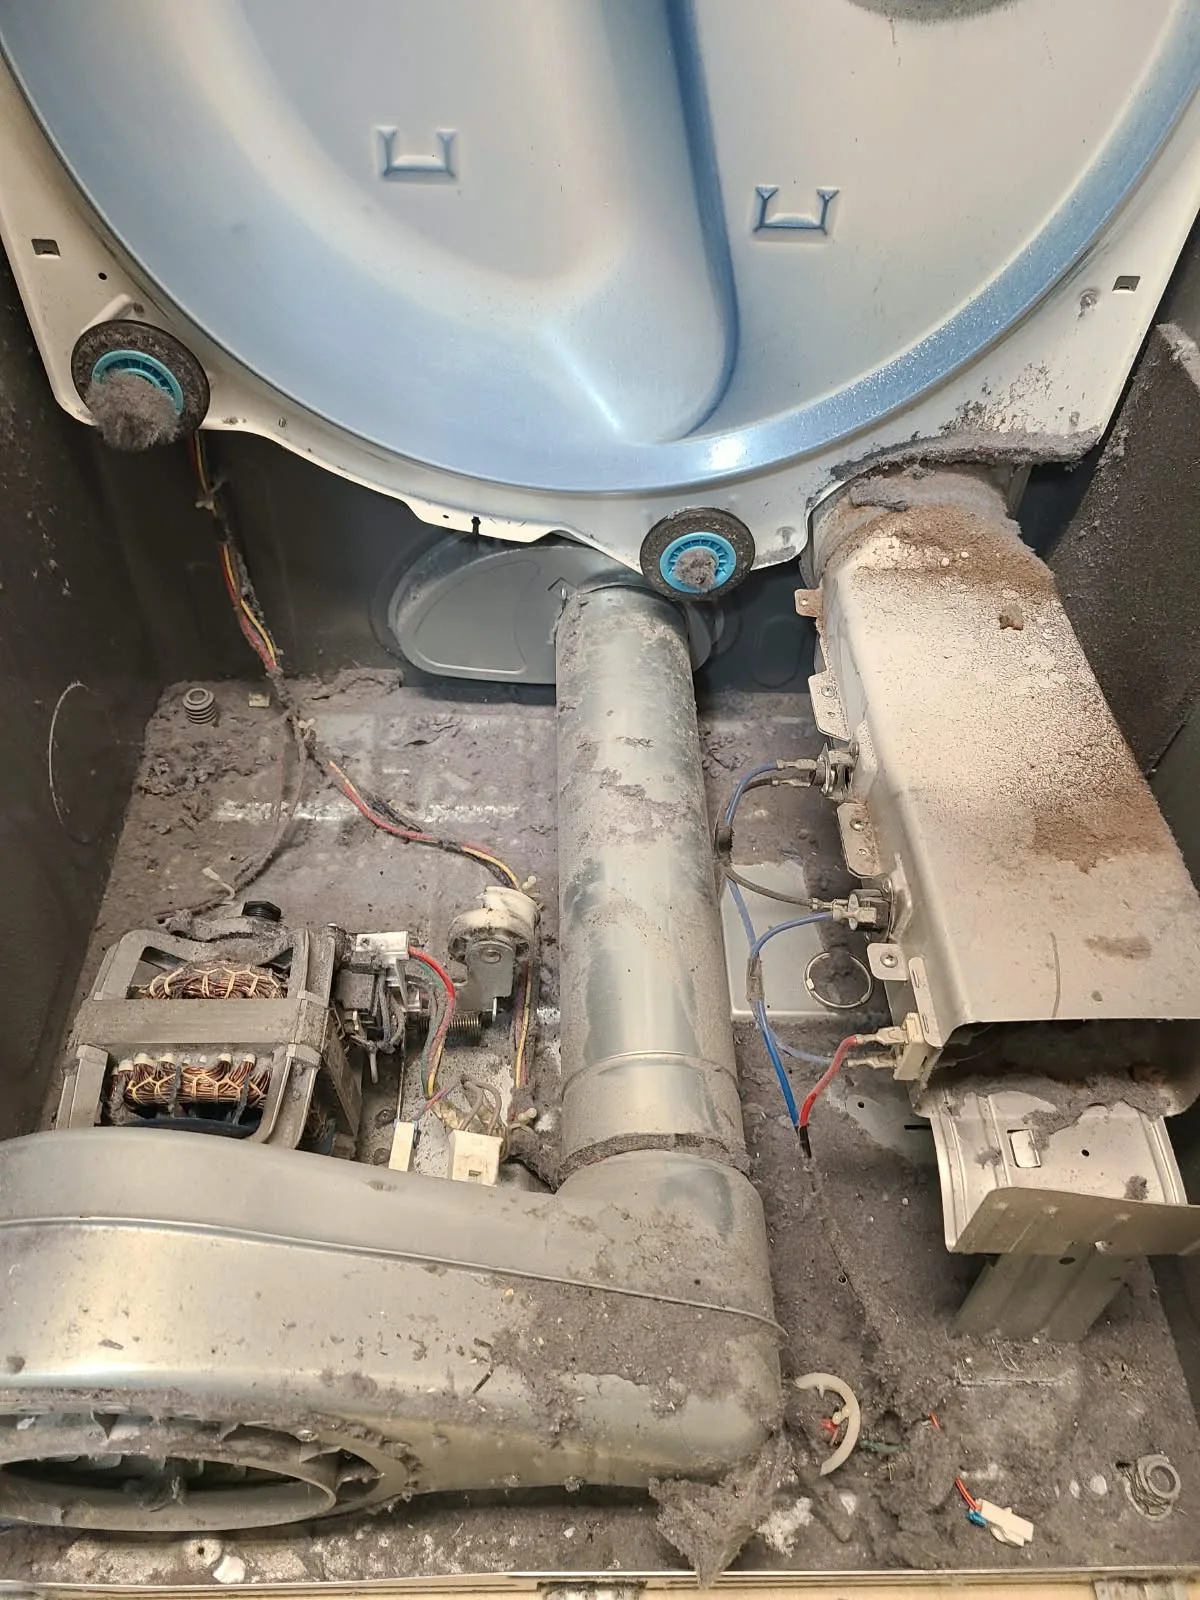
Removing the drum exposed substantial lint buildup across the cabinet floor, around the motor and rollers, and near the heater housing. The blower wheel and internal lint duct also contained visible deposits.
The repair therefore involved both component replacement and a thorough internal cleanup. These pictures document the dryer interior; they are not evidence of cleaning the separate exhaust duct inside the home.
A Visibly Damaged Idler Pulley
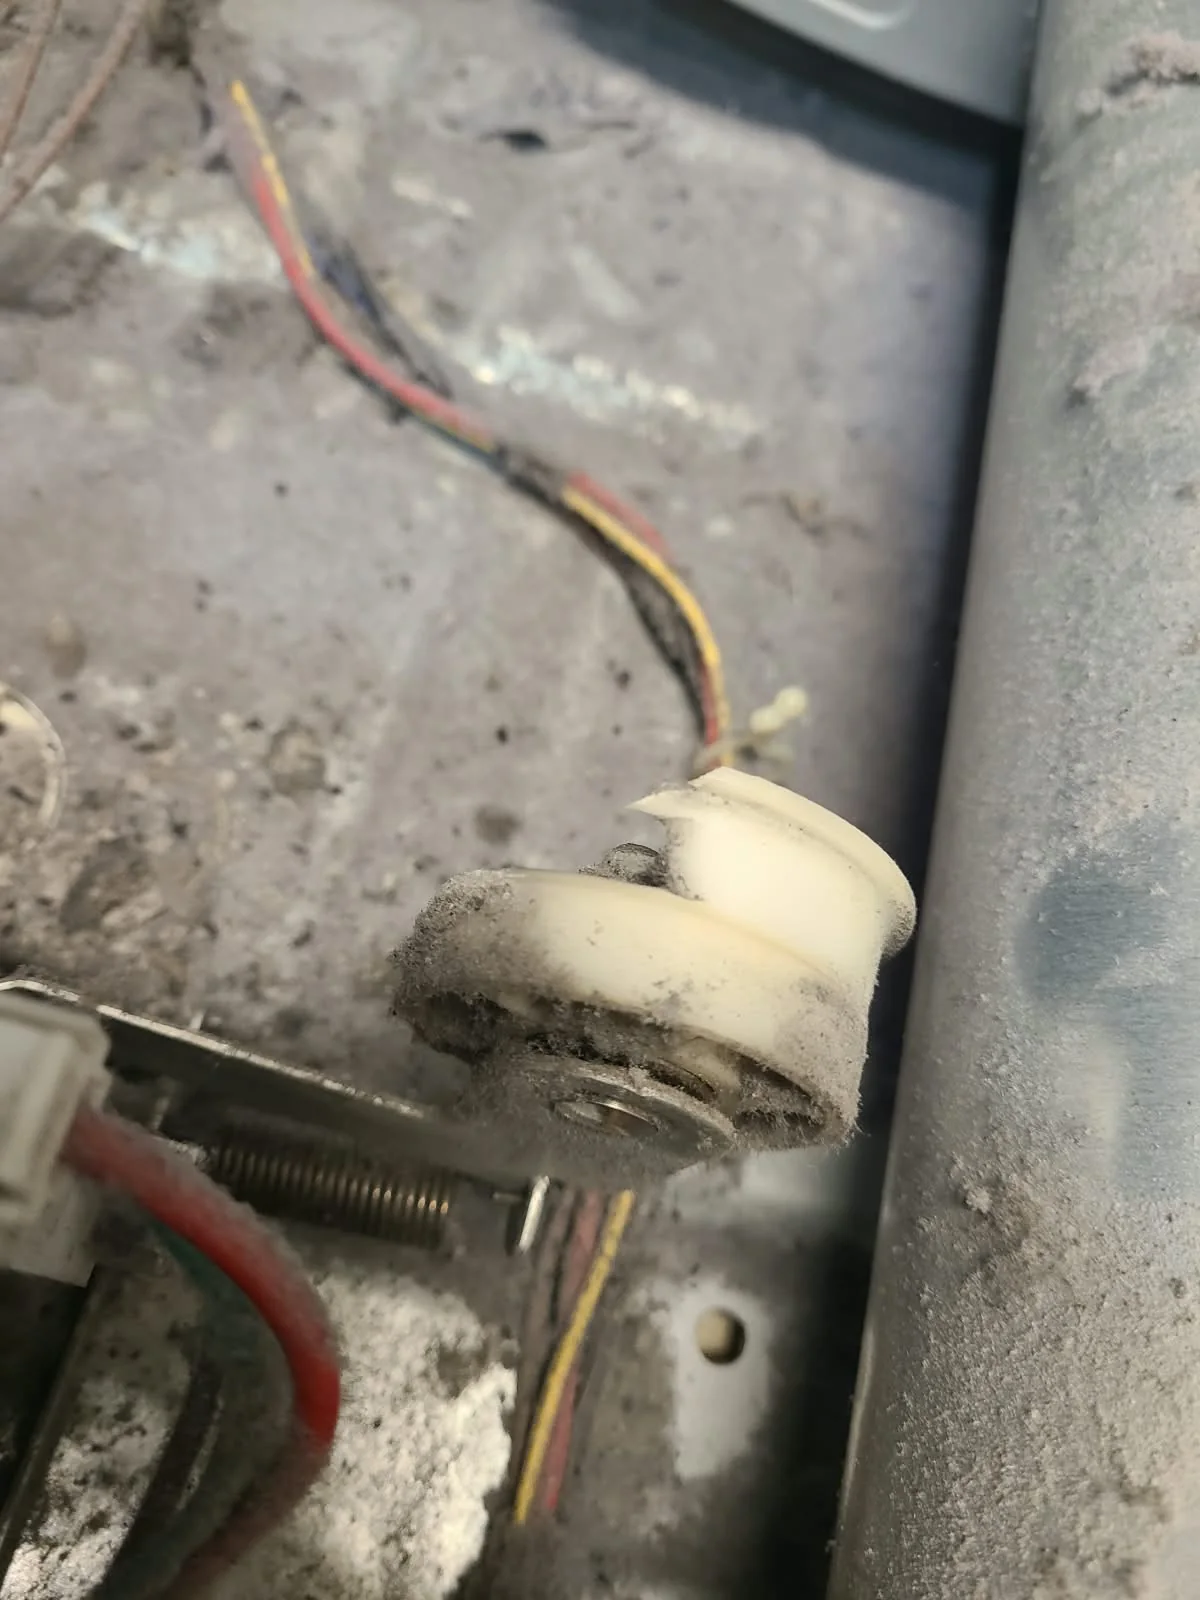
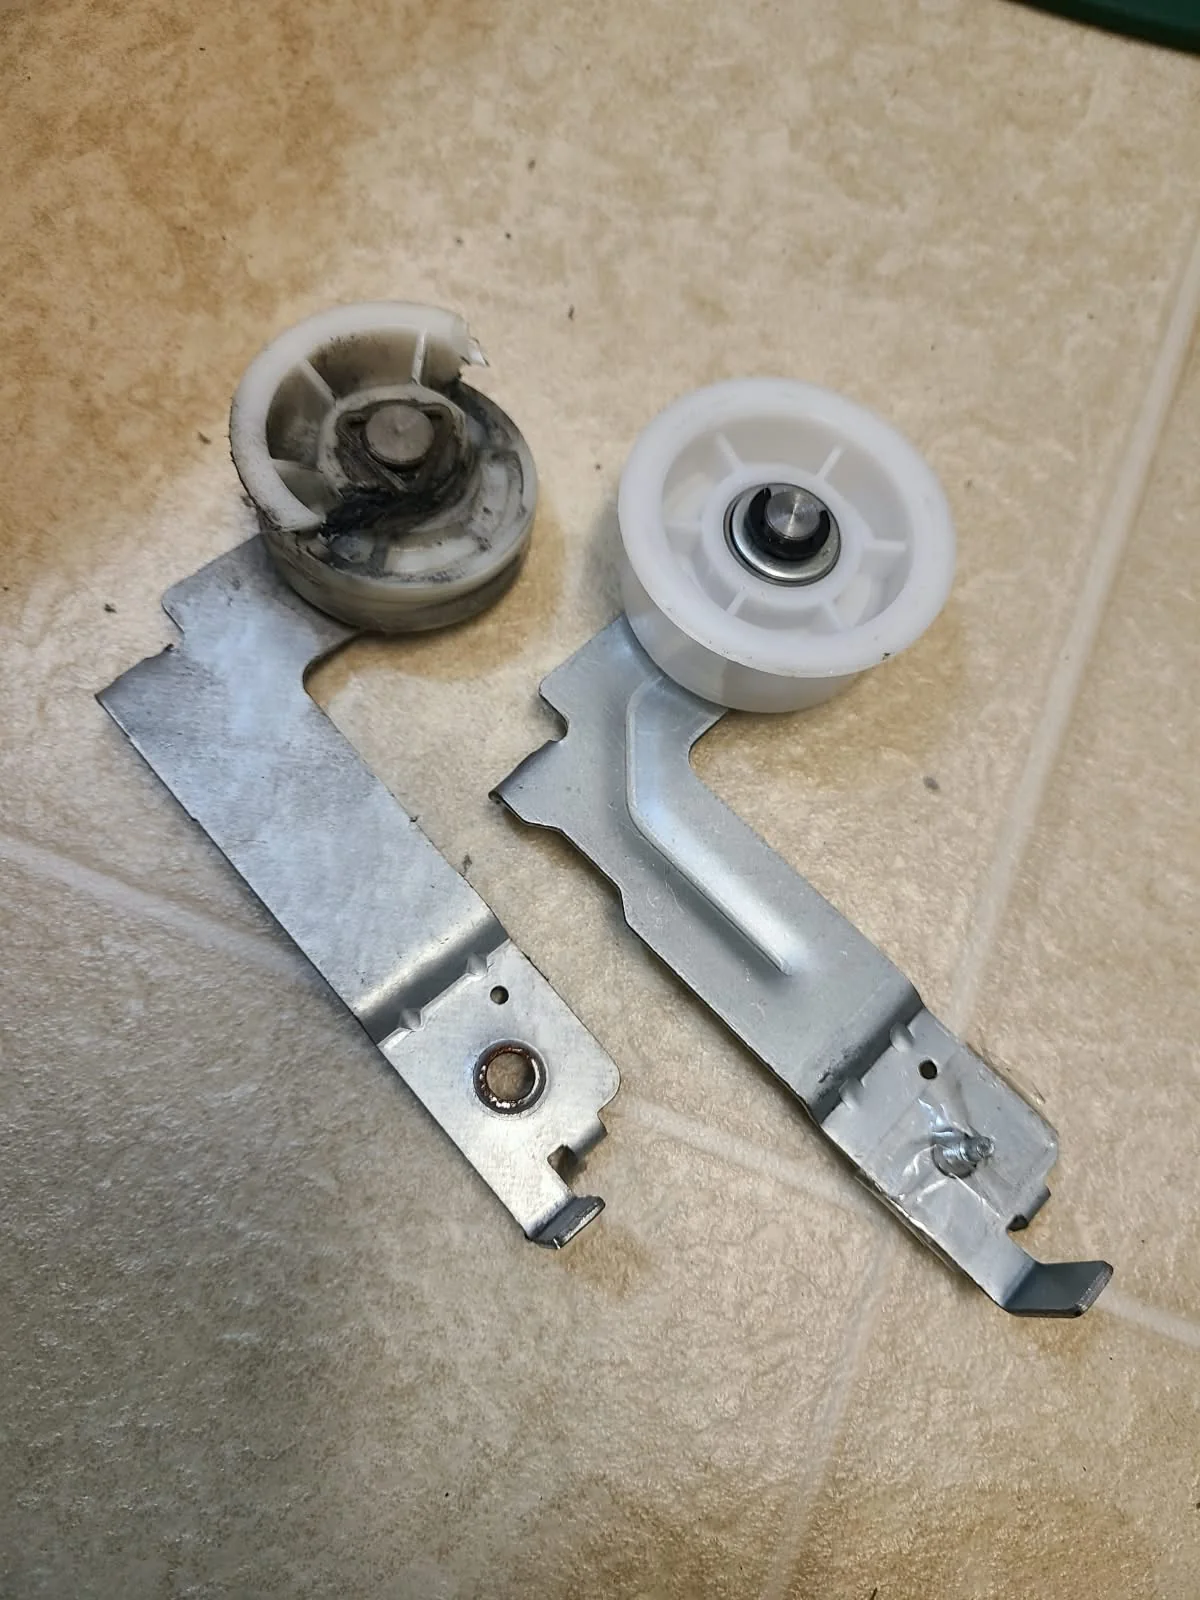
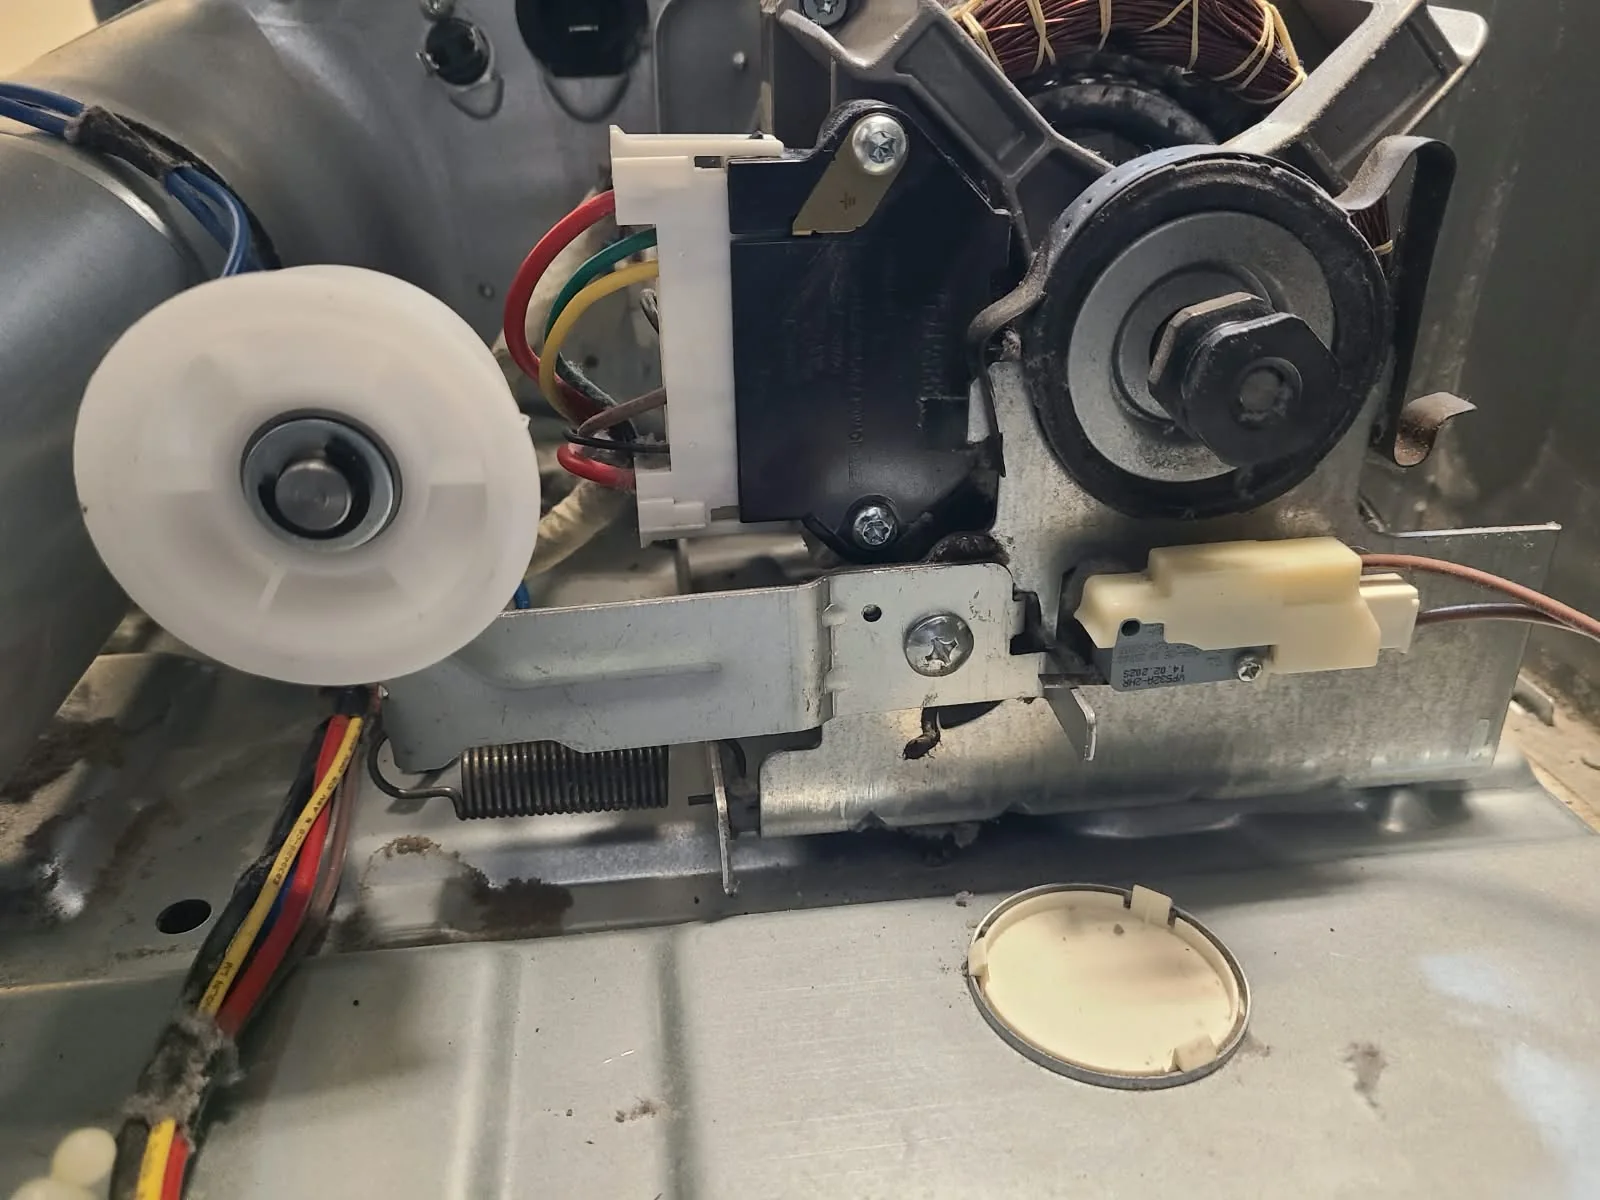
The close-up shows the damaged white idler pulley in place. The removed assembly and replacement are shown side by side below, making the broken edge of the old pulley easy to compare with the intact replacement.
The idler pulley was replaced as part of resolving this no-start service call. The photographs do not establish a separate motor, control-board or safety-switch failure, and this account does not attribute unverified electrical faults to the machine.
Replacing the Idler Pulley Assembly
We removed the damaged assembly and installed its replacement beside the motor. The installed-part photograph records an intermediate stage, before the drive belt and drum were fully reassembled. It is not a photograph of the dryer running with its cabinet open.
Replacing All Four Drum Support Rollers
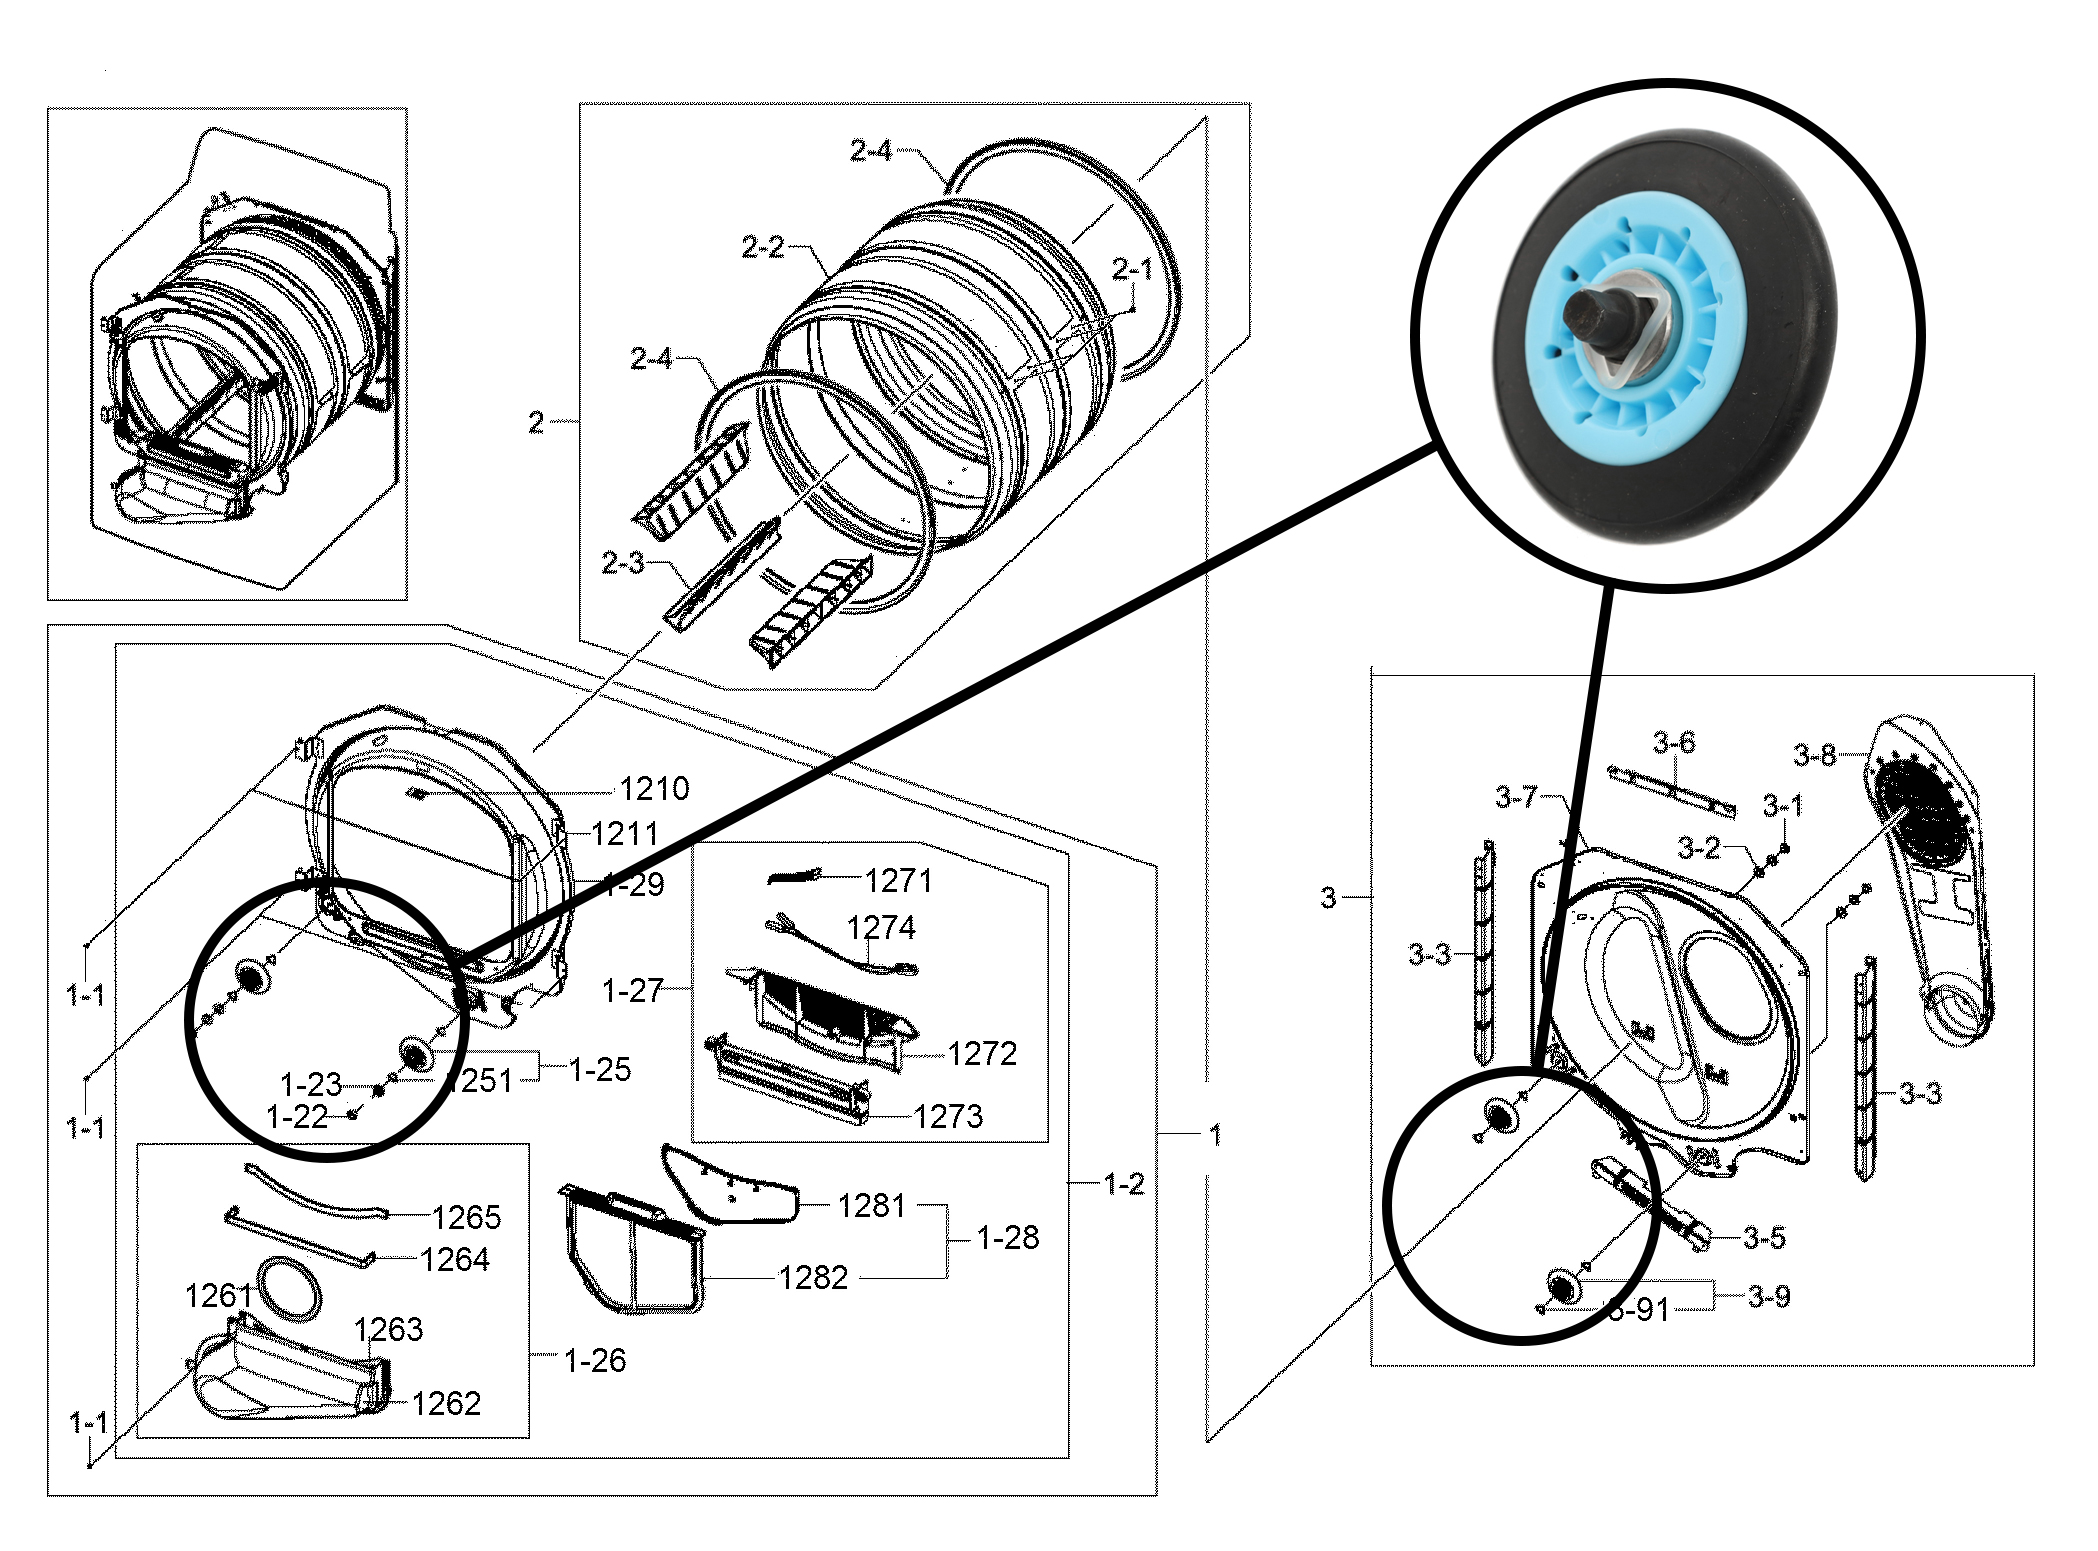
The roller diagram highlights the front and rear support locations. For this repair, we replaced all four drum support rollers, not just the roller most visible in one photograph.
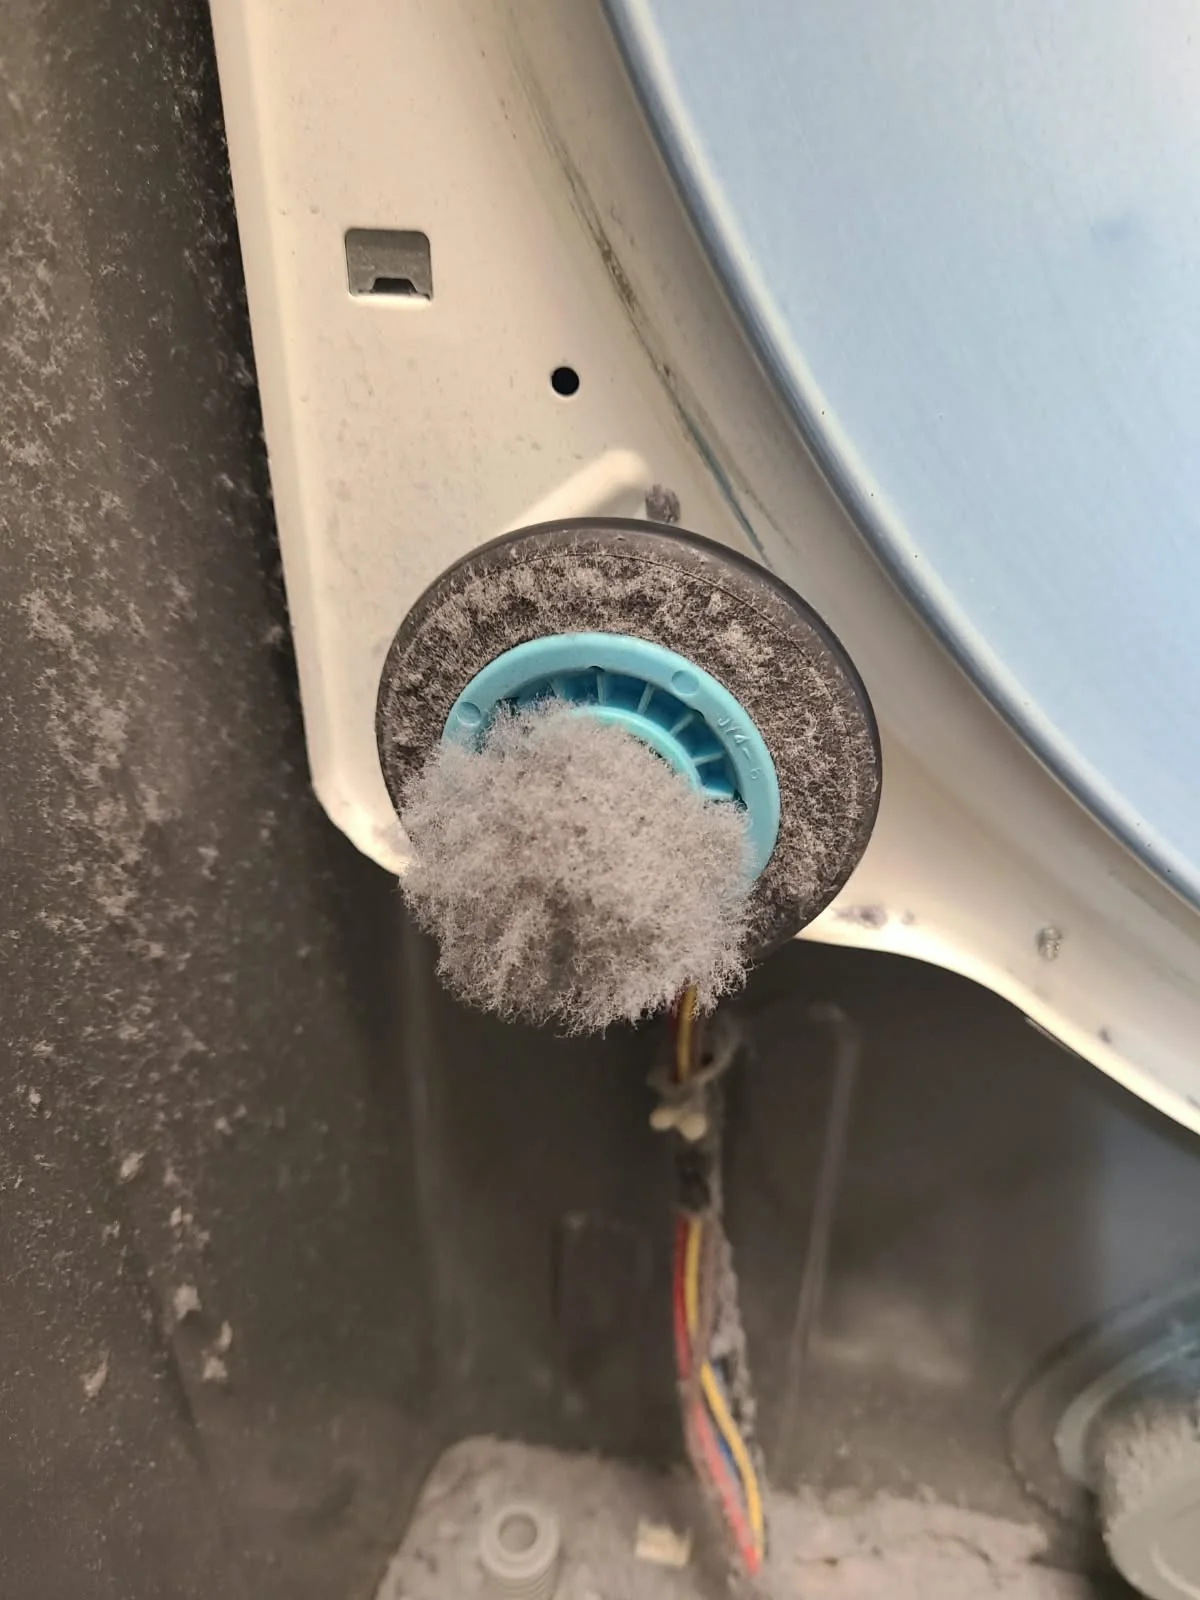
The photographs below show the lint-covered original roller, an old-and-new comparison, and a replacement roller mounted at the rear. The rollers and idler pulley are separate parts of the drum support and drive system.
Original Rollers and Replacement Parts
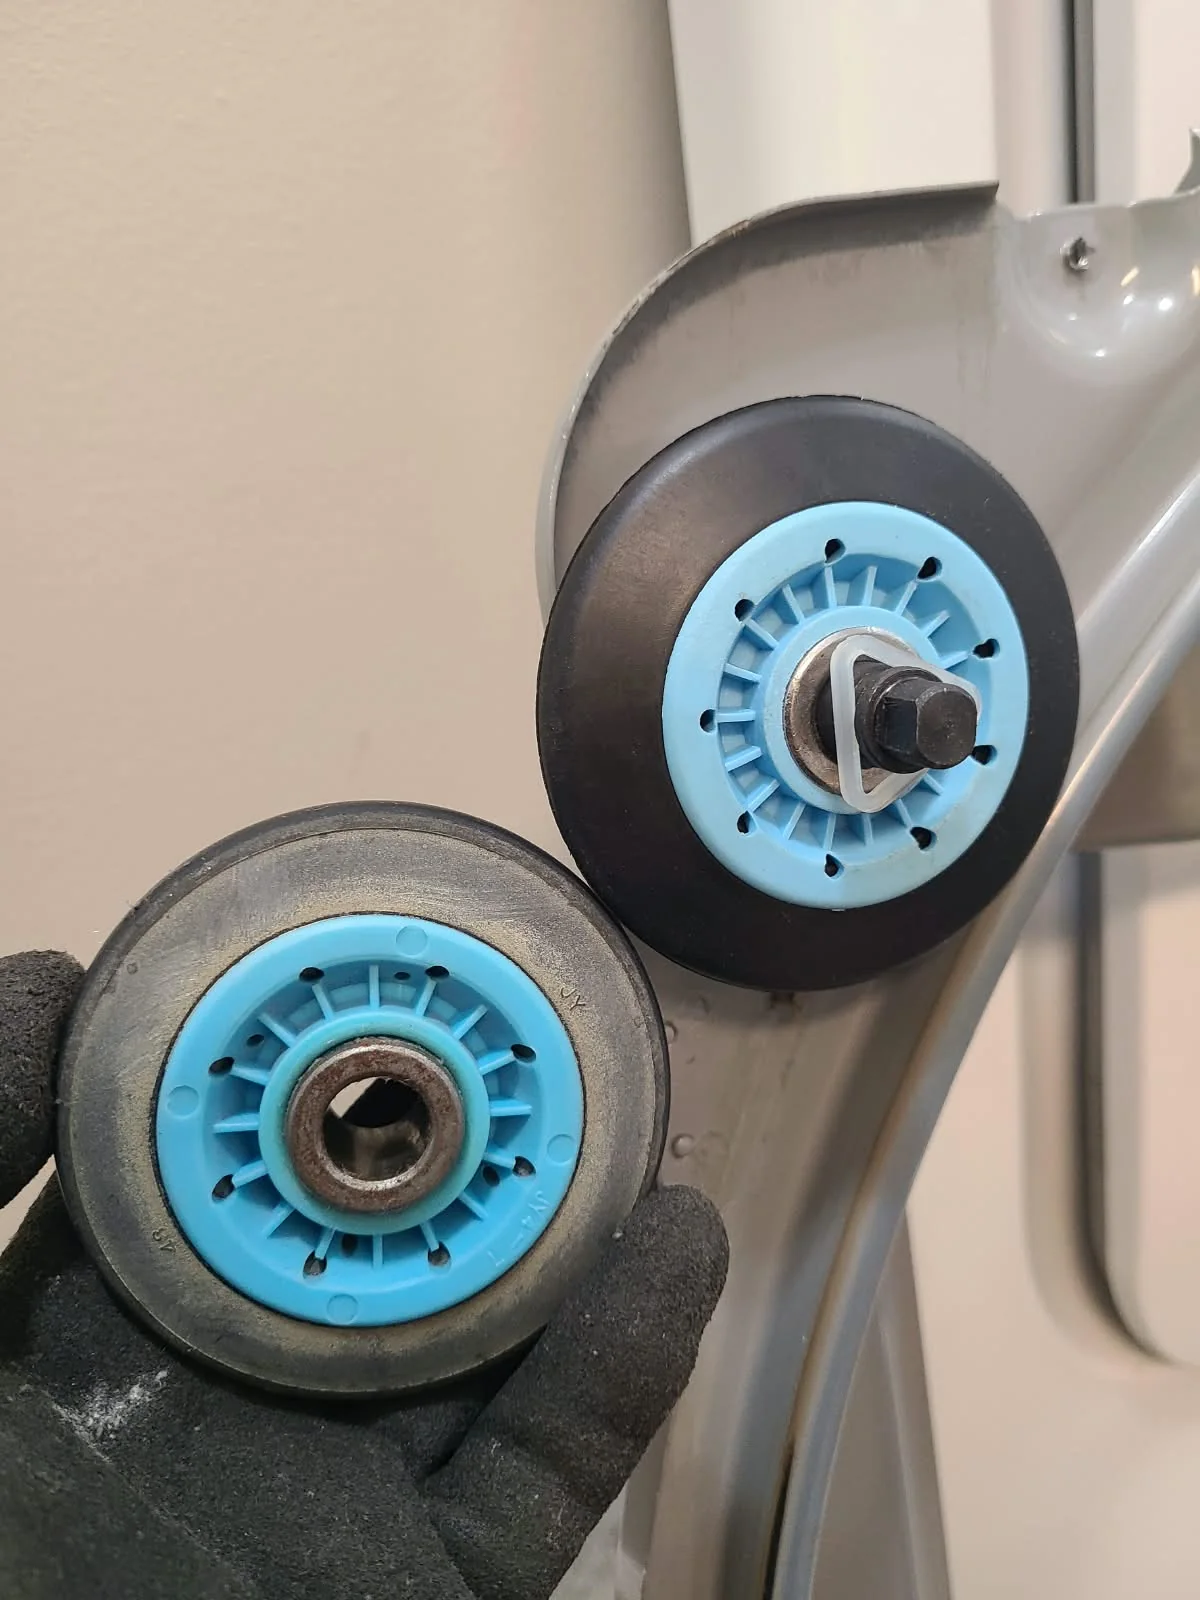
The old roller is shown beside a newly installed roller so the service work can be inspected directly. All four rollers were included in the repair; the images illustrate selected locations rather than suggesting that every roller had an identical visible defect.
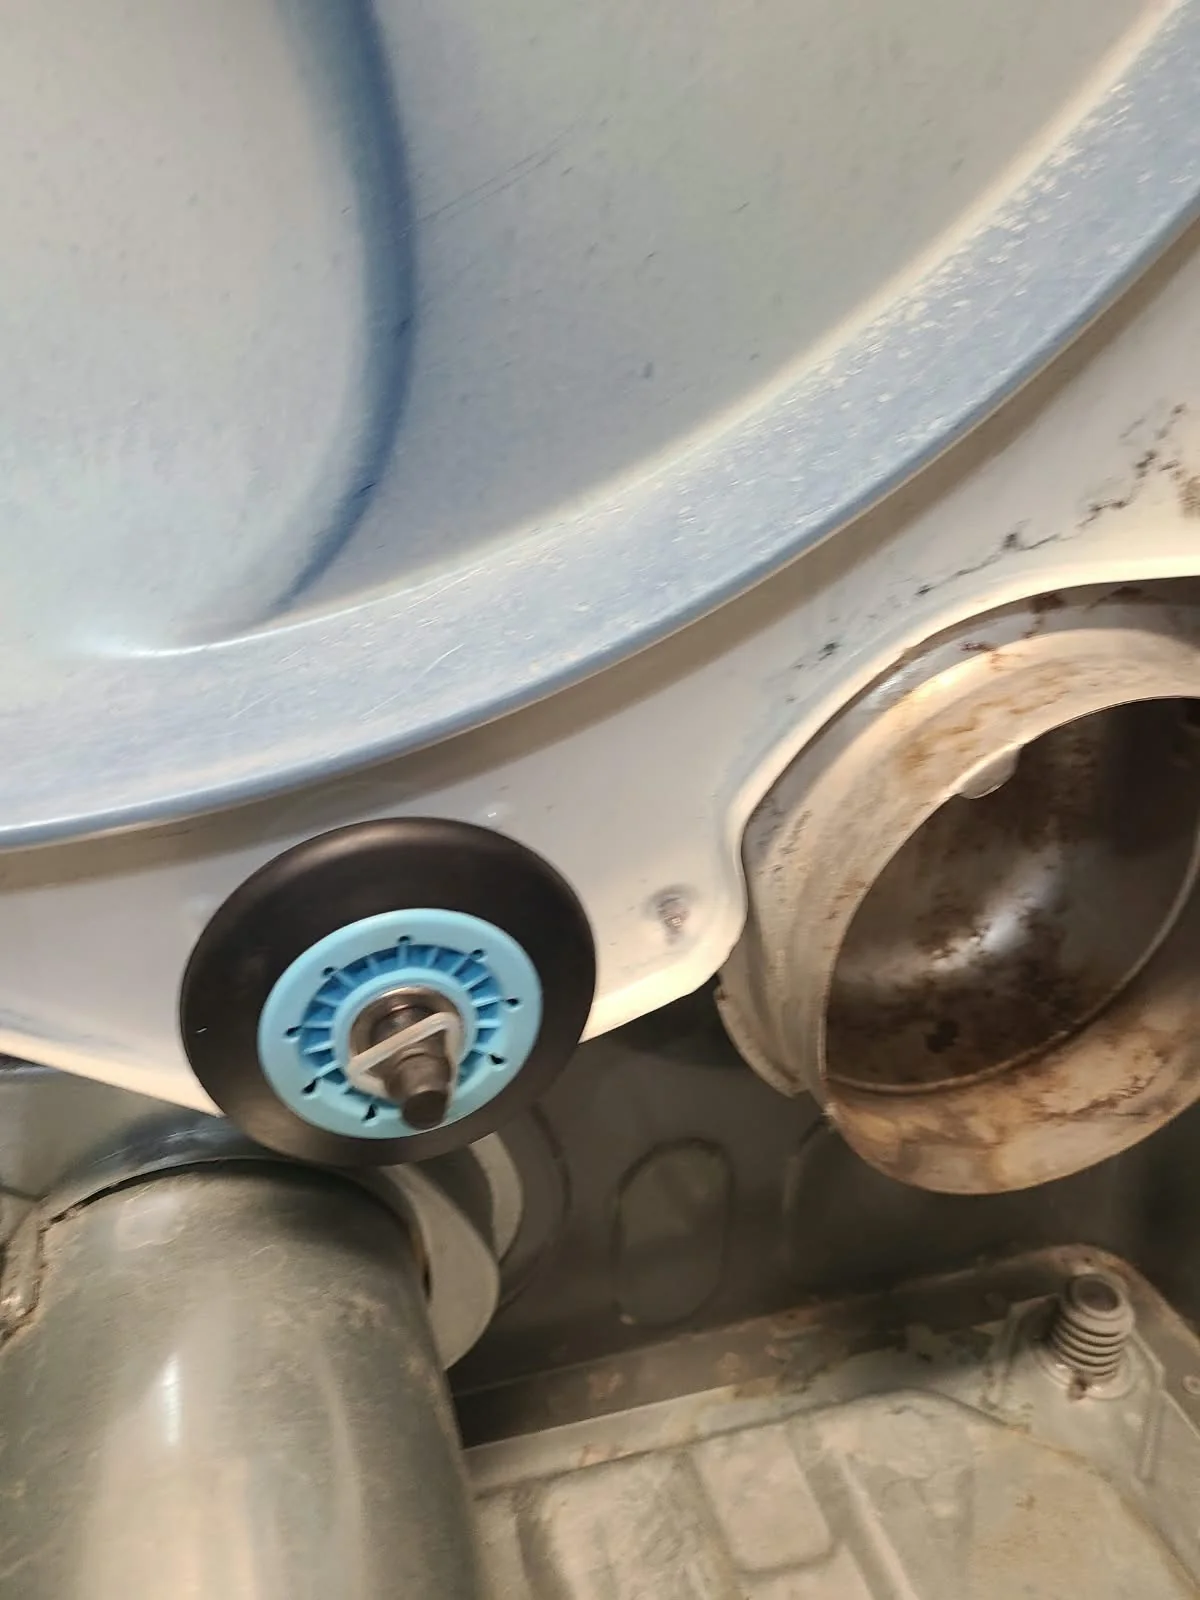
The Rear Support After Replacement
This detail shows a replacement roller secured on the rear support panel. The wider cleaned-cabinet photograph later in the article shows both rear support positions with the drum still removed.
The roller replacement formed part of the documented repair. We do not claim that each replaced component independently caused the original failure to start.
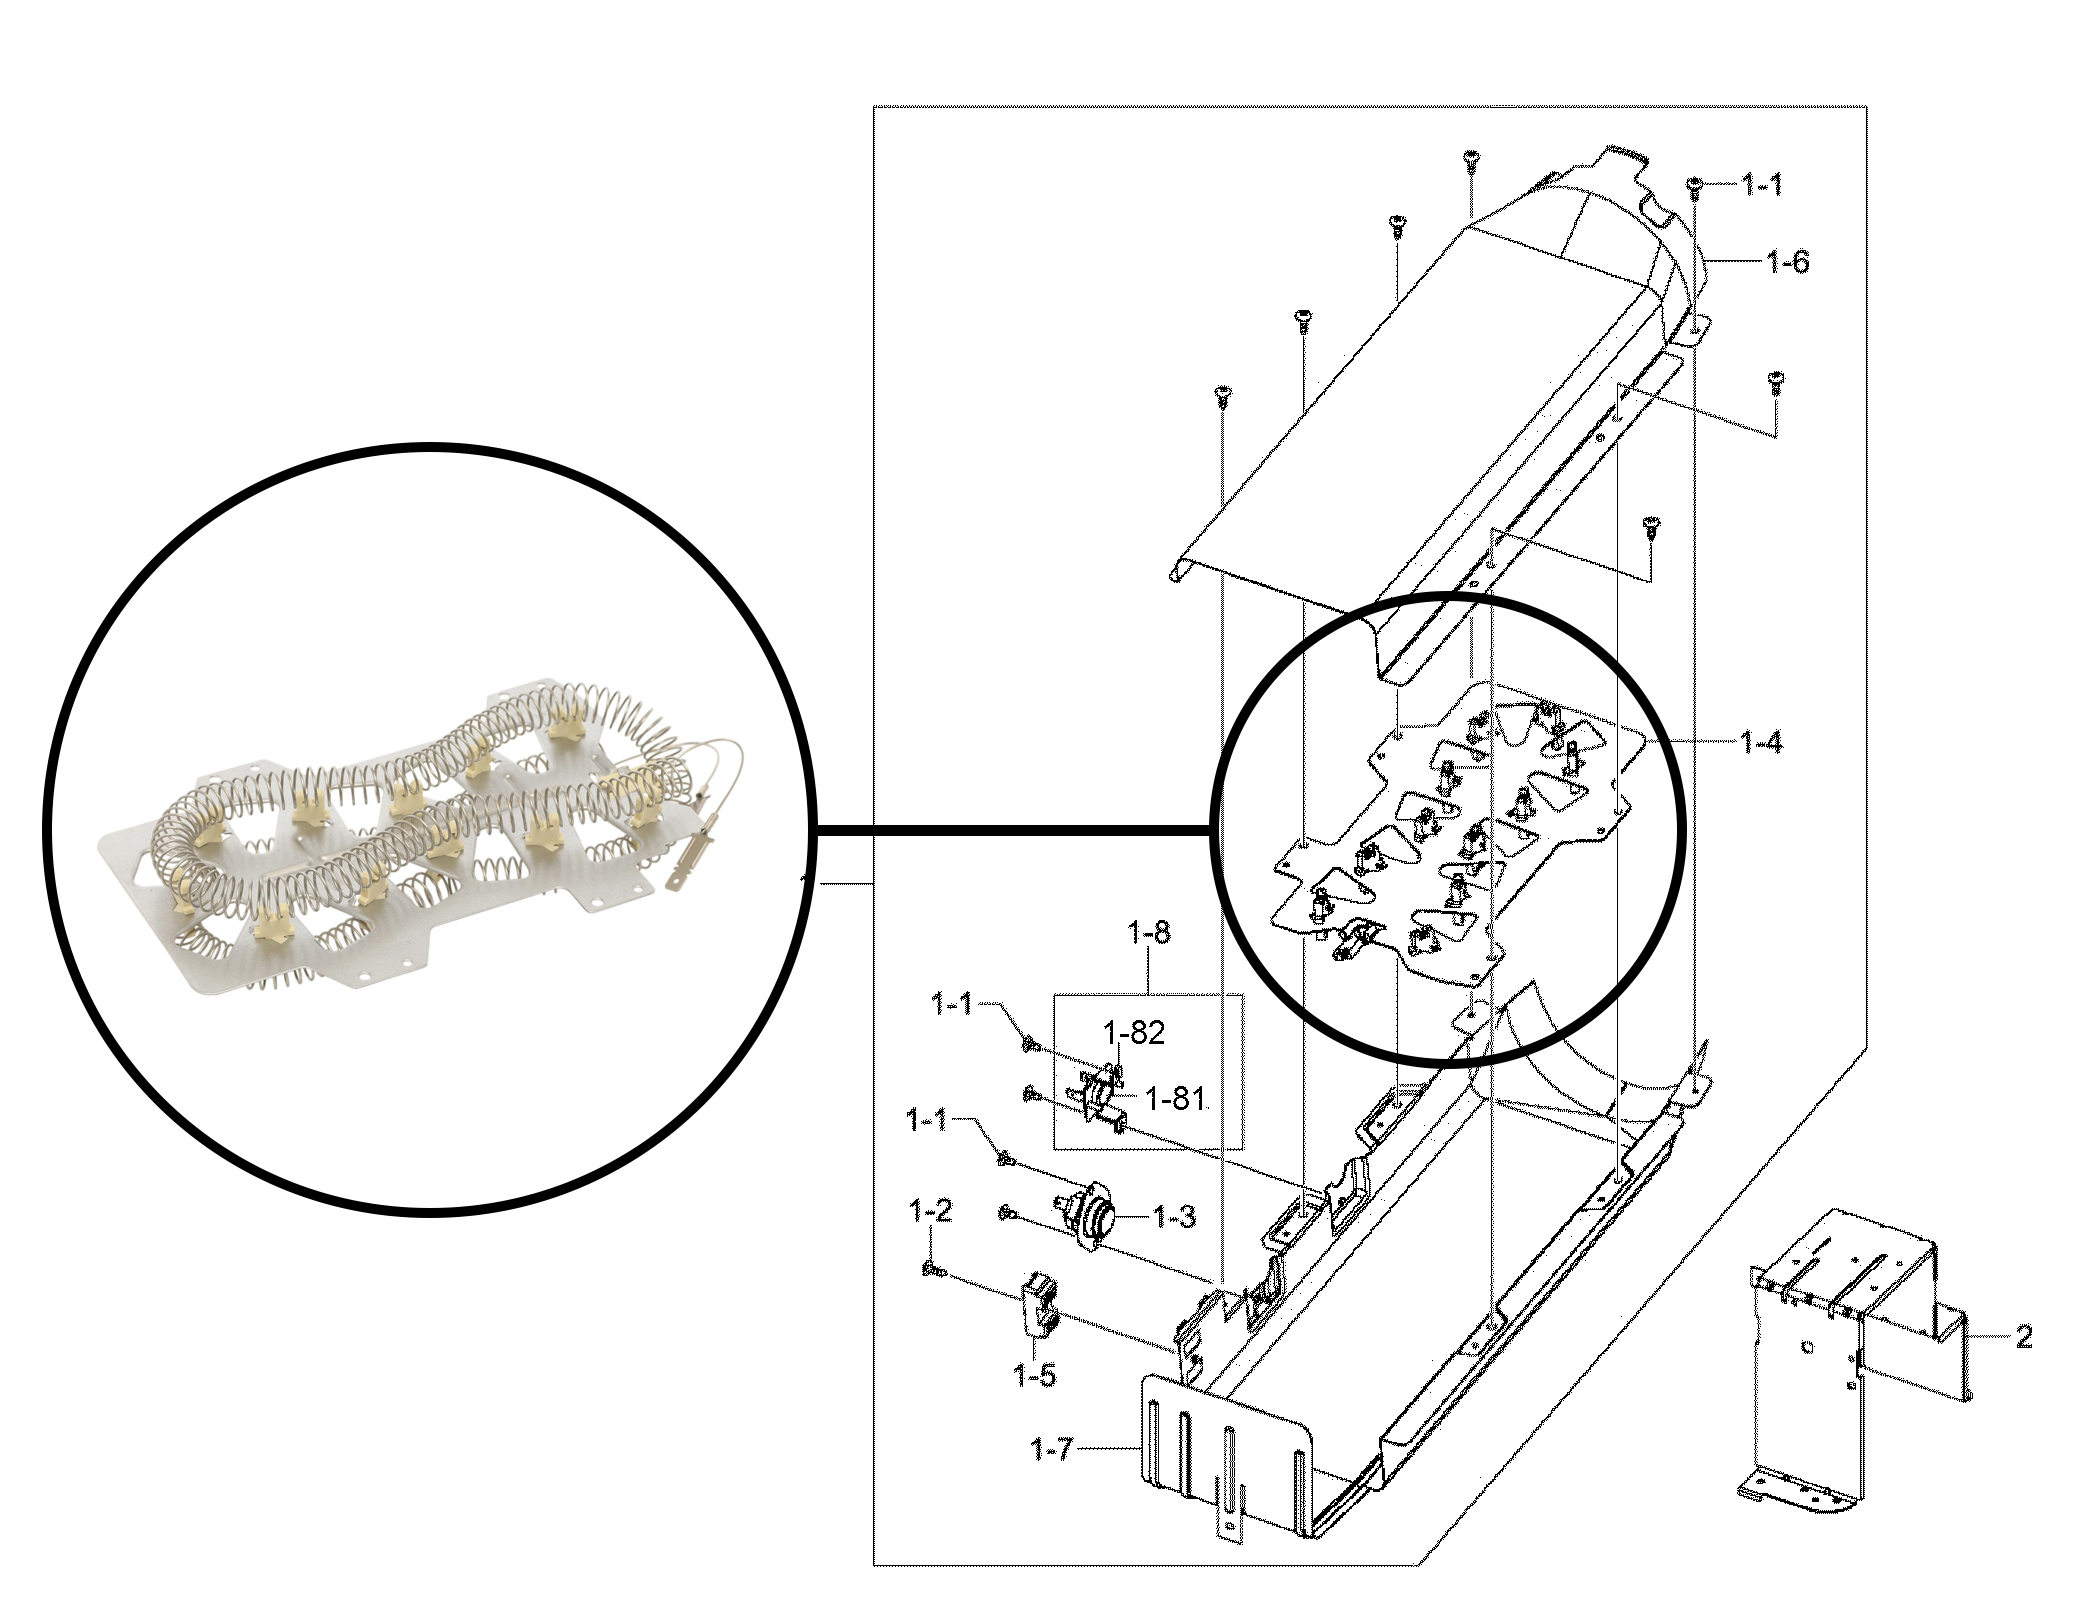
Heating Element Replacement
The heater diagram identifies the heating element inside its housing. We also replaced the heating element during this service visit.
The before photograph shows lint inside the heater housing, while the replacement photograph shows the element during installation. A heater replacement and a no-start diagnosis are distinct parts of this account: the photos alone do not prove that the old element caused the failure to start.
Inside the Heater Housing
The heater area was included in the internal cleaning and component work. The replacement element is shown in the open housing before the assembly was closed and the dryer reassembled.
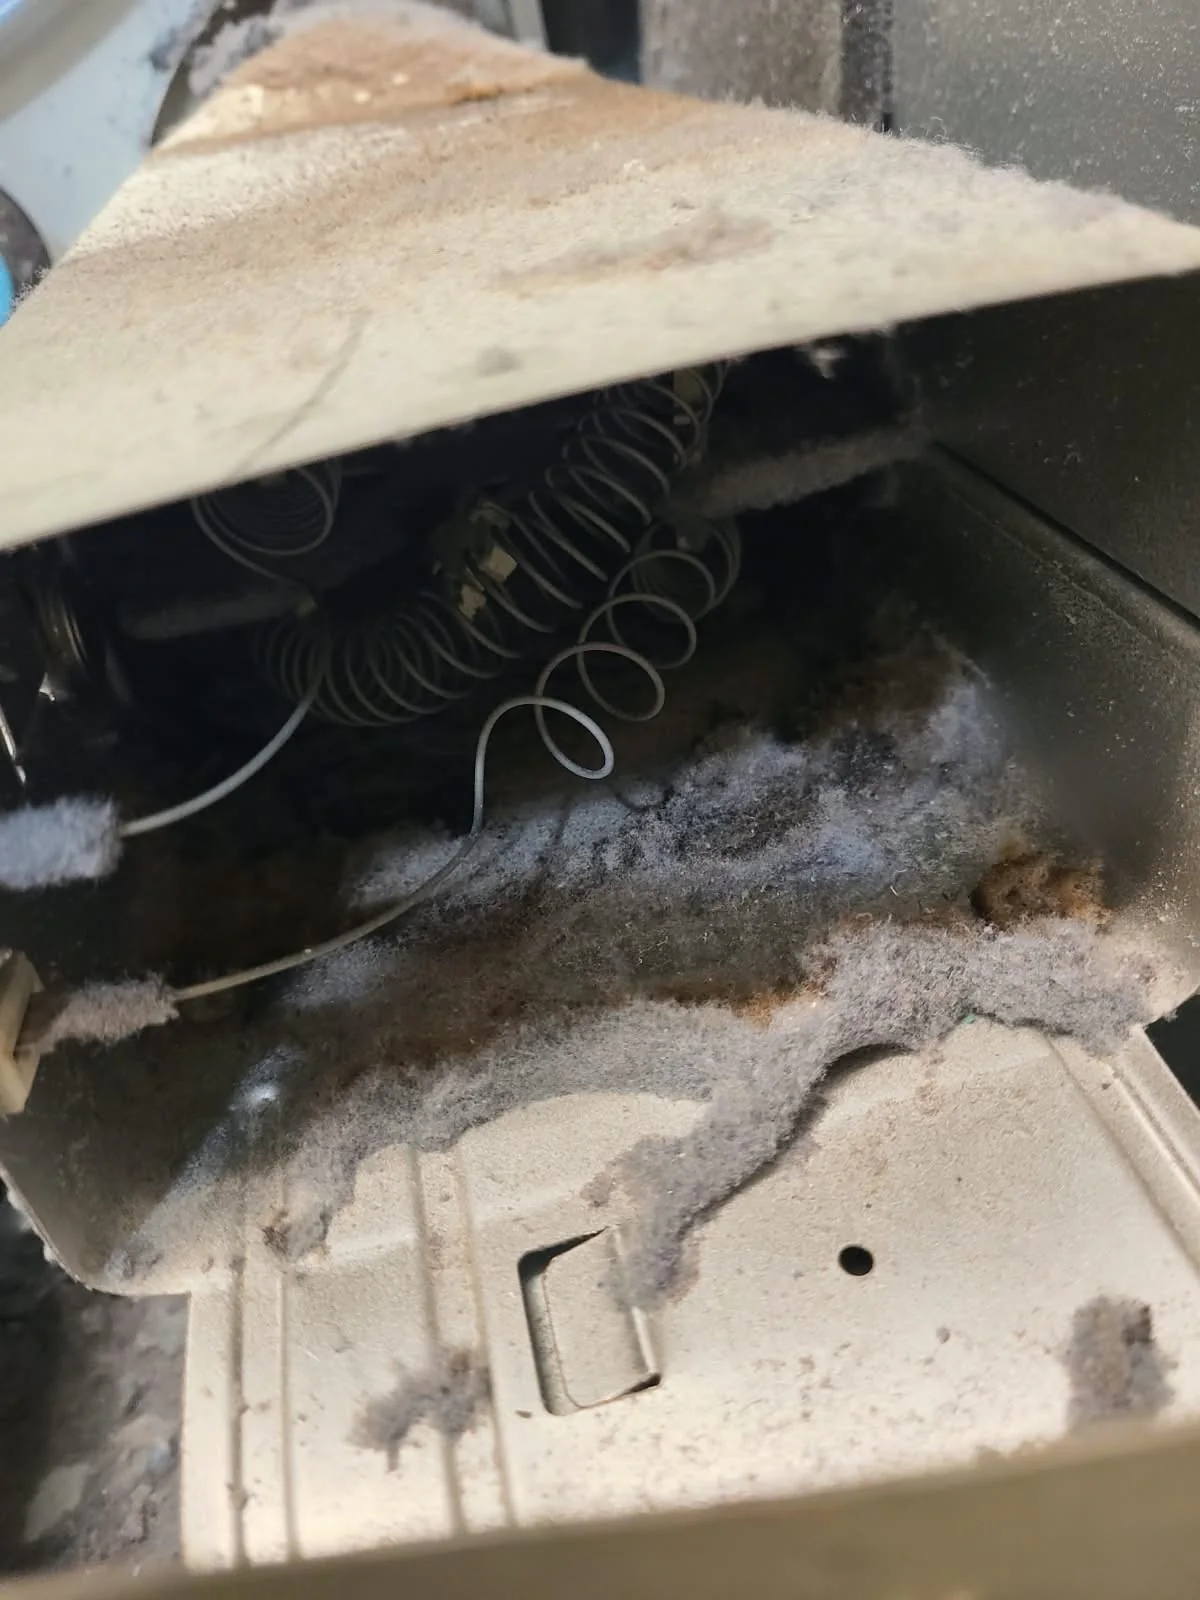
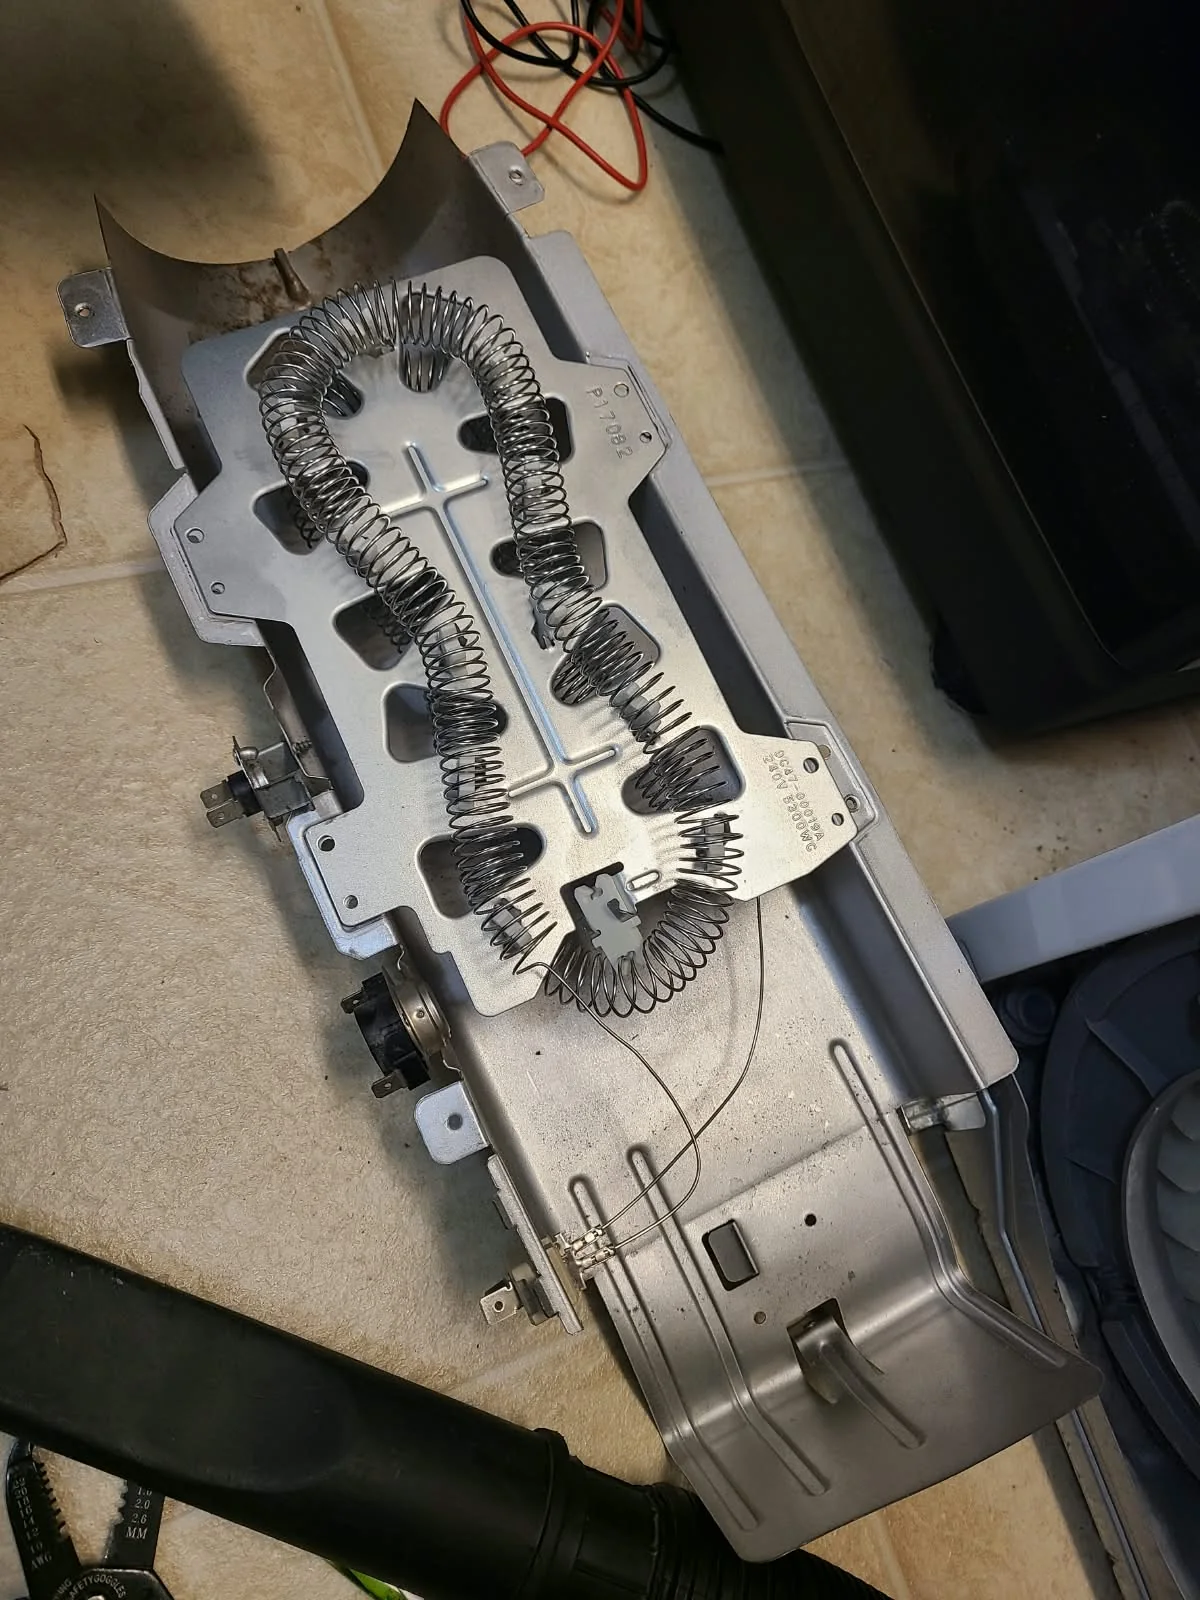
Blower Cleaning: Before and After
The first photograph shows lint attached to the blower wheel. The second shows the same area after cleaning. Removing the accumulated material was part of the thorough vacuuming and cleanup carried out while the appliance was apart.
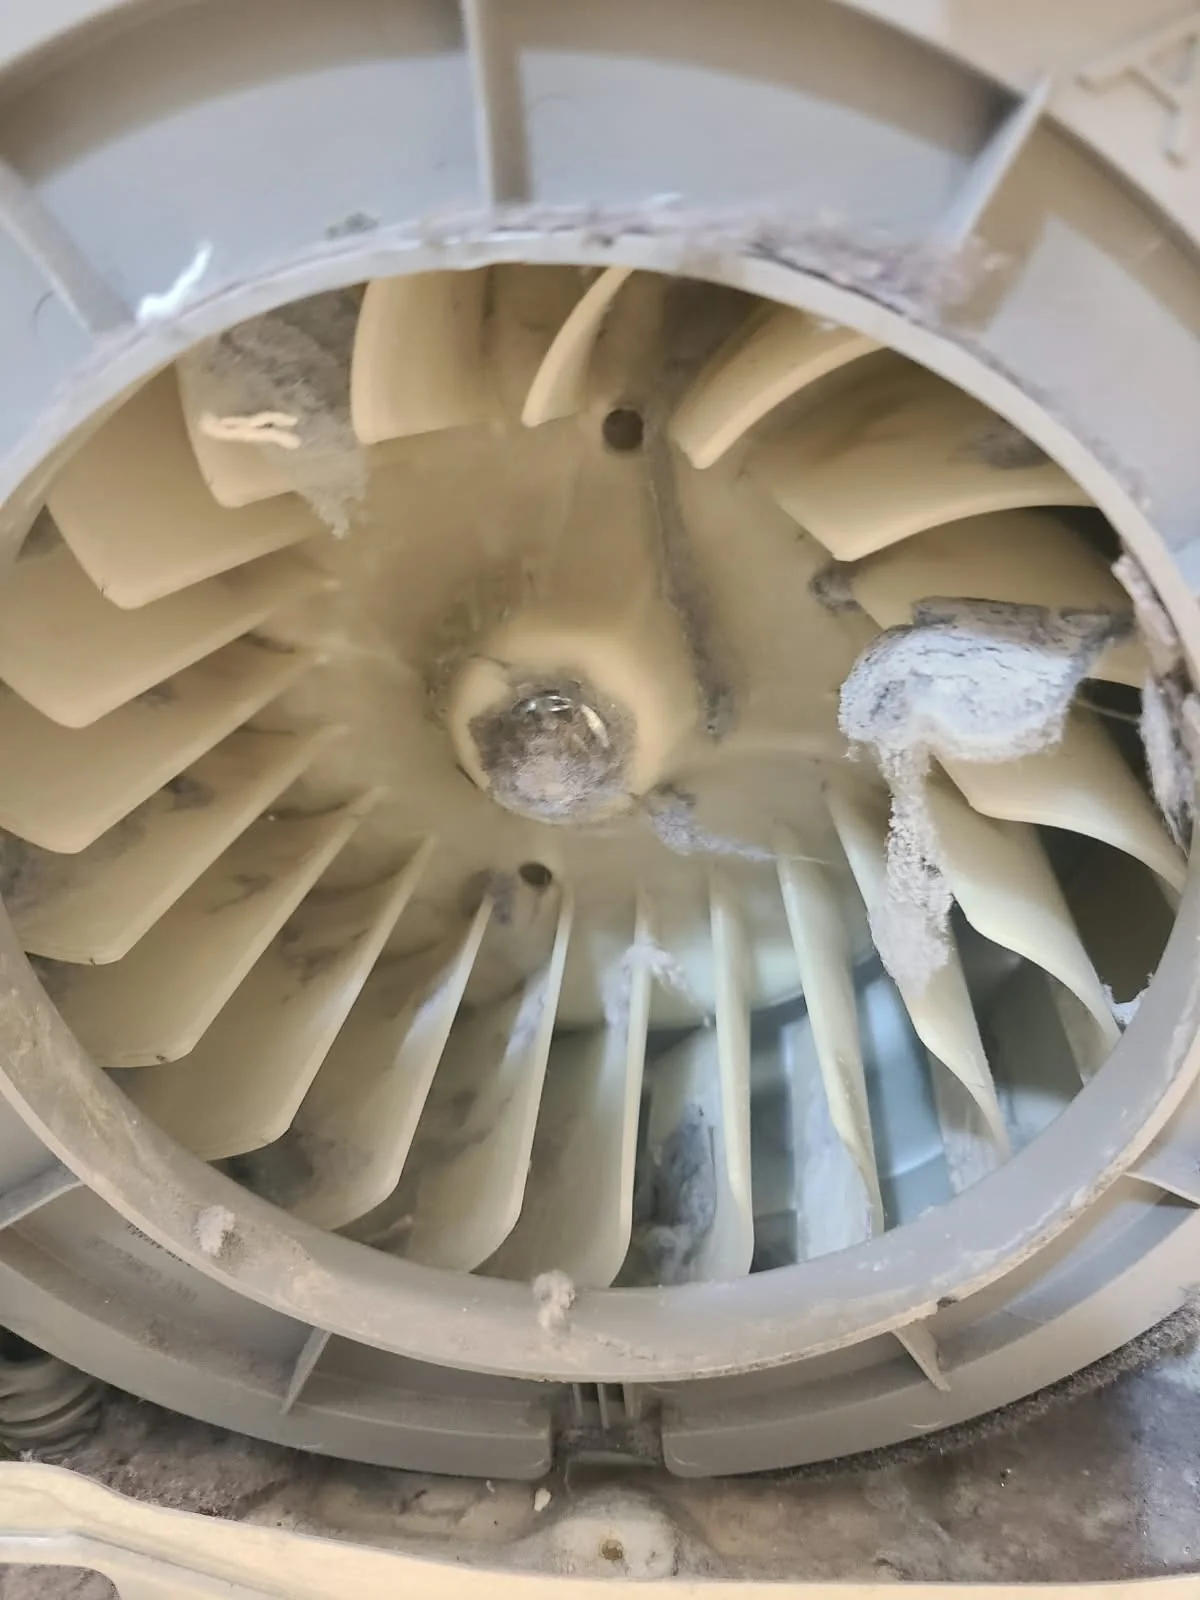
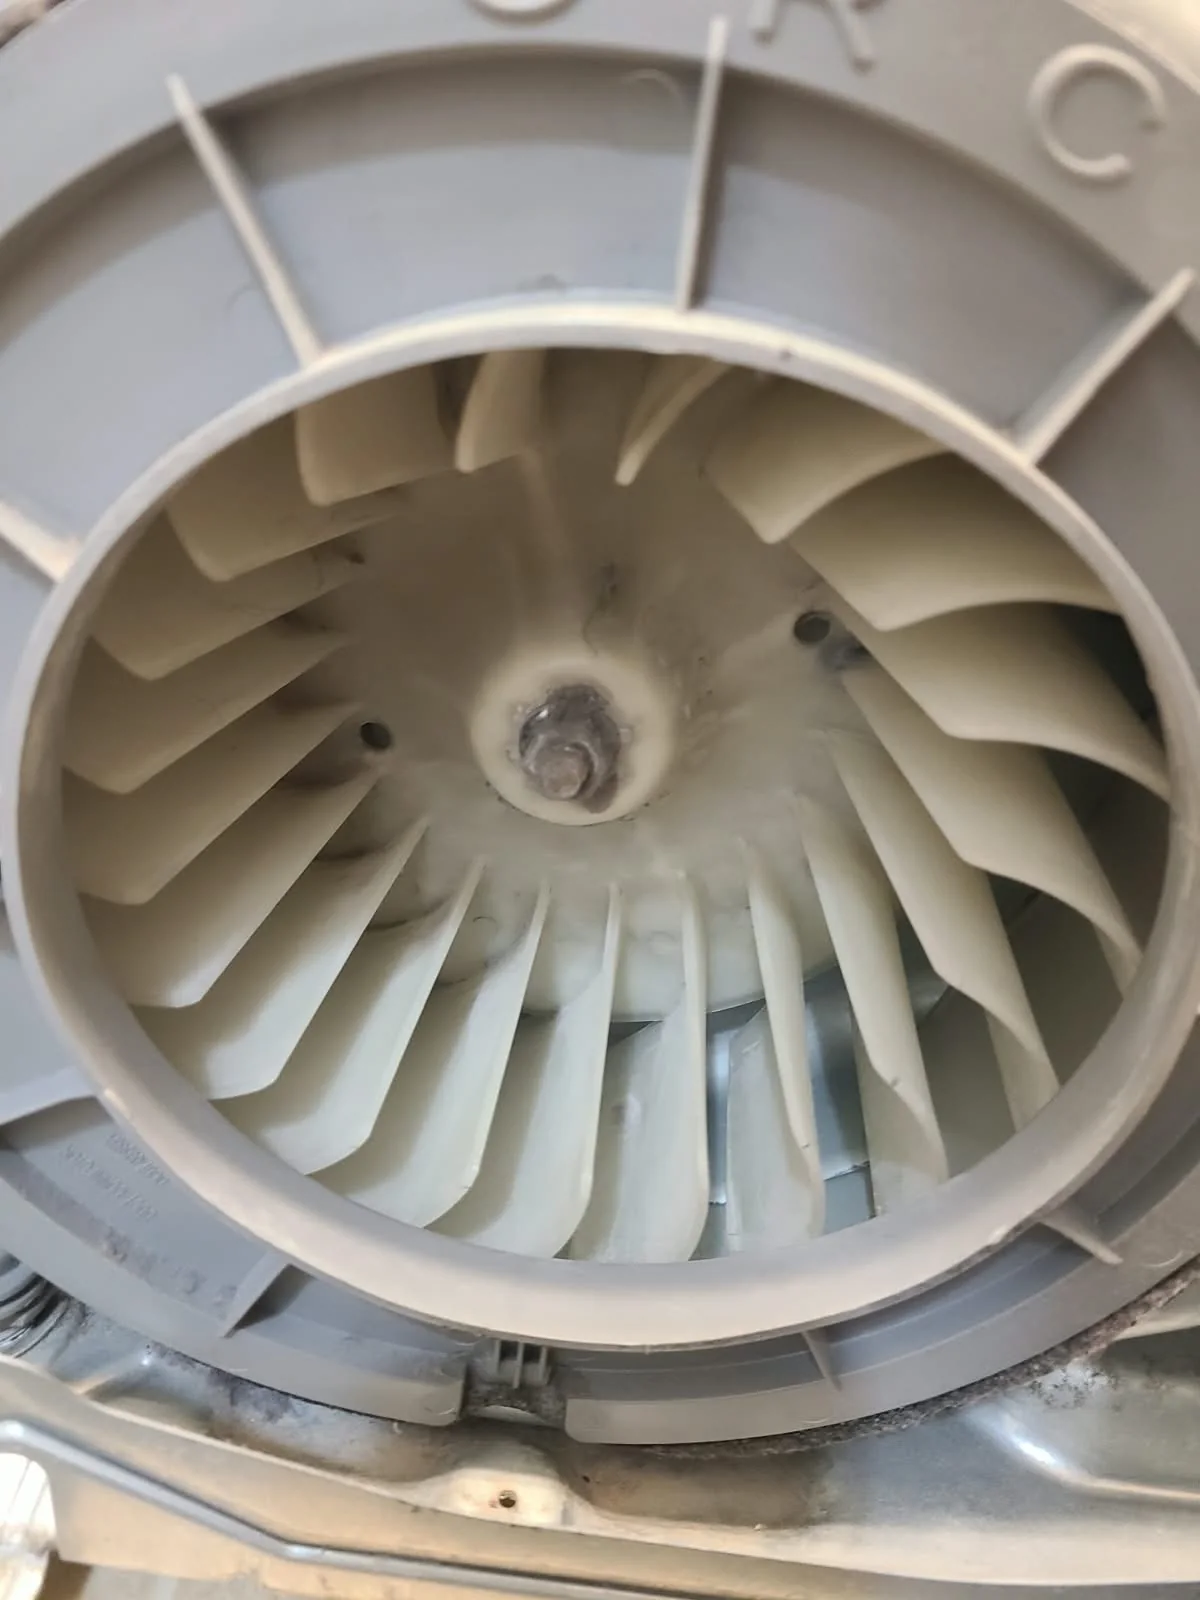
Clearing the Internal Lint Duct
The removed duct contained a substantial layer of lint. The after photograph shows the open channel following cleaning, before reinstallation. This is the internal duct inside the dryer, separate from the home's external vent run.
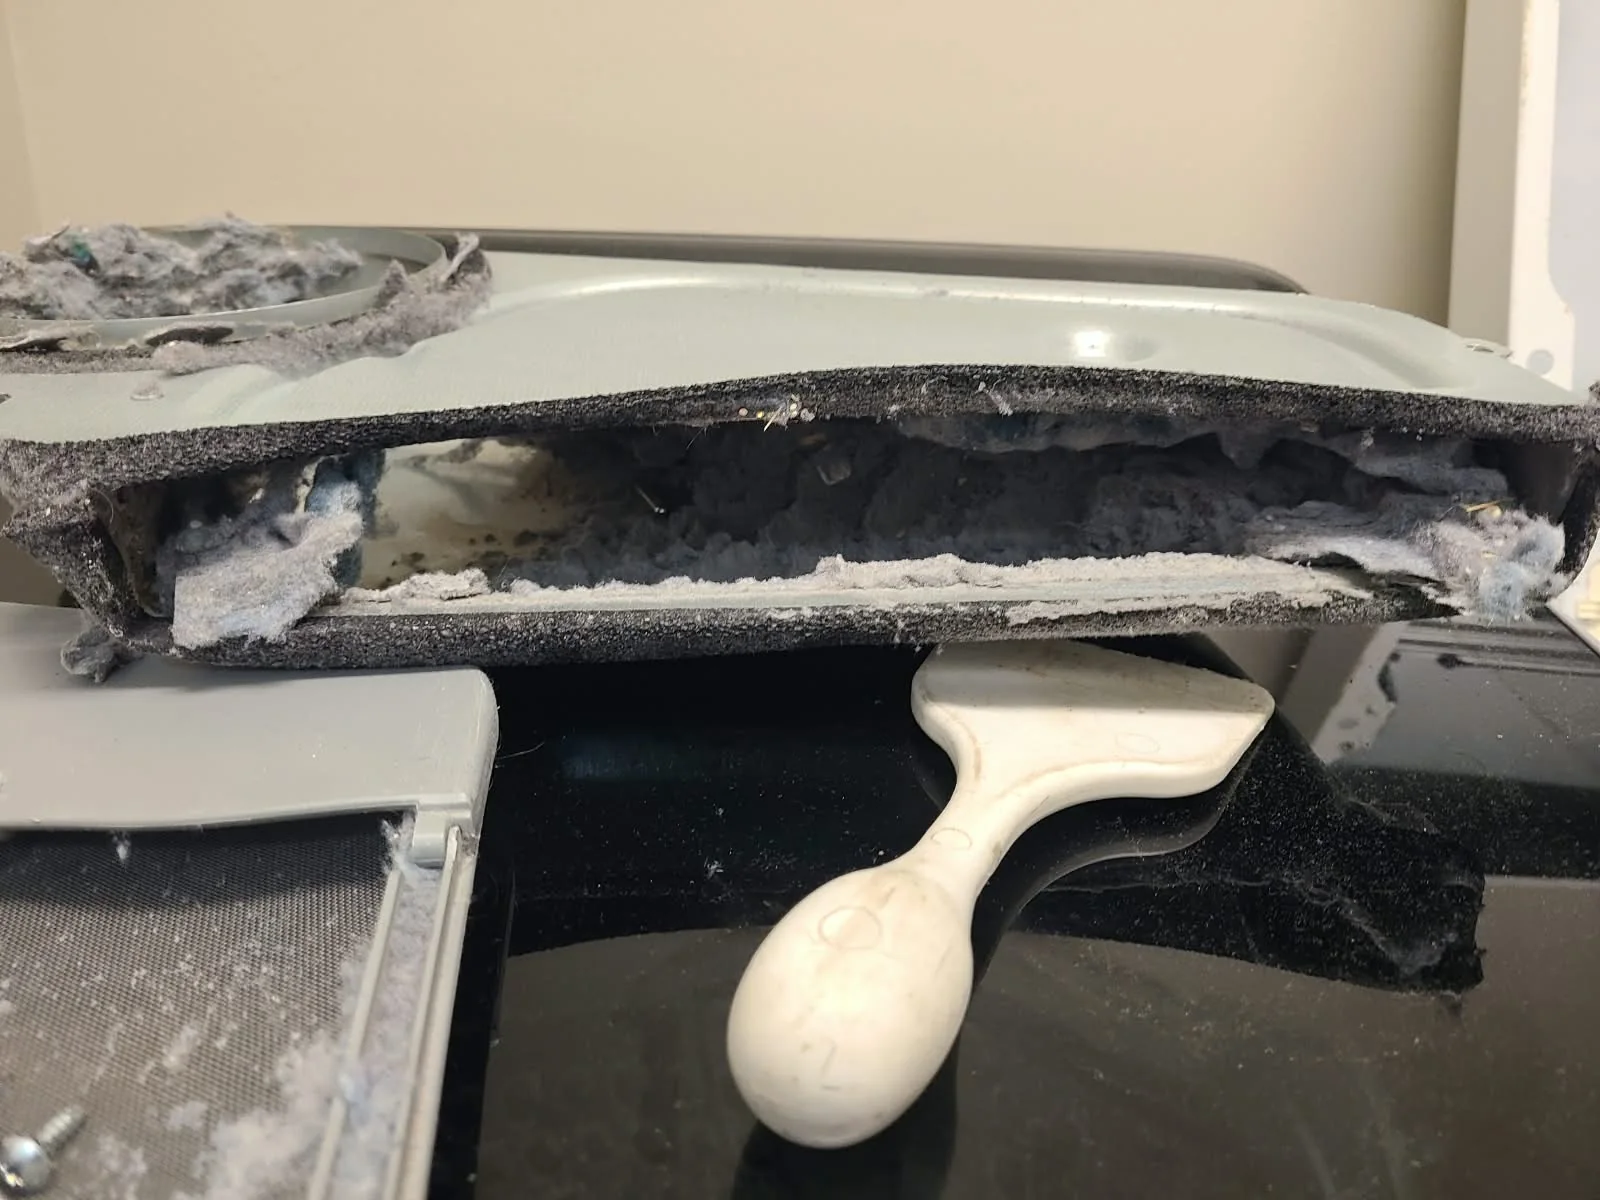
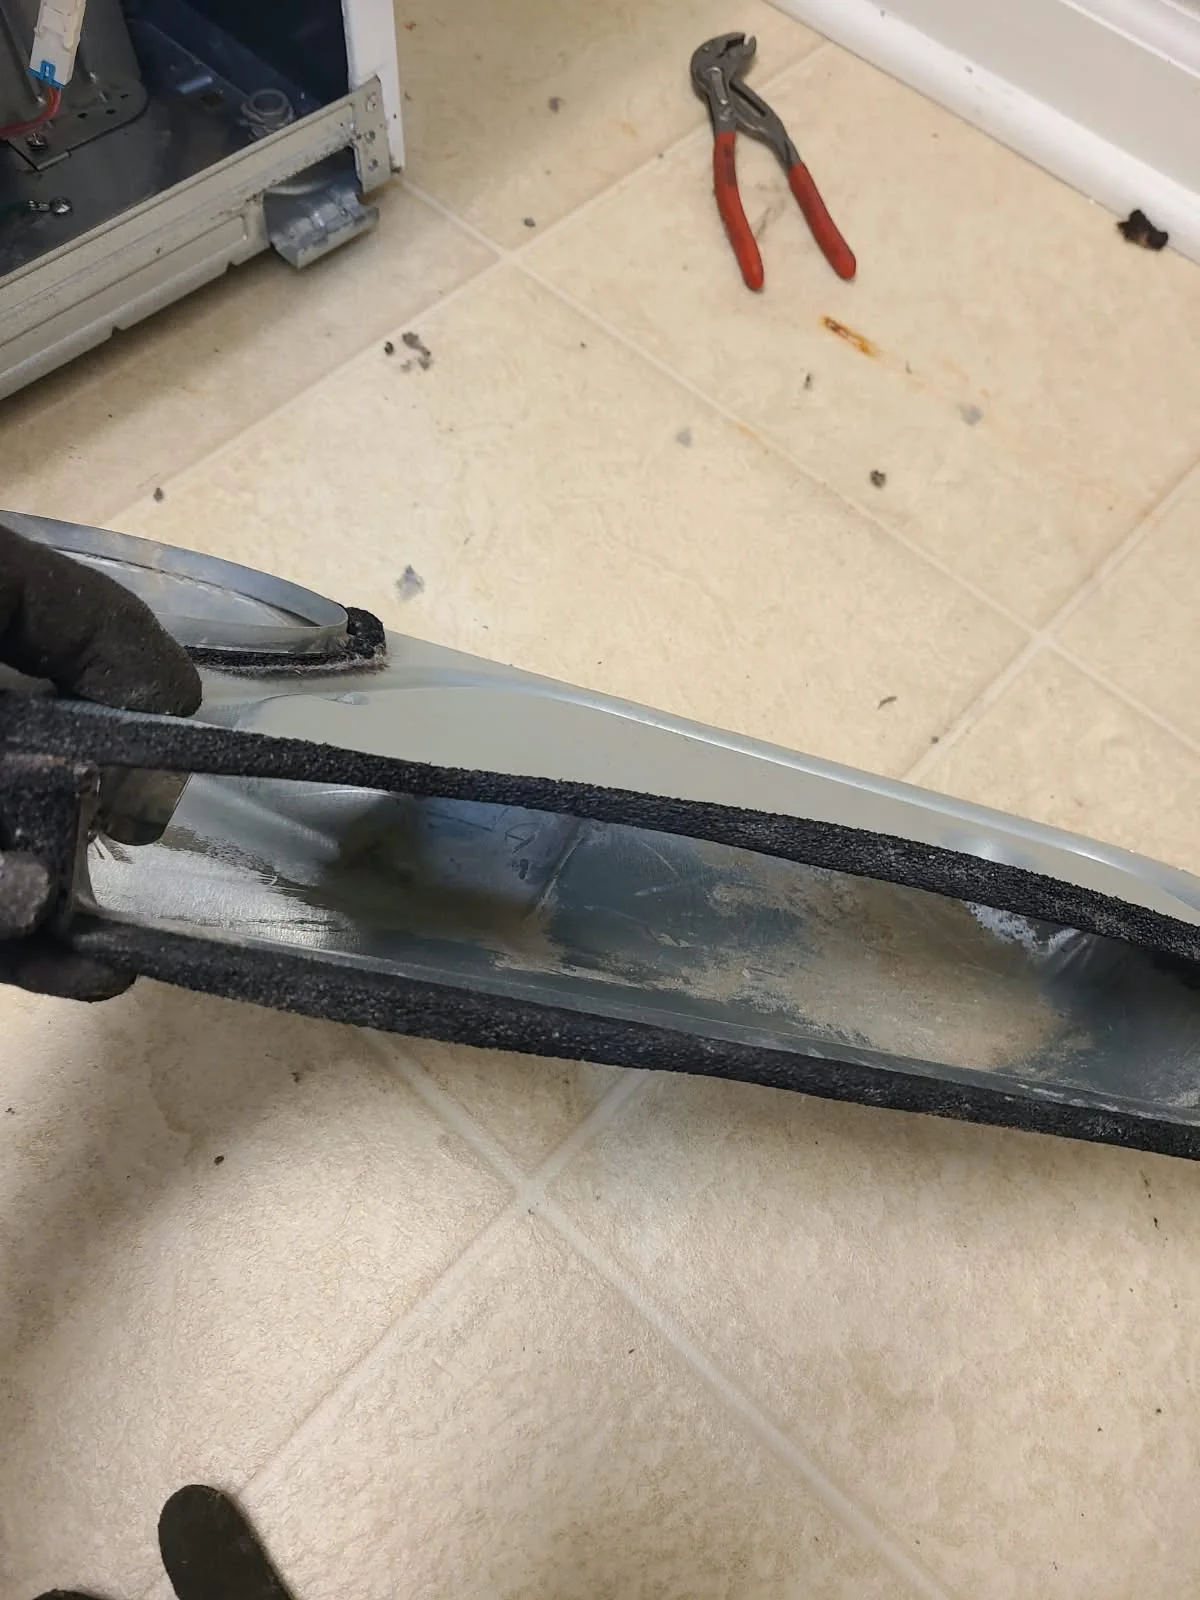
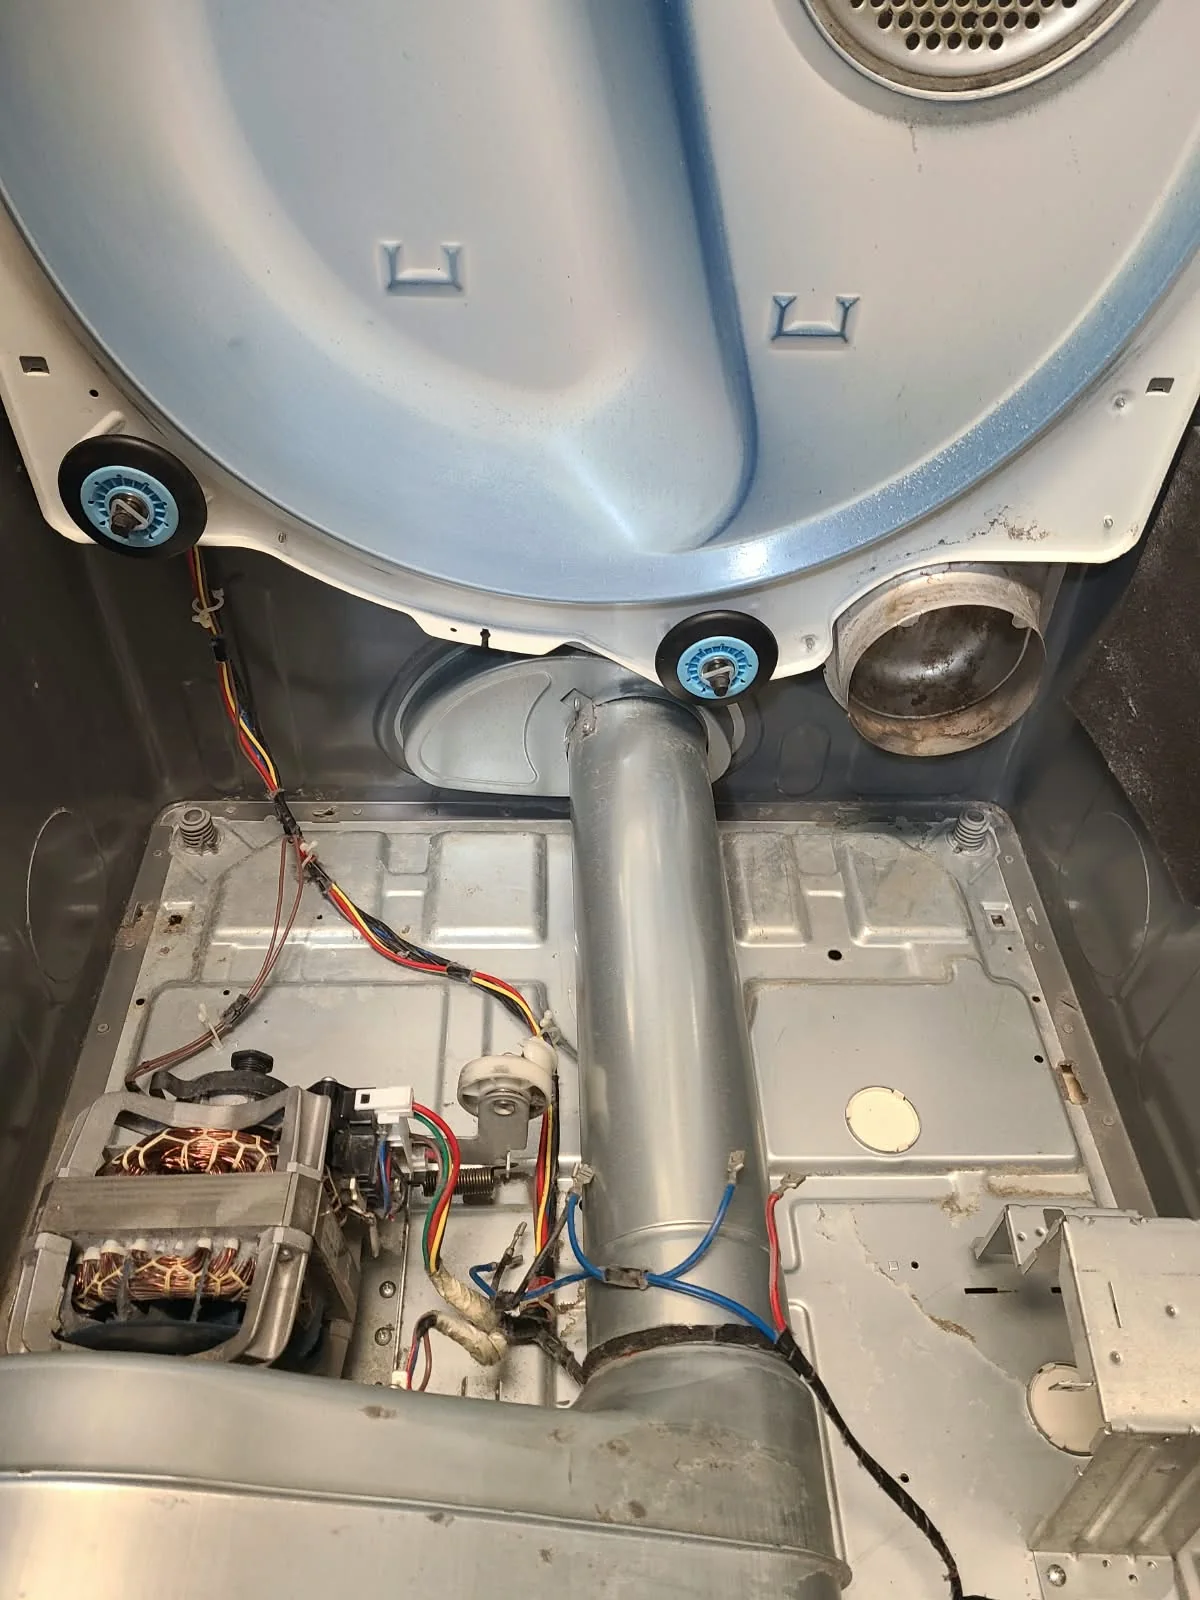
The Cabinet After Vacuuming and Cleaning
With the drum removed, we thoroughly vacuumed and cleaned the exposed interior. Compare this photograph with the earlier full-cabinet view: the accumulated lint has been removed, and the replacement rear rollers are visible.
This image was taken during the work, with the heater assembly still out of the cabinet. The remaining parts were then reinstalled as the repair progressed.
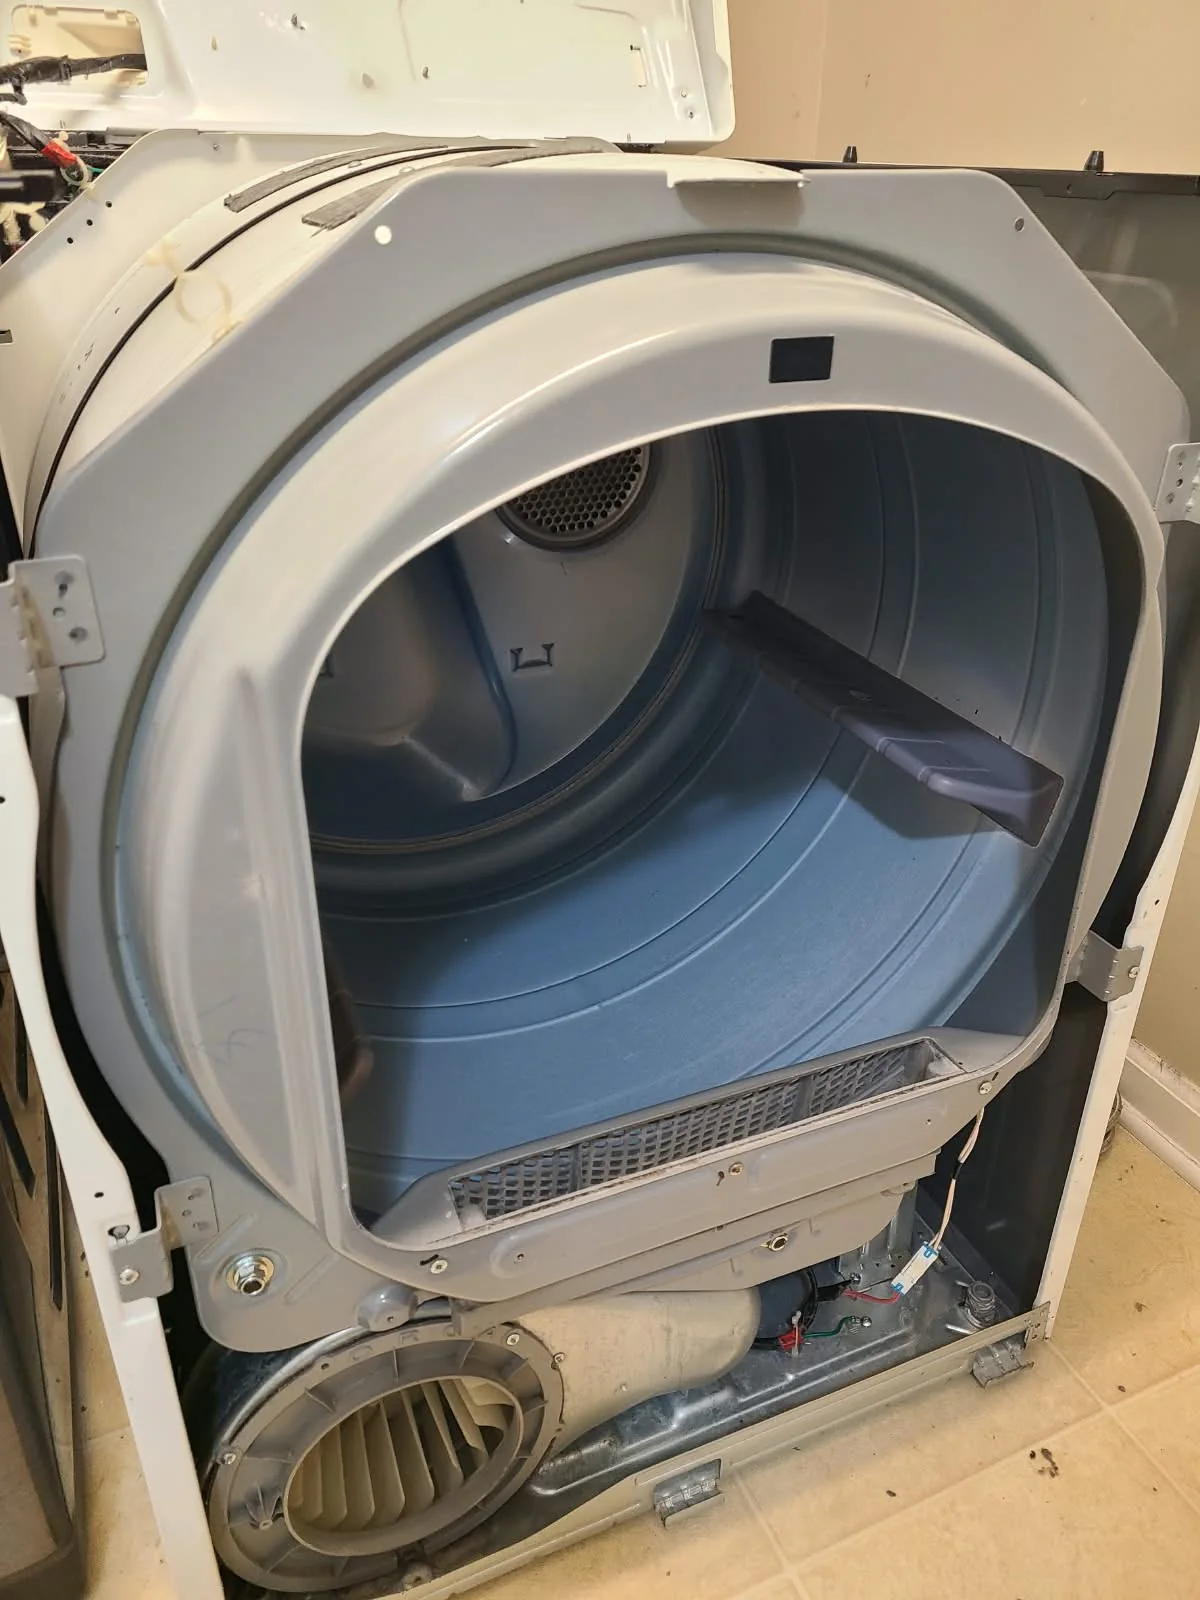
Reassembly, Testing and the Result
After replacing the idler pulley, all four drum support rollers and heating element, we reassembled the dryer. This photograph shows the drum back in place during that process, before the exterior front panel was fitted.
The assembled dryer was switched on and tested. It was working again after the repair, resolving the customer's original concern that the panel operated but the machine would not start.
Questions About This Samsung Dryer Repair
Does a lit control panel rule out a dryer problem?
No. In this case the controls powered on, yet the dryer would not begin a cycle. The precise symptom matters when describing a problem to a technician.
Was only the idler pulley replaced?
No. This visit included the idler pulley, all four drum support rollers, the heating element, and thorough internal cleaning. That is the work performed on this appliance, not a standard parts list for every no-start complaint.
Was the home's dryer vent cleaned?
This article documents cleaning inside the dryer, including the blower and internal lint duct. It does not describe cleaning the home's external exhaust duct.
Can the photos identify the part my dryer needs?
They illustrate this particular repair. Share your full model number and symptoms when booking so the appliance can be evaluated before a replacement part is recommended.
Book Samsung Dryer Repair in Fishers, Indiana
Does your Samsung dryer light up but fail to start? Alex Appliance Repair provides dryer repair in Fishers. Tell us what happens when you press Start, whether the drum moves, and the full model shown on the appliance label.
Explore our dryer repair services, Samsung appliance repair and Fishers service coverage, or browse more documented repair visits. Alex Appliance Repair is an independent appliance repair service operated by Aksenov LLC.
Call (463) 248-8429 to discuss your dryer.
Book dryer repair