



A Whirlpool Dryer That Would Not Start
A homeowner in Carmel, Indiana, called because their Whirlpool dryer would not start. The service visit began with checking the electrical supply before opening the appliance to inspect its internal components.
The no-start fault was traced to a blown thermal fuse on the blower housing. In addition to replacing that fuse, we replaced all five drum support rollers and the idler pulley, and cleaned the dryer internally. After reassembly, the dryer started and operated properly during testing.
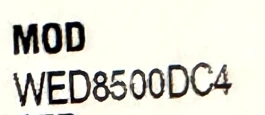
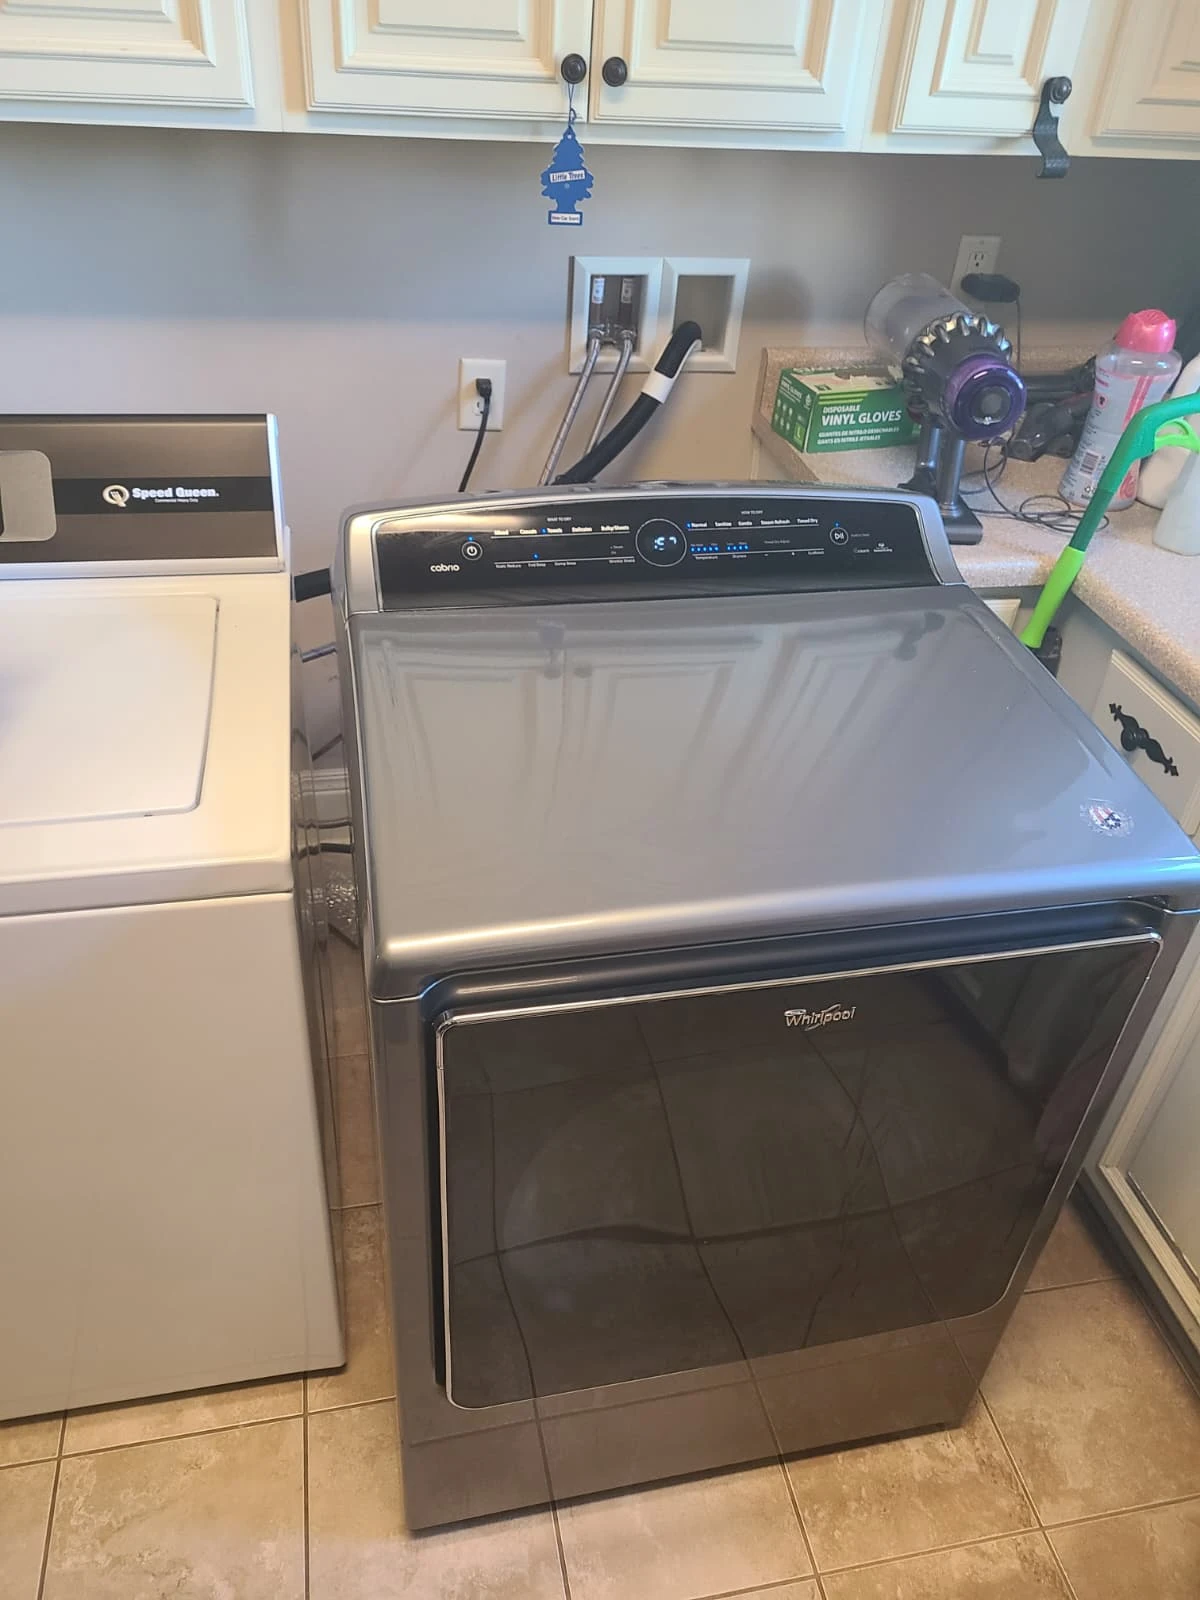
Model Identification: Whirlpool WED8500DC4
The appliance label identifies this electric dryer as Whirlpool WED8500DC4. The original model-number area is shown here from the service photograph.
This case documents the diagnosis and work completed on that specific dryer. A similar no-start complaint on another appliance still requires its own inspection.
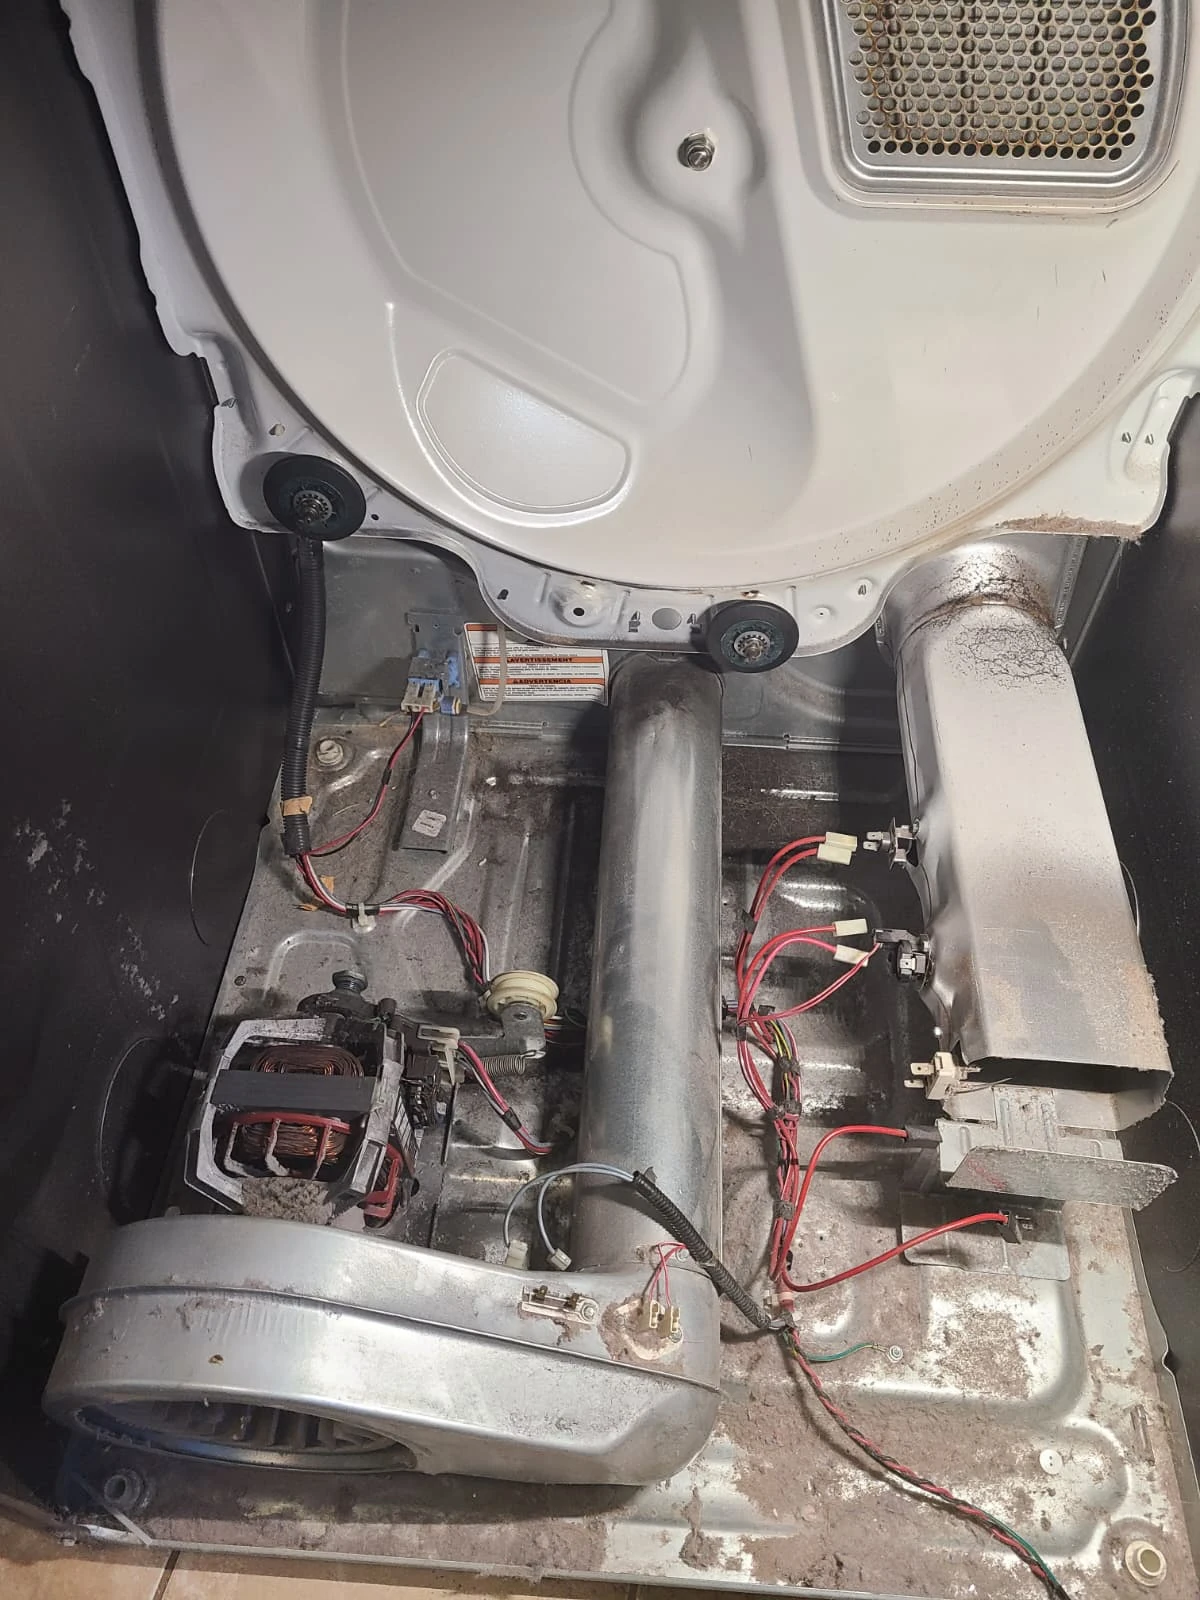
Checking the Outlet, Terminal Block and Power Cord
We checked power at the wall outlet and at the dryer terminal block, along with the power cord. The supply and cord checked out, so the repair did not require replacing the cord.
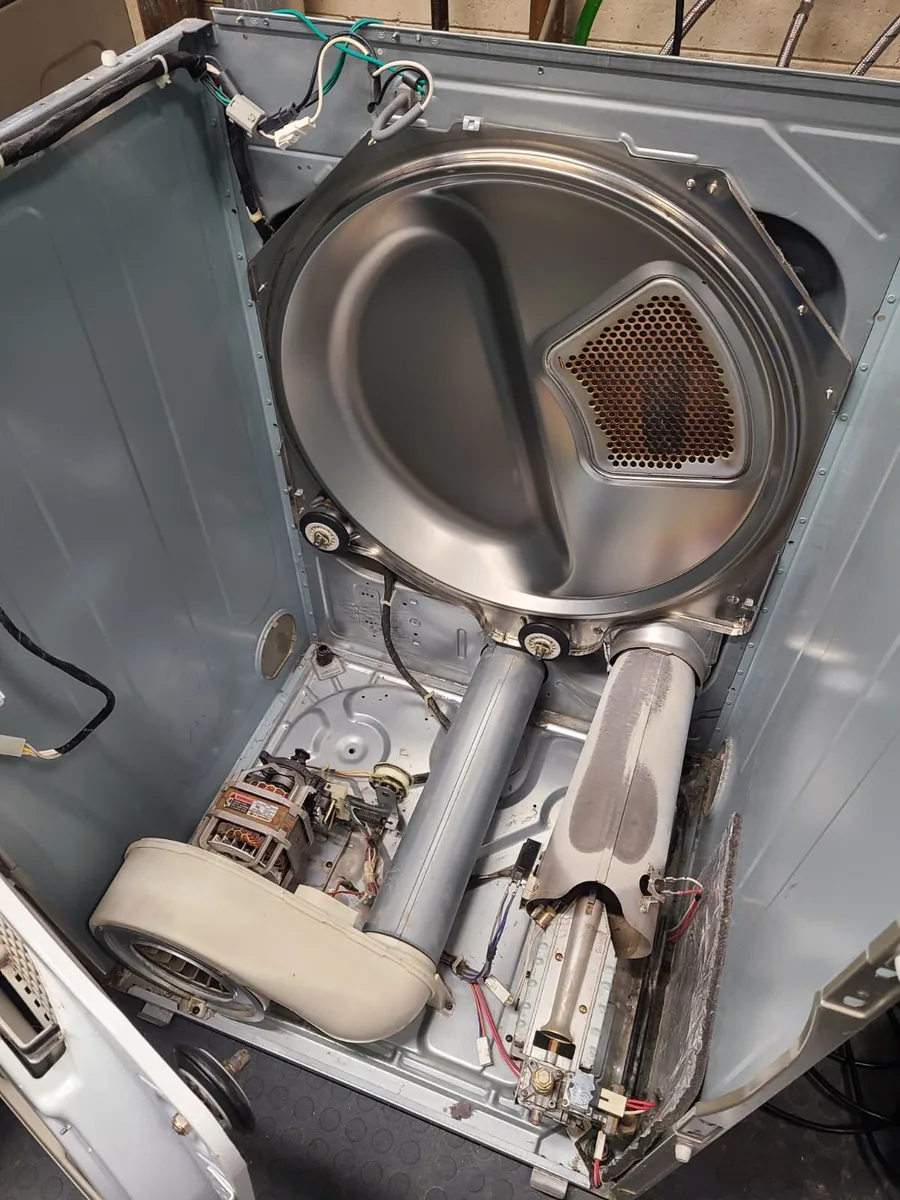
The dryer was then opened for internal diagnosis. With the drum removed, the blower housing, drive components and cabinet interior were accessible. The photograph shows the lint and dust present before cleaning.
The No-Start Fault: A Blown Blower-Housing Thermal Fuse
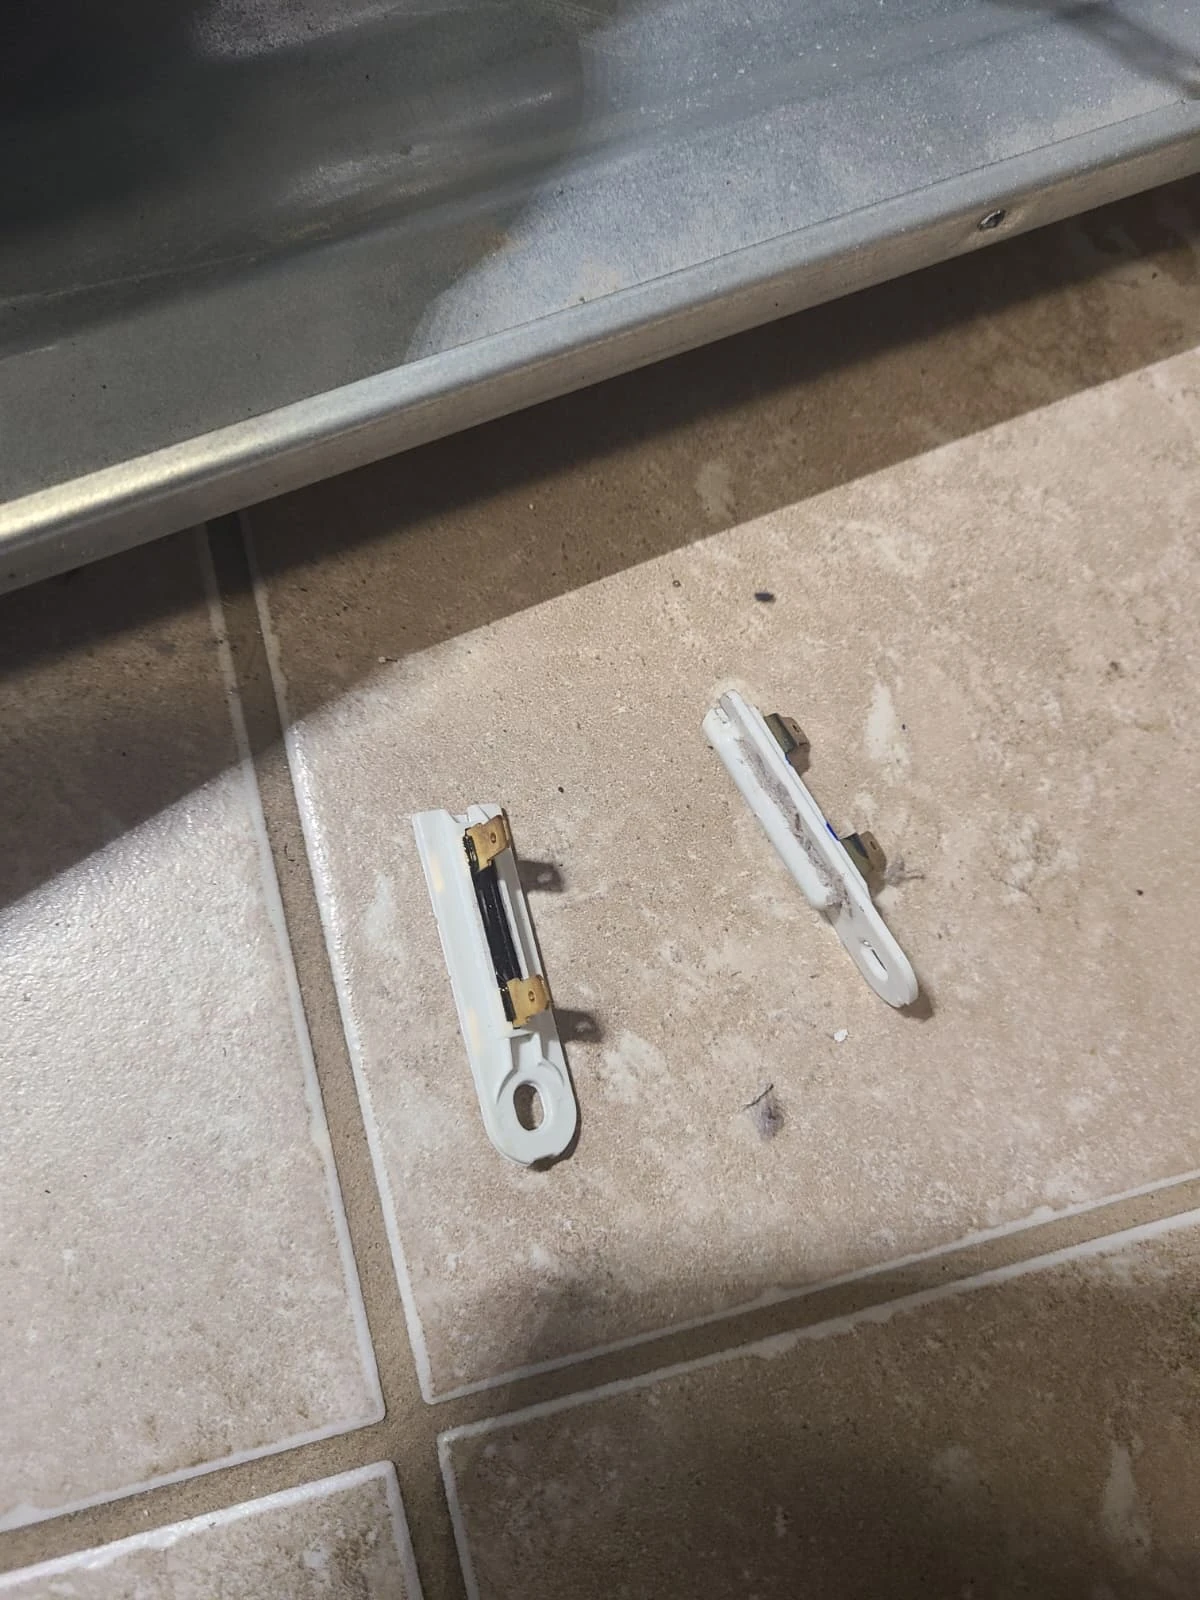
The technician identified a failed thermal fuse on the blower housing as the reason this dryer would not start. The fuse was replaced. These photographs show the removed and replacement parts, followed by the new fuse mounted on the housing during the repair.
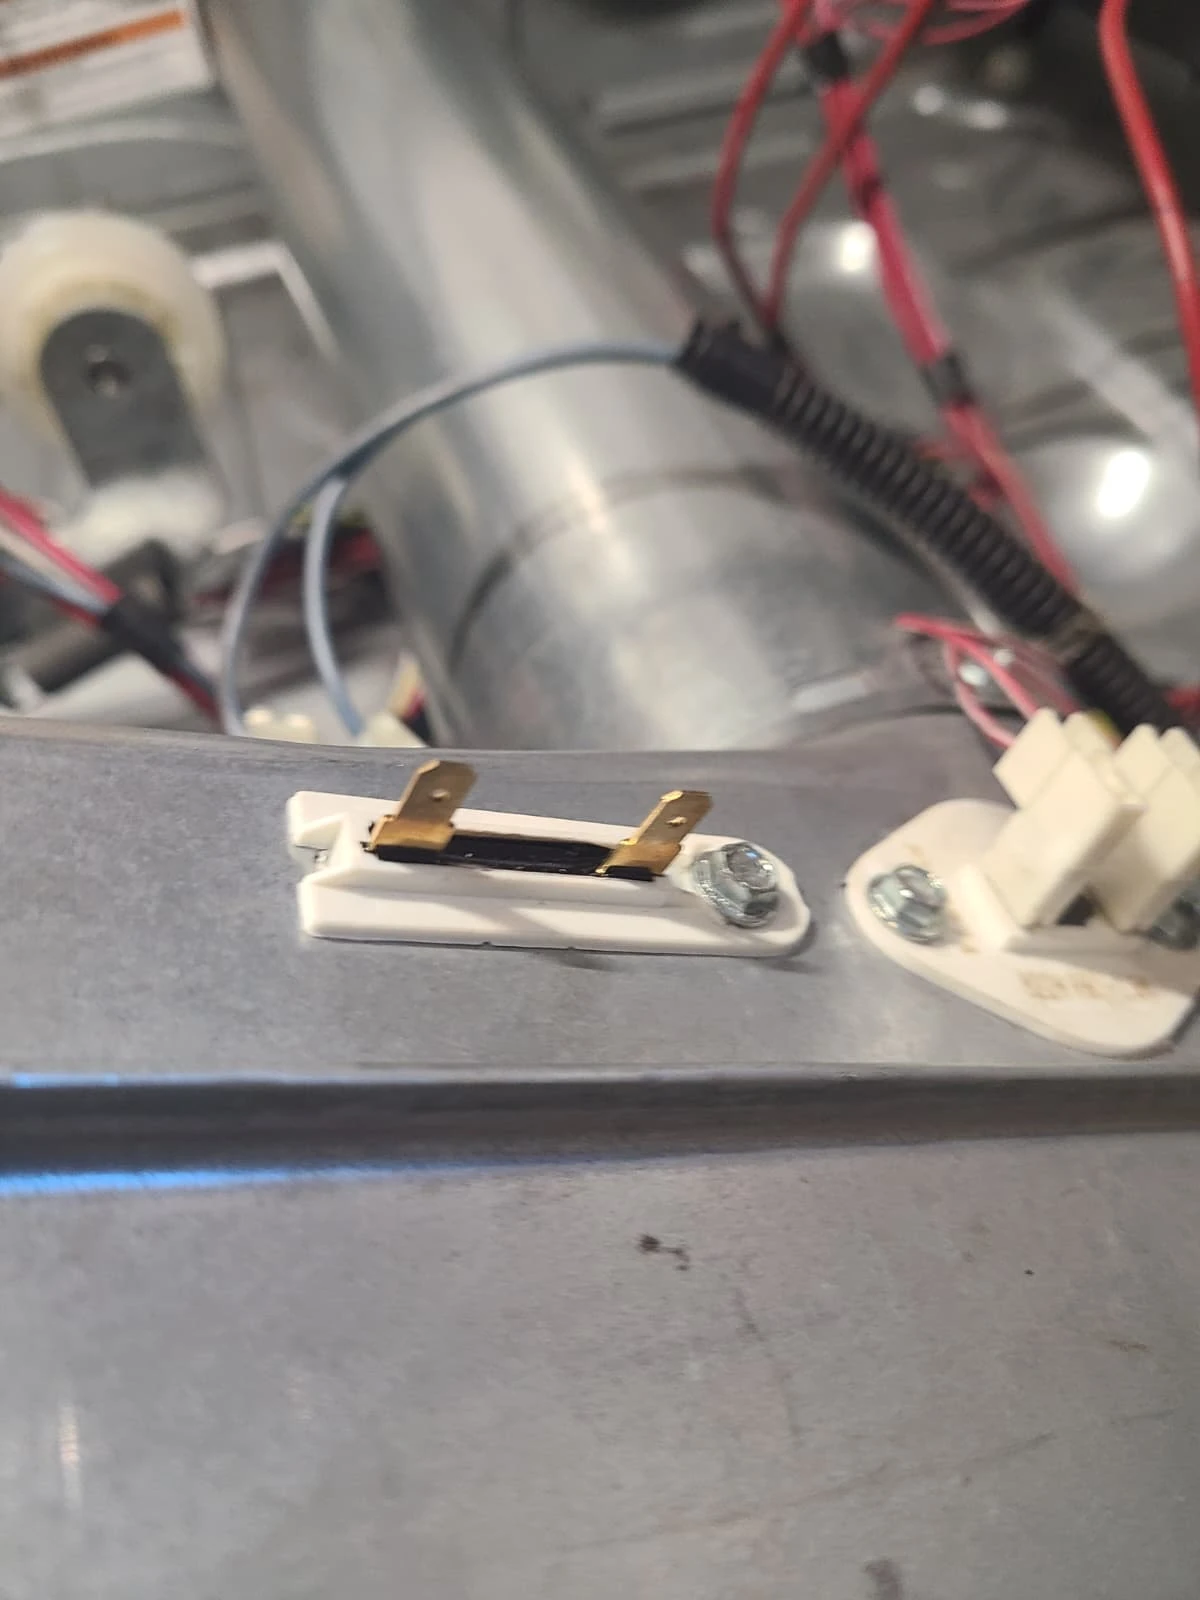
The installed-fuse photograph was taken before its wires were reconnected. It is a work-in-progress view, not the final assembled condition. The dryer was fully reassembled before the operational check.
Lint was also present inside the appliance and was cleaned out. This service record does not establish a separate root cause for the fuse failure, so the visible lint is not presented as proof of what caused it.
Replacing All Five Drum Support Rollers
With the drum out, we replaced all five drum support rollers: two at the rear and three on the front bulkhead. The photographs show the replacement rollers installed in both locations.
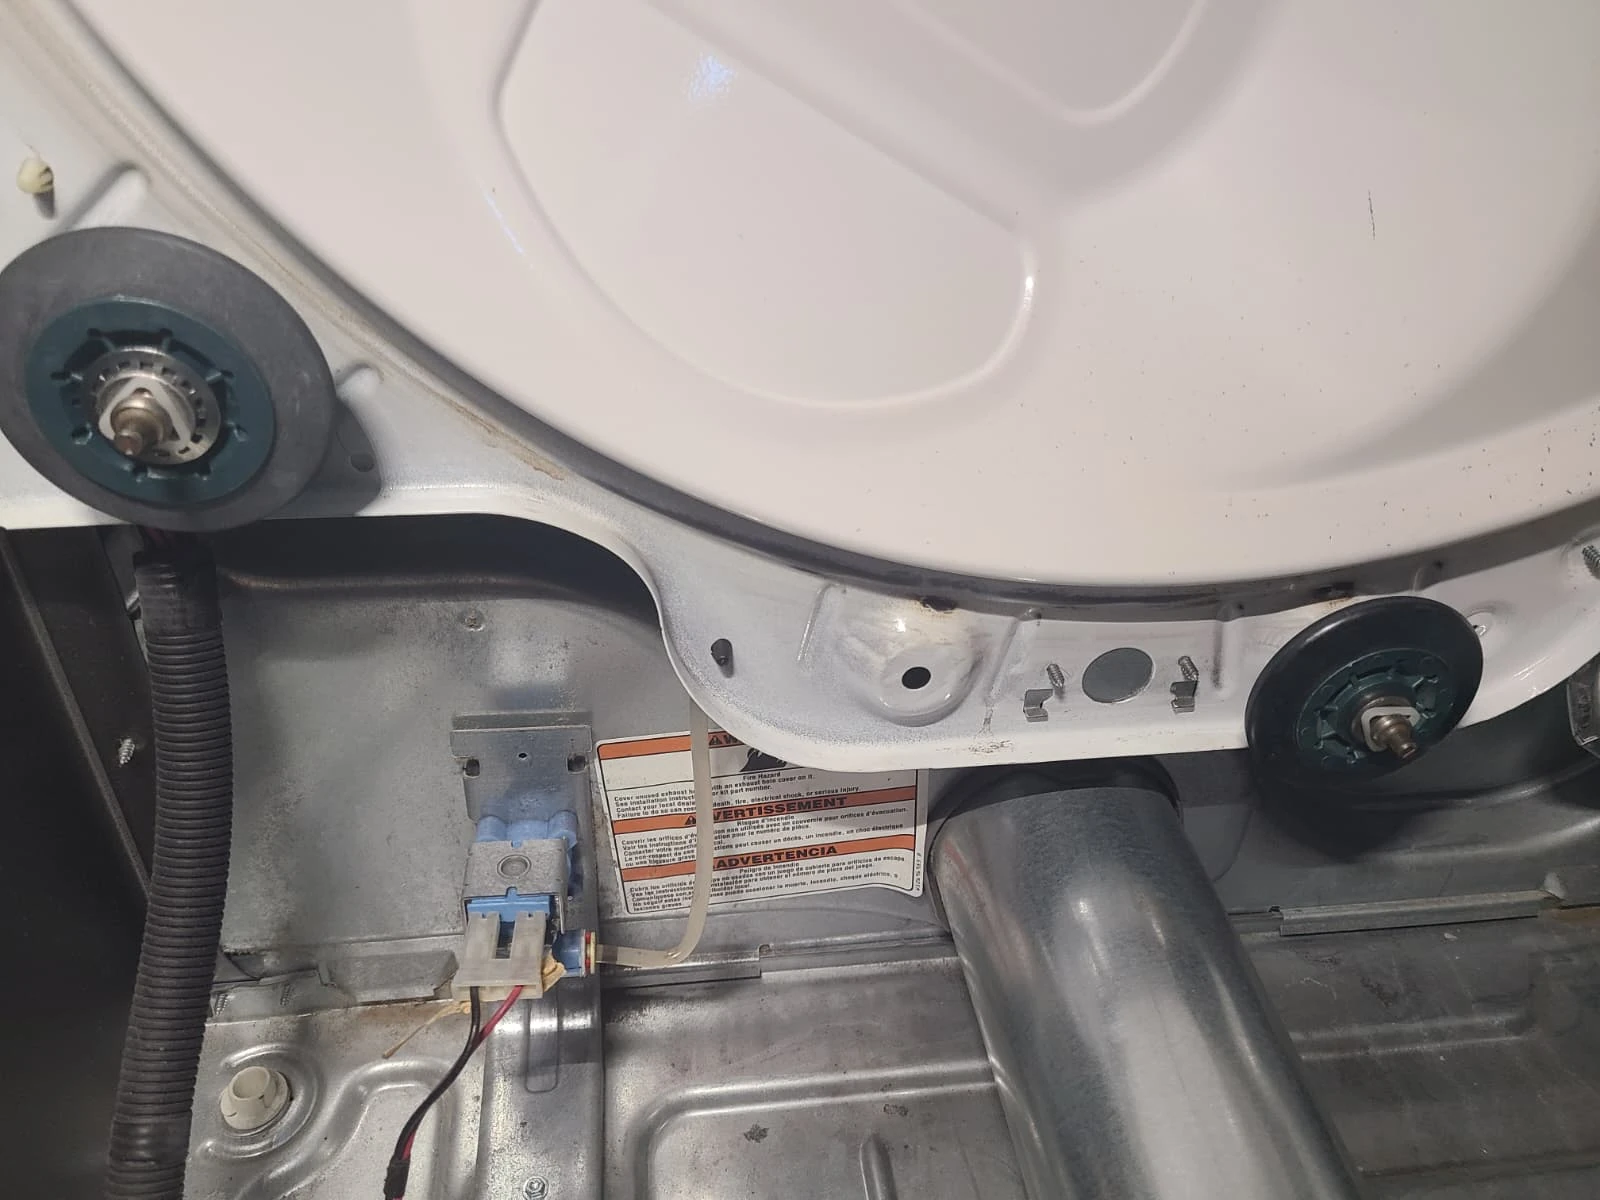
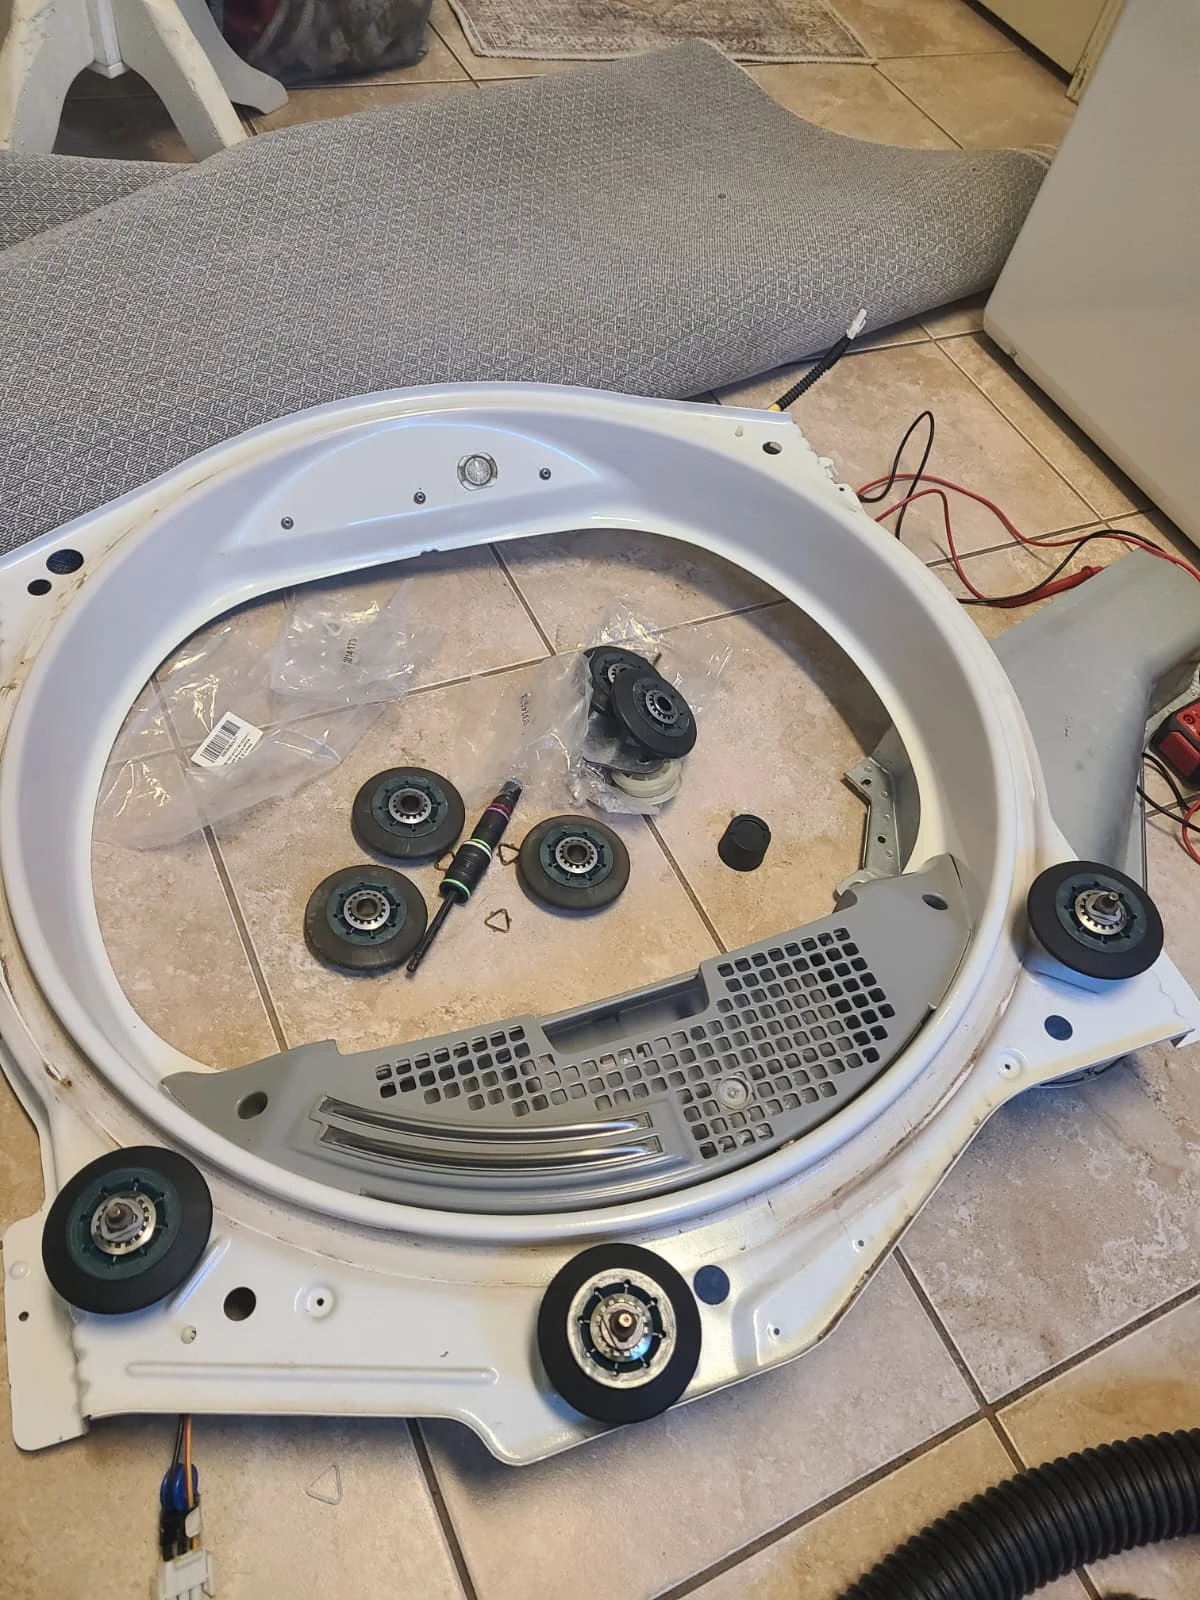
The roller replacement was additional work completed during the same visit. The confirmed cause of the original no-start complaint was the thermal fuse, not the rollers.
Replacing the Idler Pulley
The idler pulley was also replaced while the drive area was accessible. The old and new assemblies are shown together, followed by the replacement installed beside the motor.
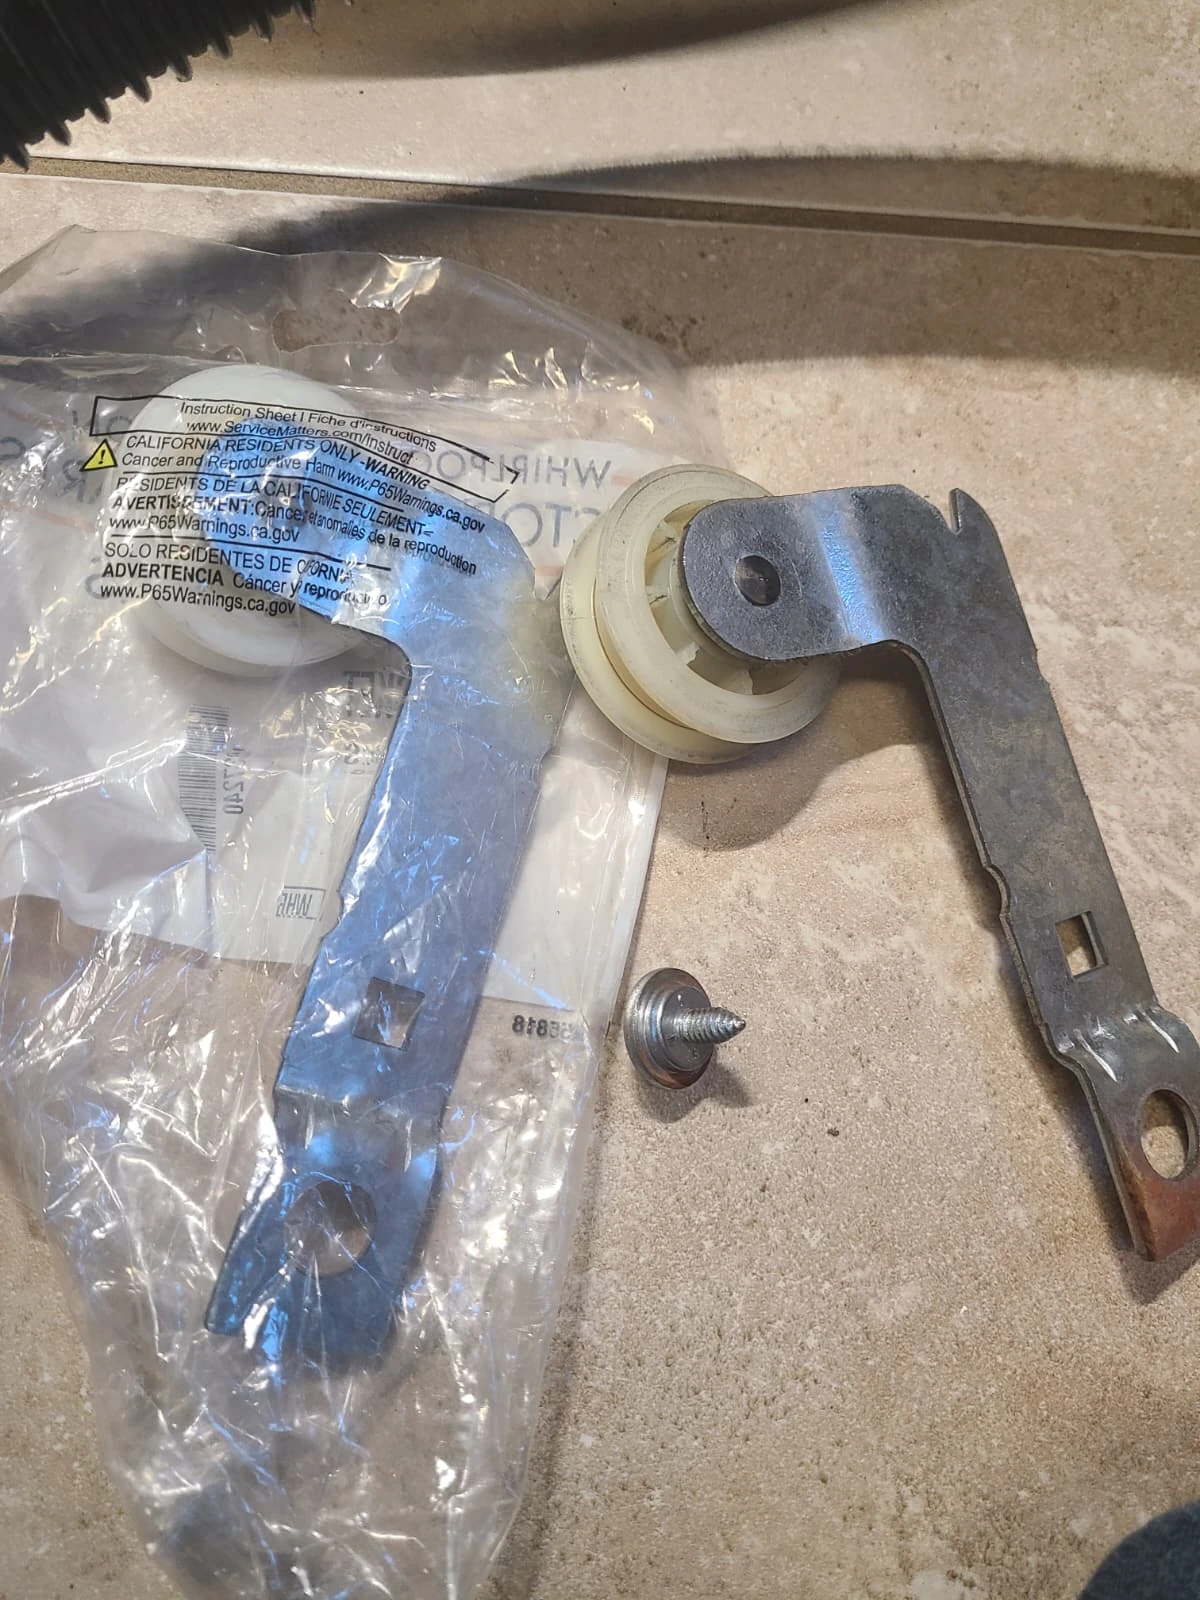
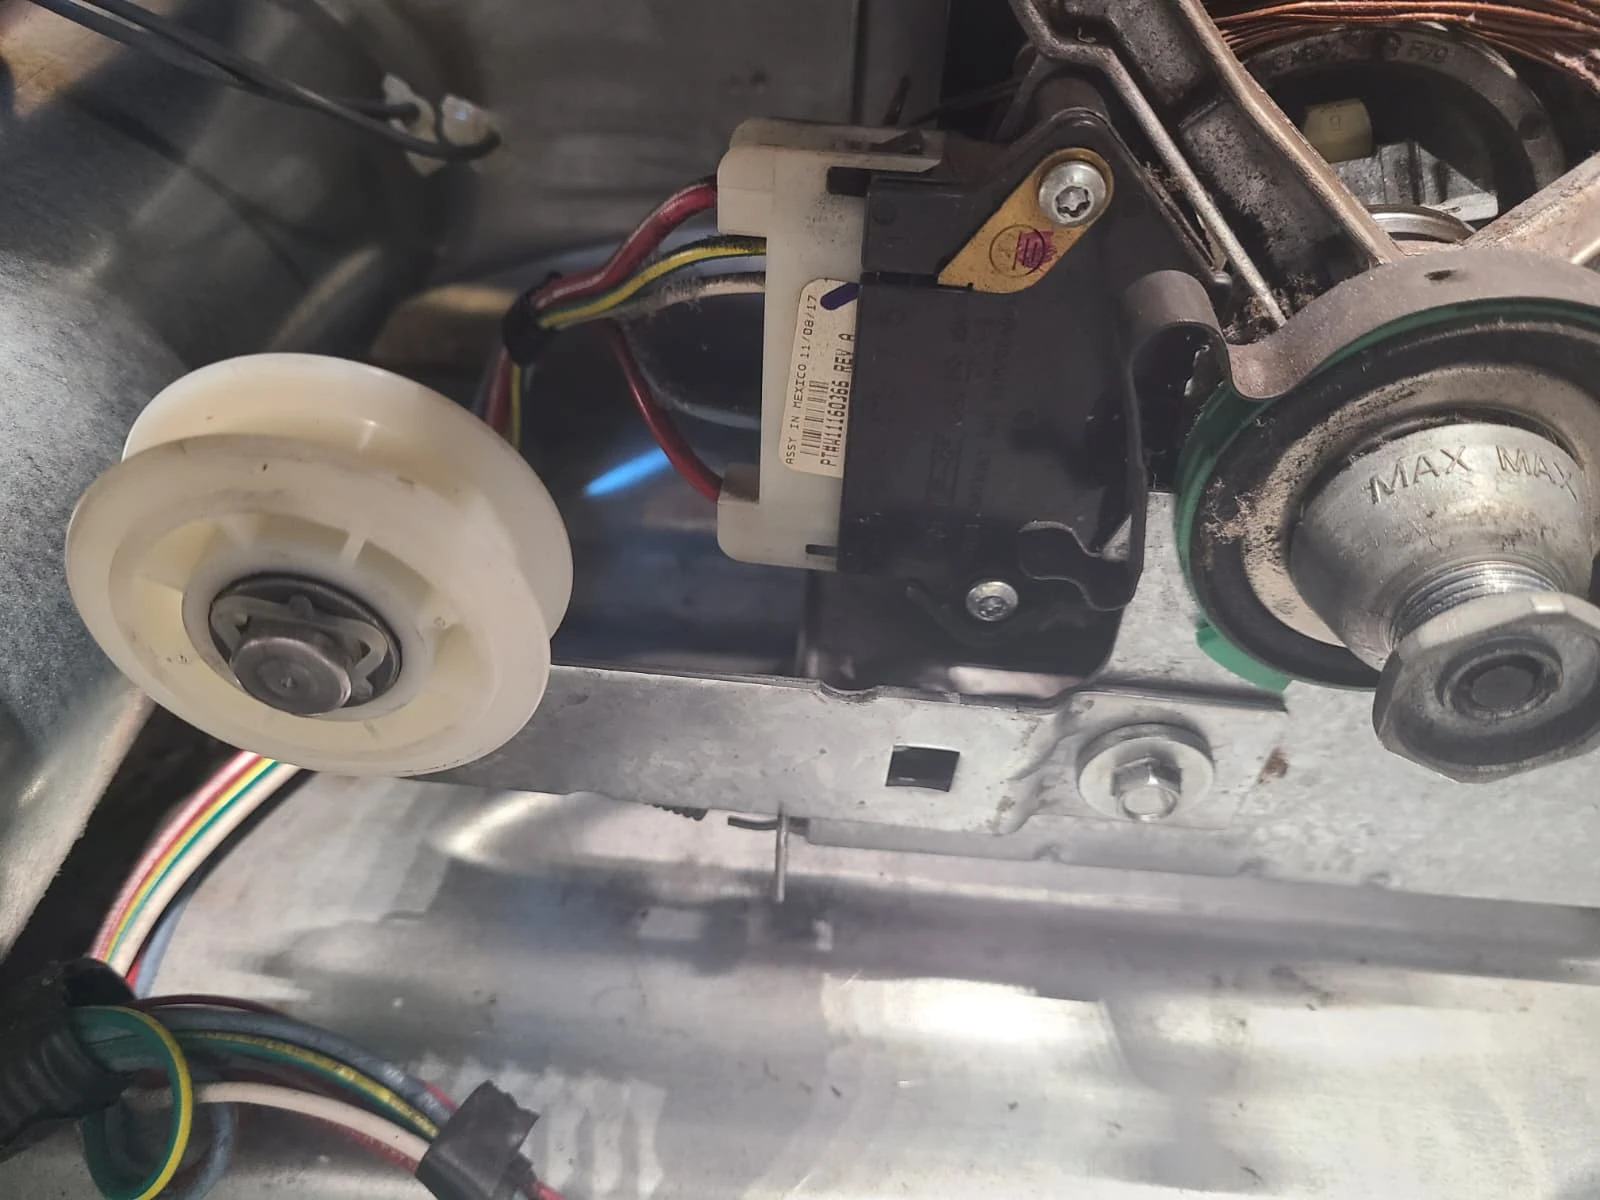
This completed the drive-component replacements for the visit: the five drum rollers and the idler pulley. No belt replacement is included in this repair record.
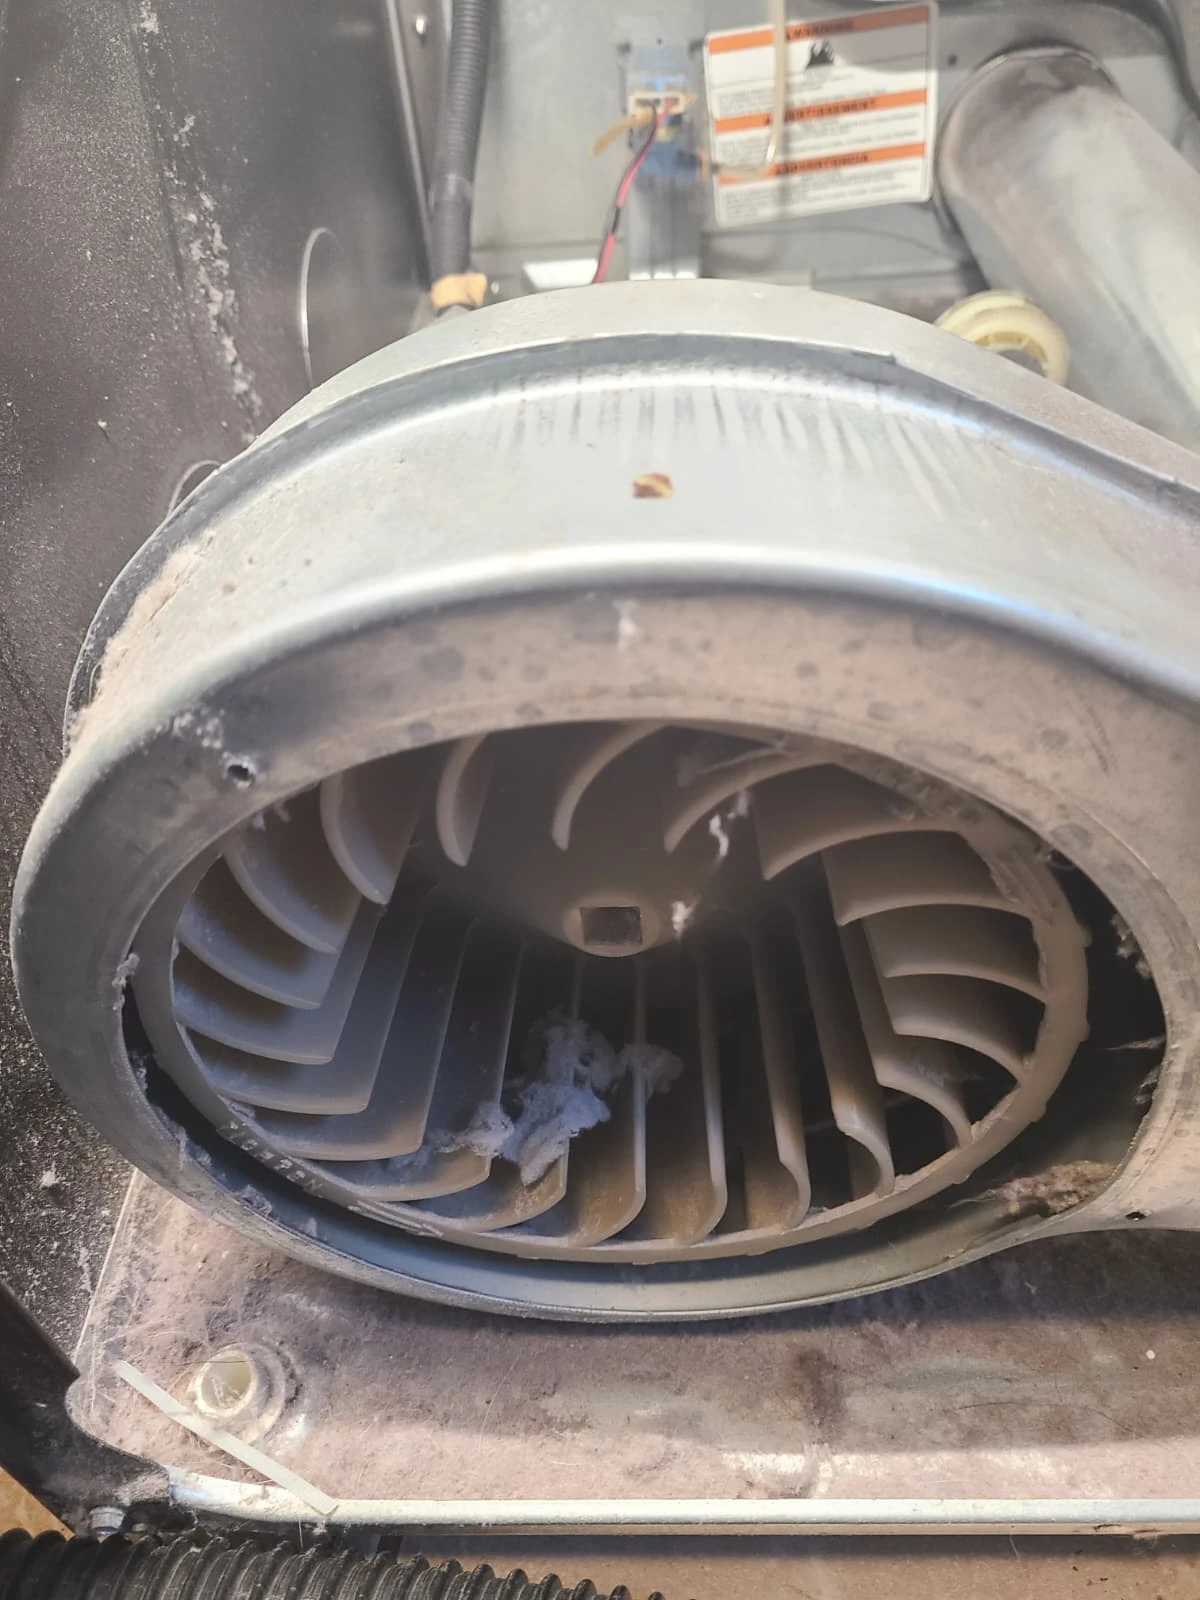
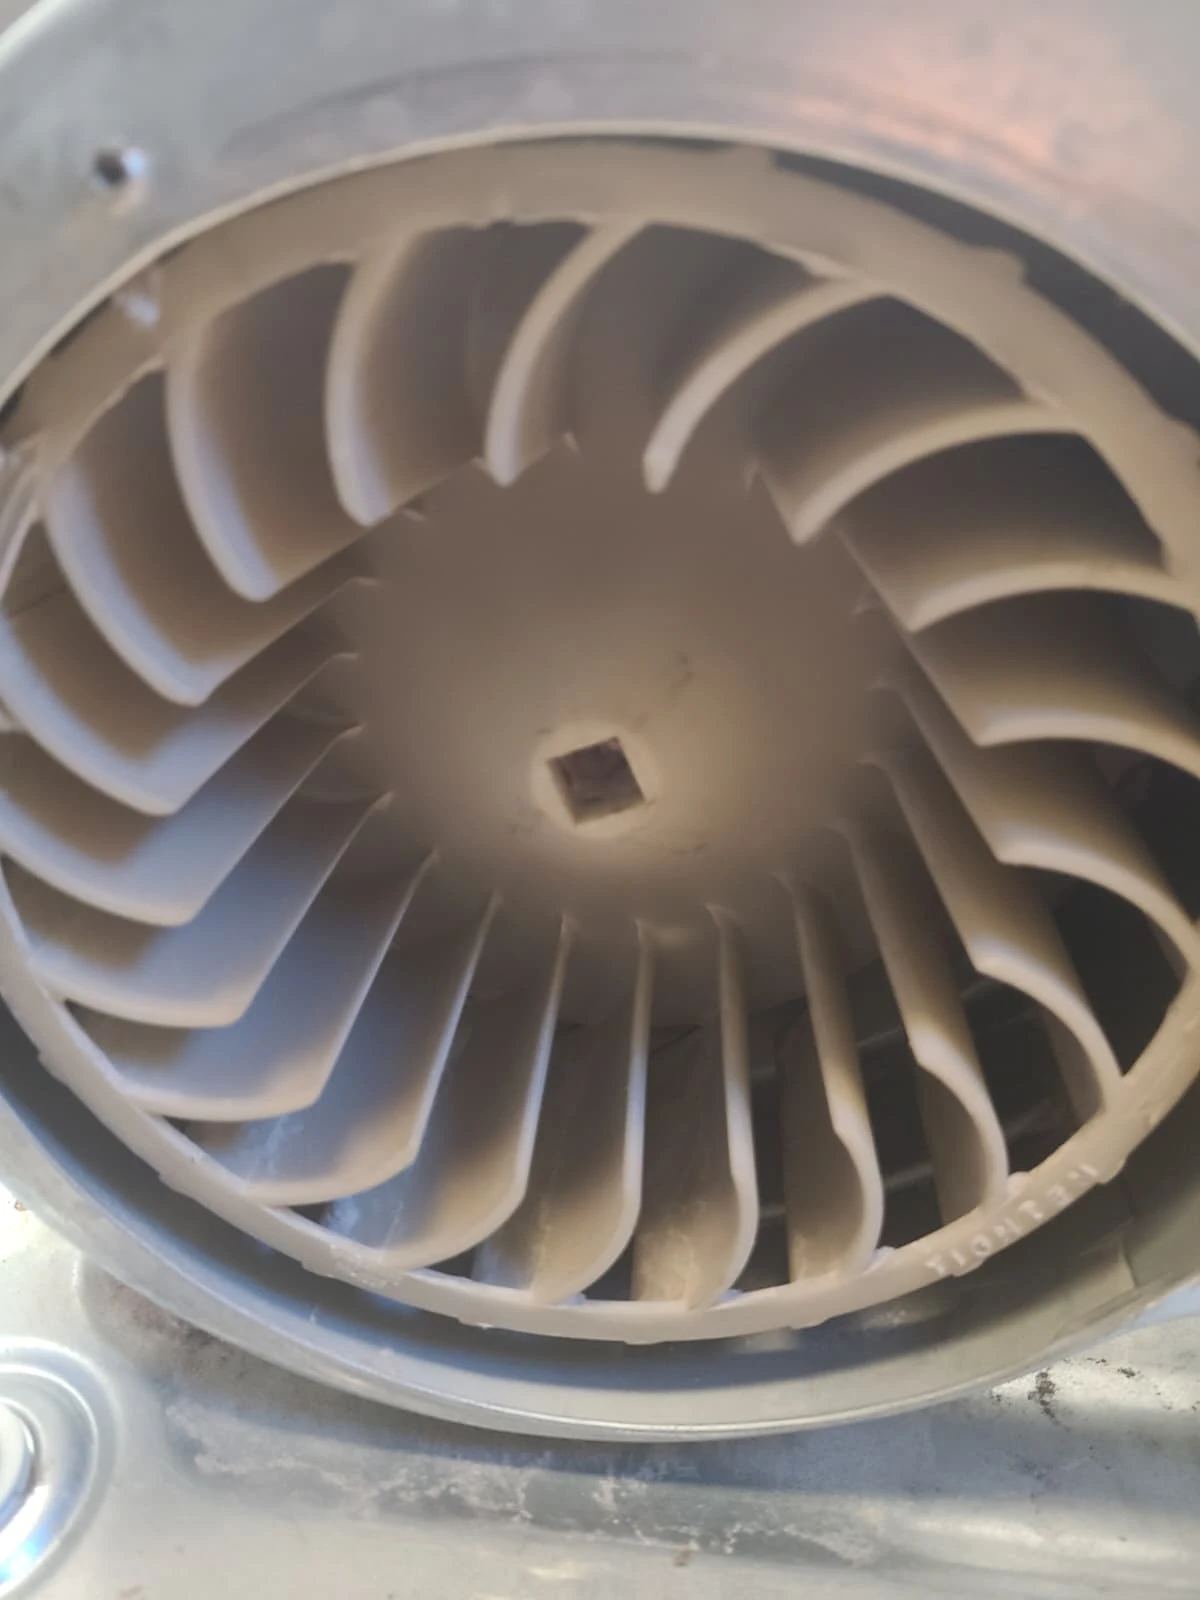
Cleaning the Blower Wheel
The blower wheel had visible lint collected between its blades. We removed the lint and cleaned the blower as part of the internal service. The before-and-after photographs show the same area at two stages of the cleaning.
Cleaning the Internal Air Duct
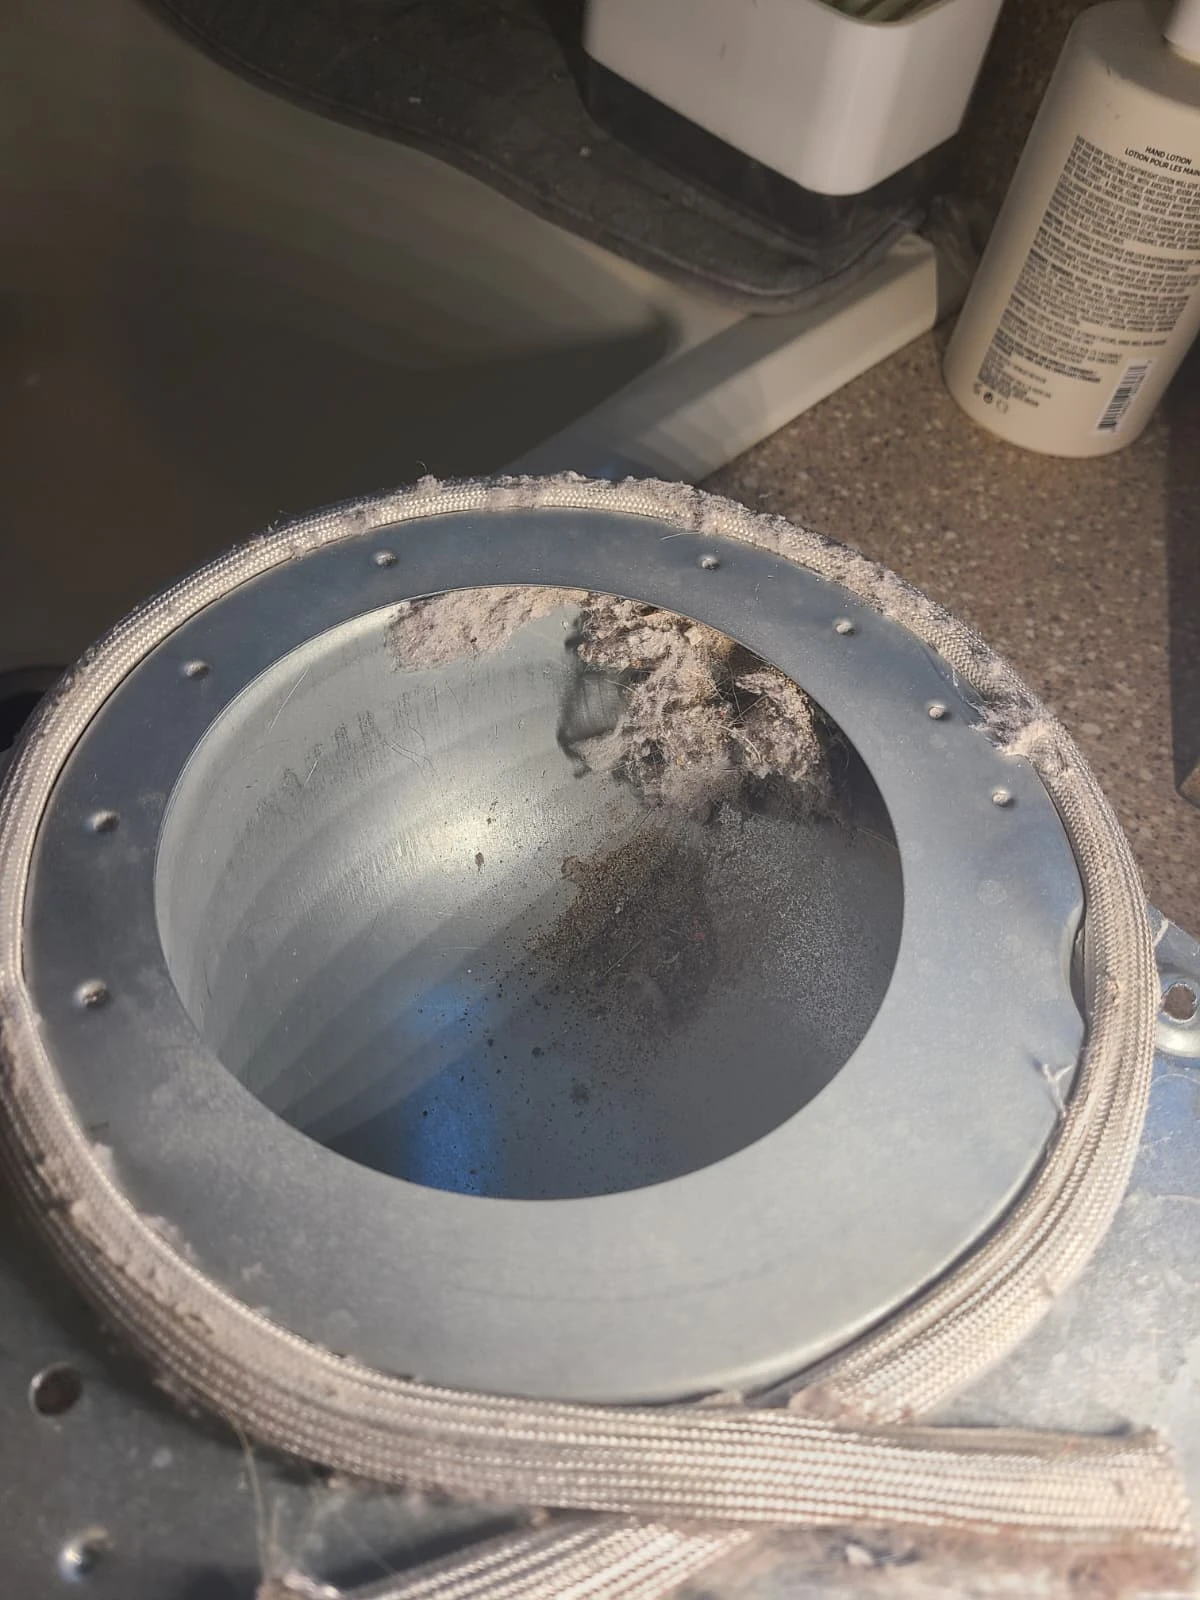
The internal air duct attached to the blower was removed and cleaned. Lint collected inside the duct is visible in the service photograph.
This work concerned the air passage inside the dryer. It should not be confused with cleaning the separate exhaust vent through the home; exterior vent cleaning is not part of the work documented here.
Cleaning the Felt at Both Ends of the Drum
With the drum removed, we cleaned the felt at both ends. These close-ups show the two drum edges during the service, rather than a before-and-after comparison of one edge.
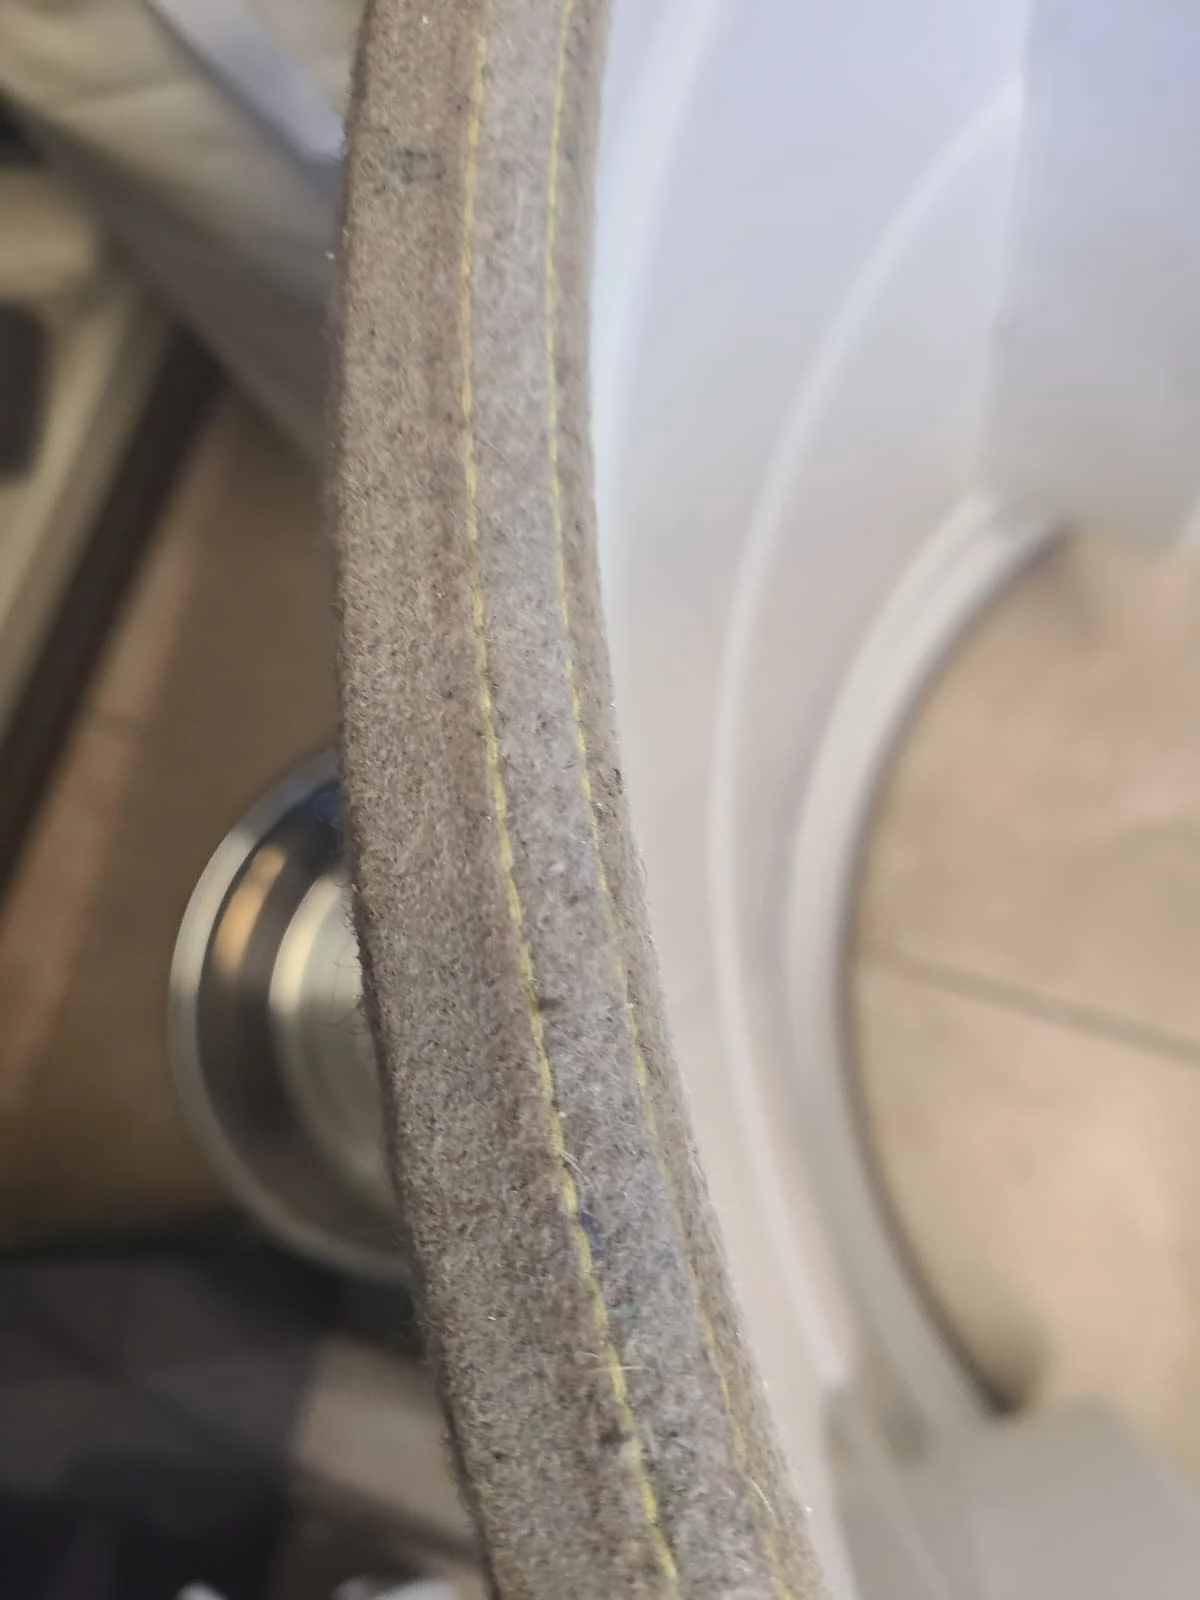
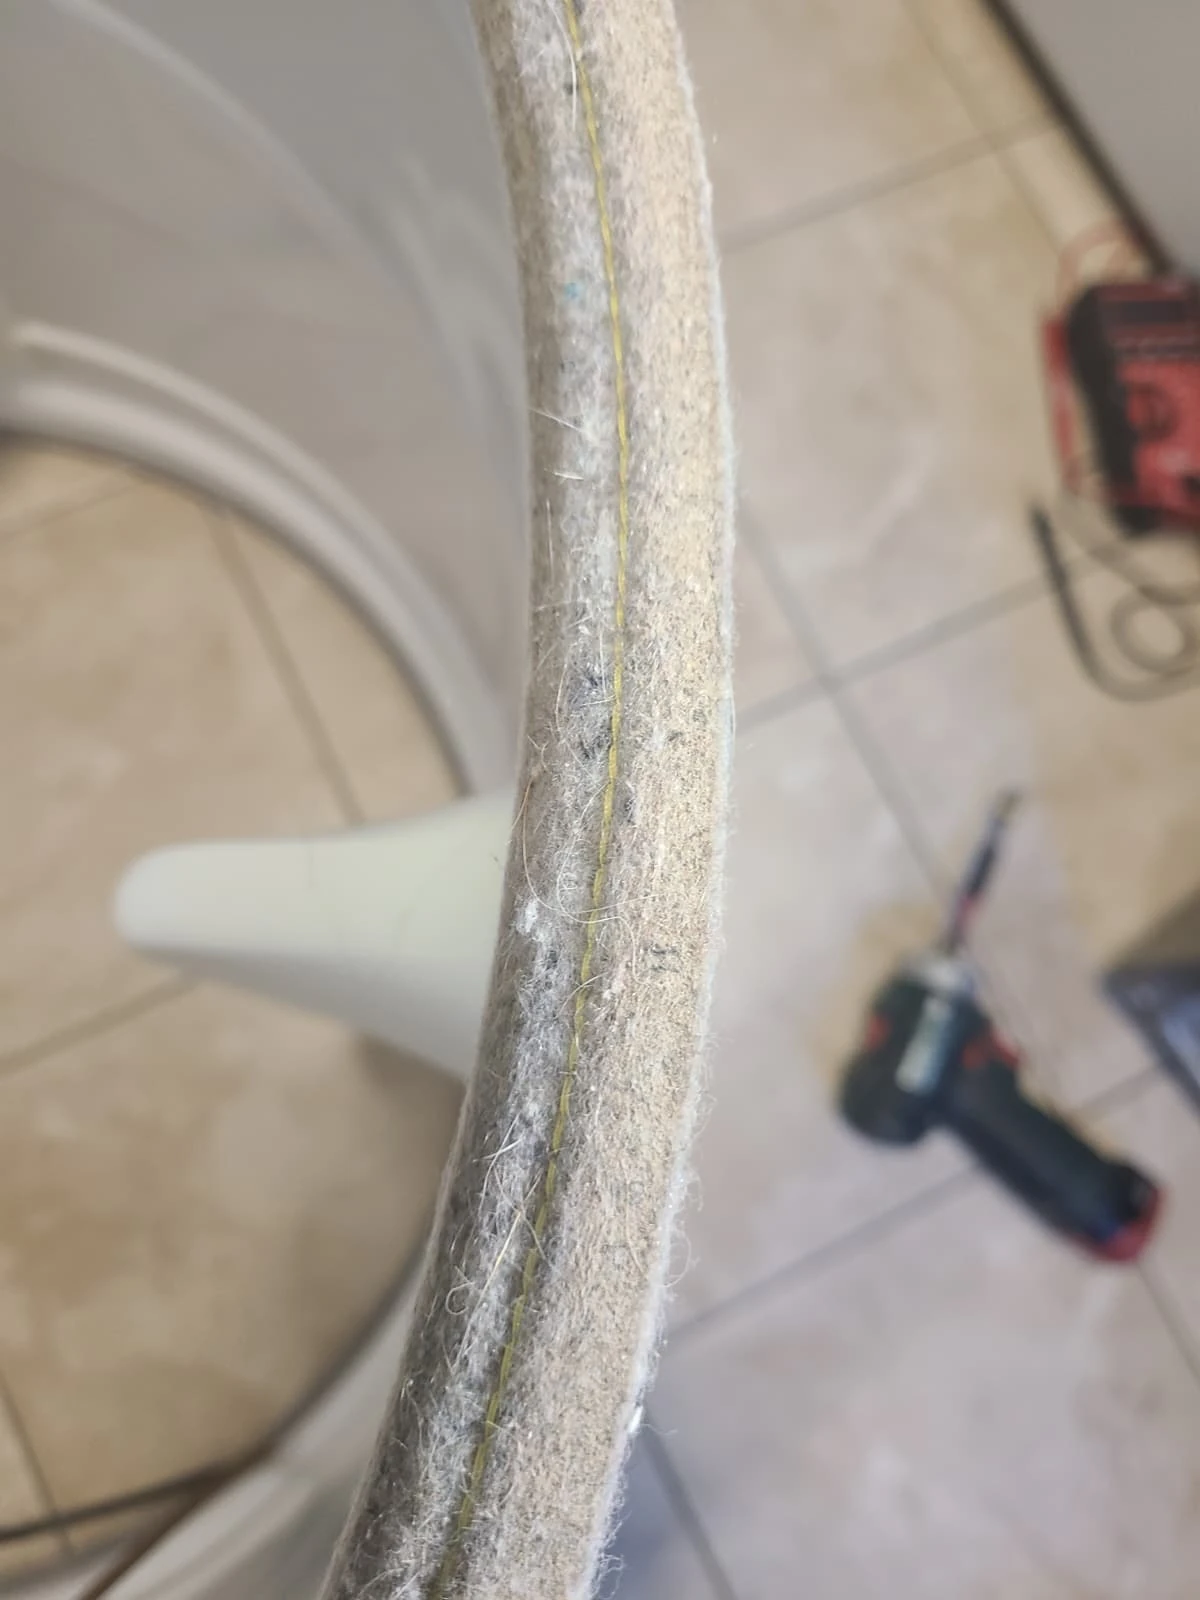
The existing felt was cleaned, not replaced. This was part of the broader internal cleaning carried out while the dryer was apart.
Vacuuming and Cleaning the Cabinet Interior
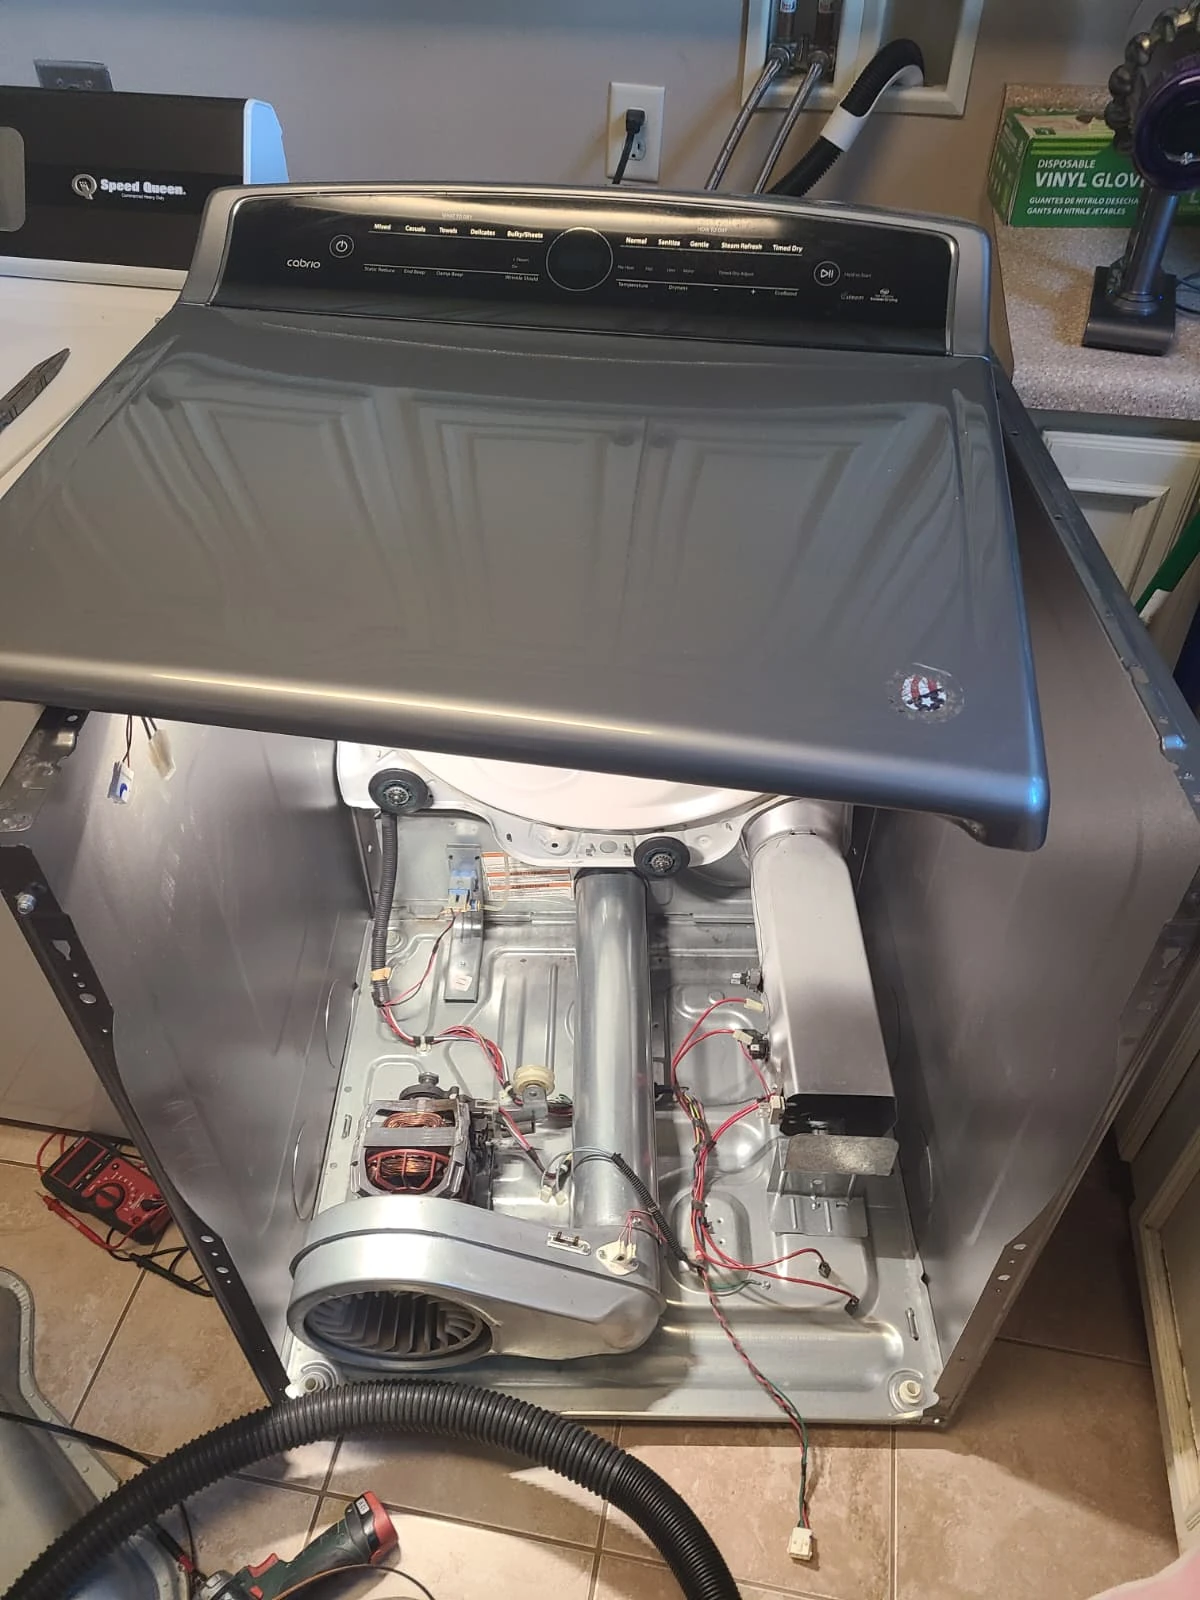
The dryer interior was vacuumed, and the accessible components were cleaned. The cabinet base and the areas around the motor, blower and internal duct received attention while the drum was out.
The photograph shows the cleaned interior before final reassembly. This made the service more comprehensive than replacing the failed fuse alone.
Reassembling the Dryer
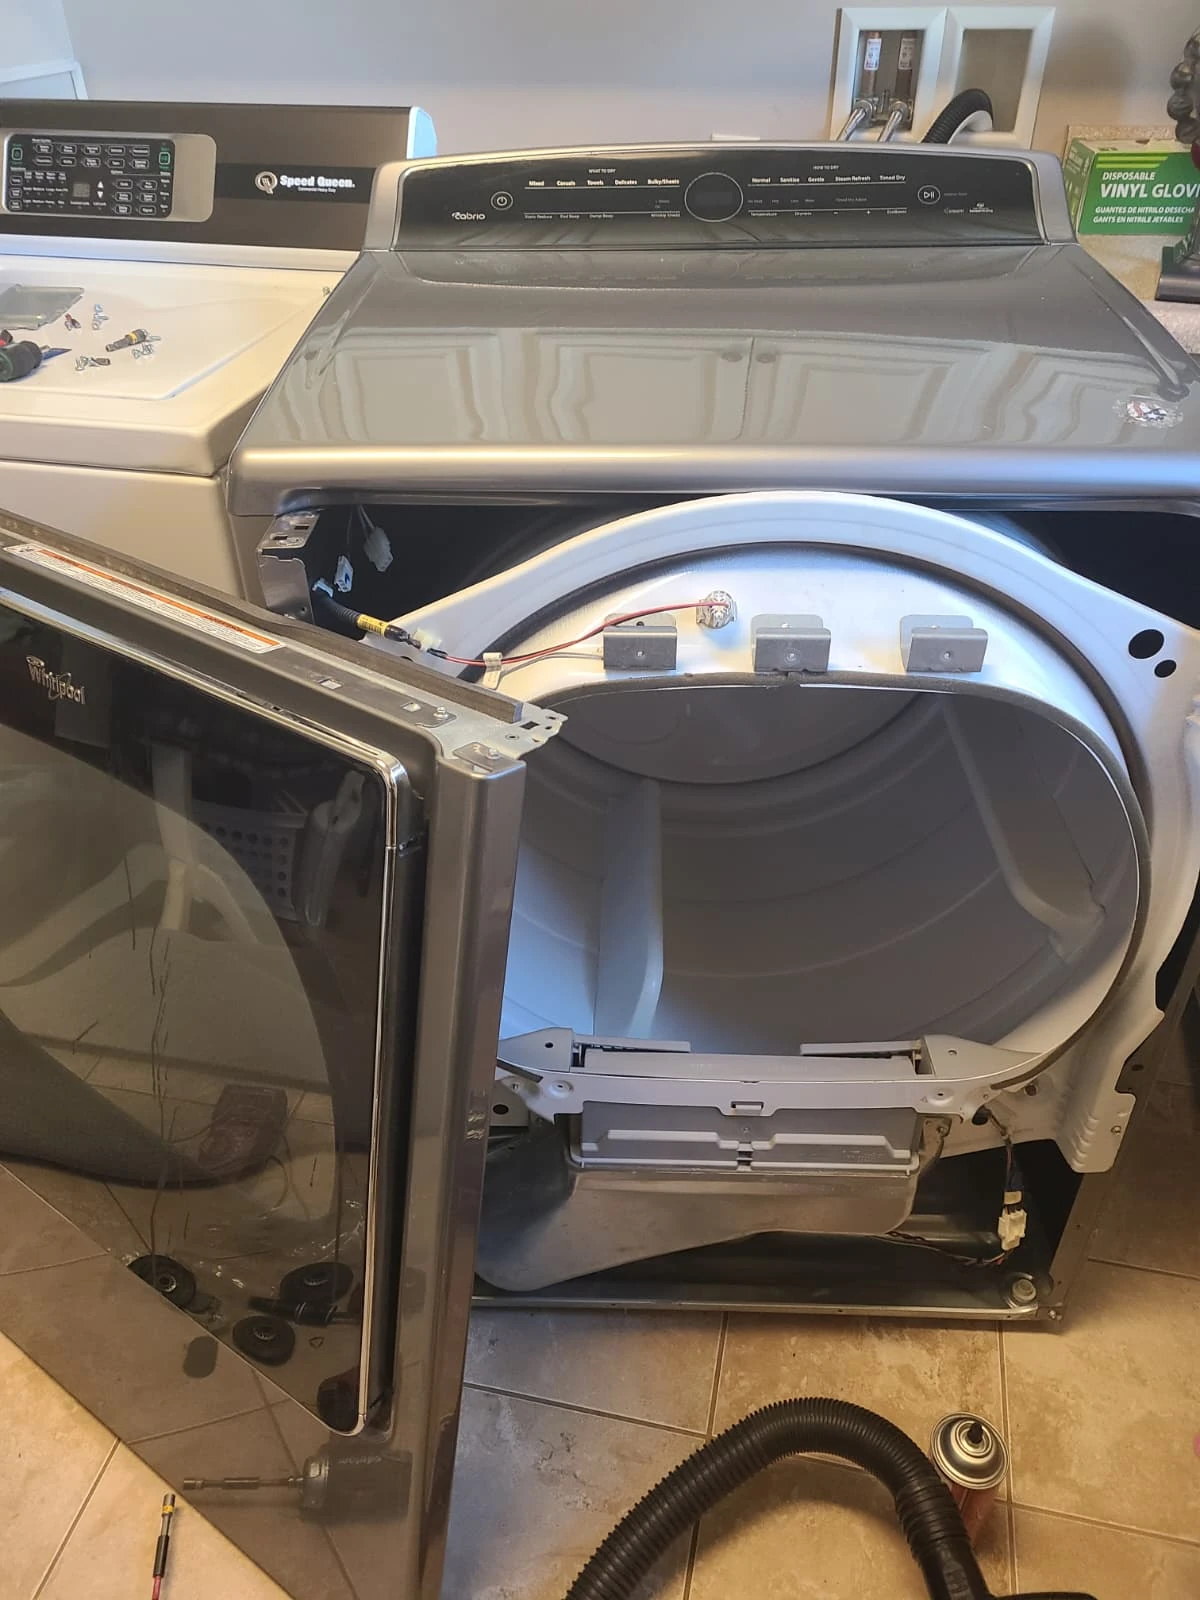
After the component replacements and cleaning, the drum and front assembly were put back in place and the dryer was reassembled.
This photograph captures the assembly process with the front still open. The completed machine is shown in the next image during the final check.
Final Test: The Dryer Started and Worked Properly
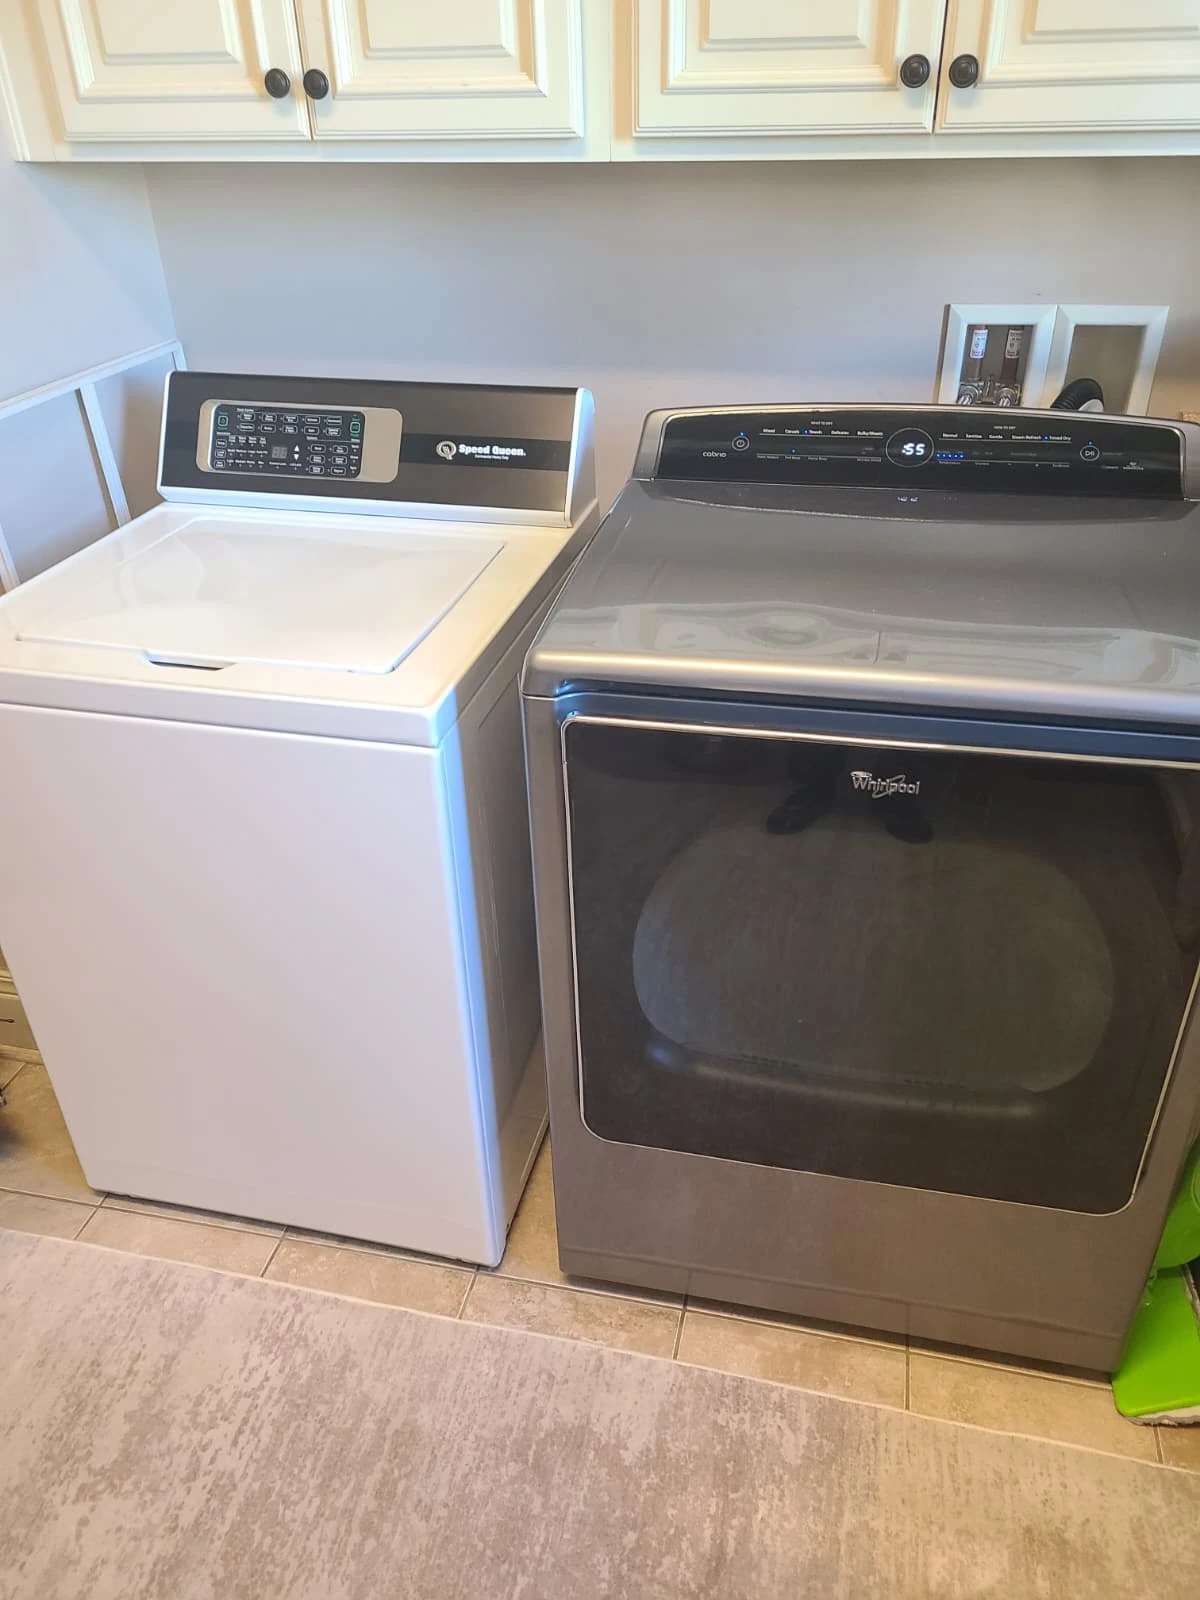
Once reassembled, the Whirlpool dryer was powered on and tested. It started and worked properly, resolving the homeowner's original complaint.
The completed work included a new thermal fuse, five drum support rollers and an idler pulley, plus cleaning of the cabinet, blower, internal air duct and felt at both ends of the drum.
Questions About This Carmel Dryer Repair
Why would this dryer not start even though power was available?
On this WED8500DC4, the outlet, terminal supply and cord checked out. The technician found a blown thermal fuse on the blower housing and replaced it.
How many drum rollers were replaced?
All five were replaced: two rear rollers and three front rollers. The idler pulley was replaced as well.
Was the drum felt replaced?
No. The felt at both ends of the drum was cleaned. The blower, internal air duct and cabinet interior were also cleaned.
Did the repair restore operation?
Yes. After reassembly, the dryer was turned on and tested, and it operated properly.
Whirlpool Dryer Repair in Carmel, Indiana
If your dryer will not start, contact Alex Appliance Repair for dryer repair in Carmel. Describe the symptom and share the model number when available so the service request identifies the appliance correctly.
Explore our dryer repair services, Carmel service coverage and more repair stories with original service photographs.
Alex Appliance Repair is an independent appliance repair service operated by Aksenov LLC. Call (463) 248-8429 to discuss your dryer.
Book dryer repair in Carmel