



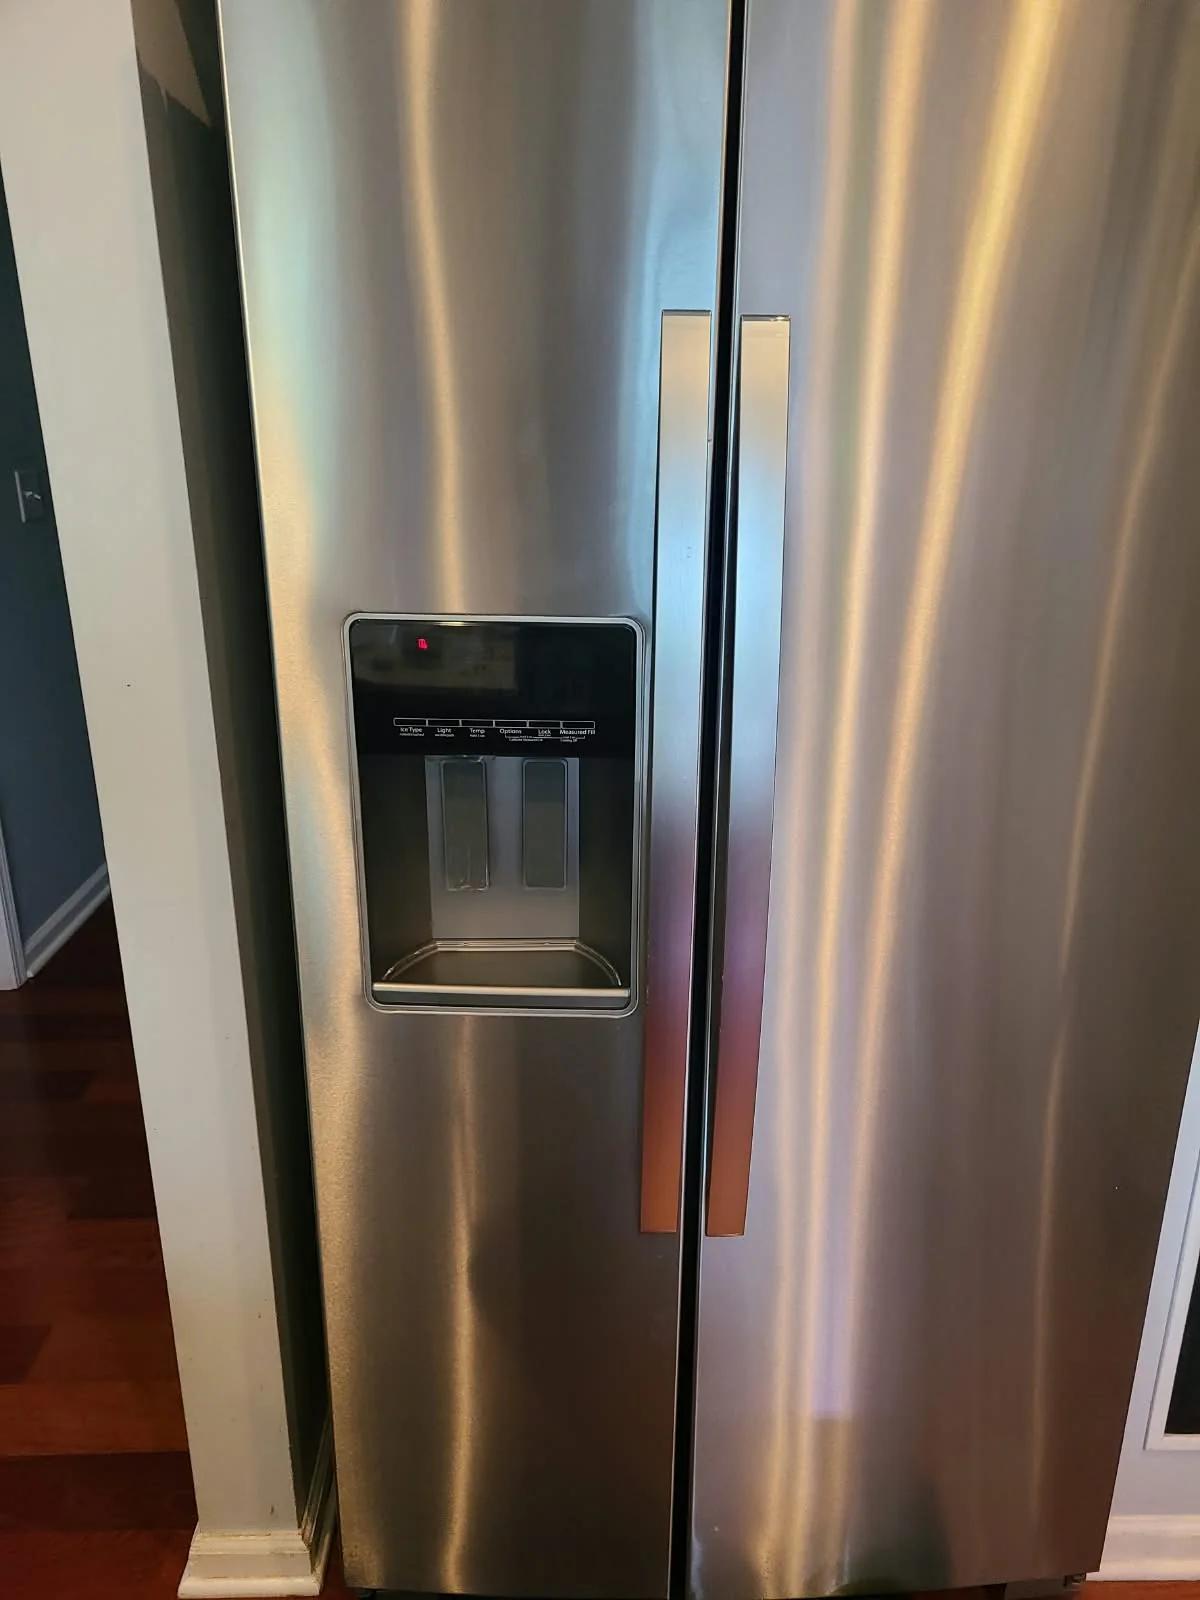
Water Under the Refrigerator and at the Door Seal
A homeowner in Westfield, Indiana called Alex Appliance Repair about water leaking beneath a Whirlpool refrigerator. The customer also noticed water along the seal at the top of the door. These two visible symptoms prompted an inspection of the water supply and the in-door ice maker.
The repair involved more than drying the floor or clearing visible ice. We traced the problem to a frozen ice maker fill tube and a valve that was allowing water through when it should have been closed.
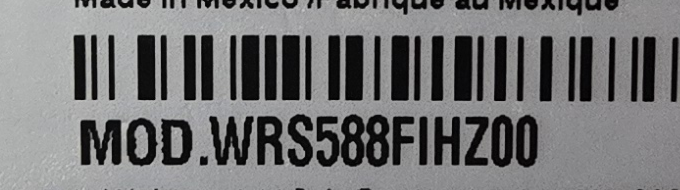
Model Confirmed: Whirlpool WRS588FIHZ00
The original appliance label identifies this refrigerator as Whirlpool WRS588FIHZ00. The close-up shown here is a crop of the actual label from the service visit.
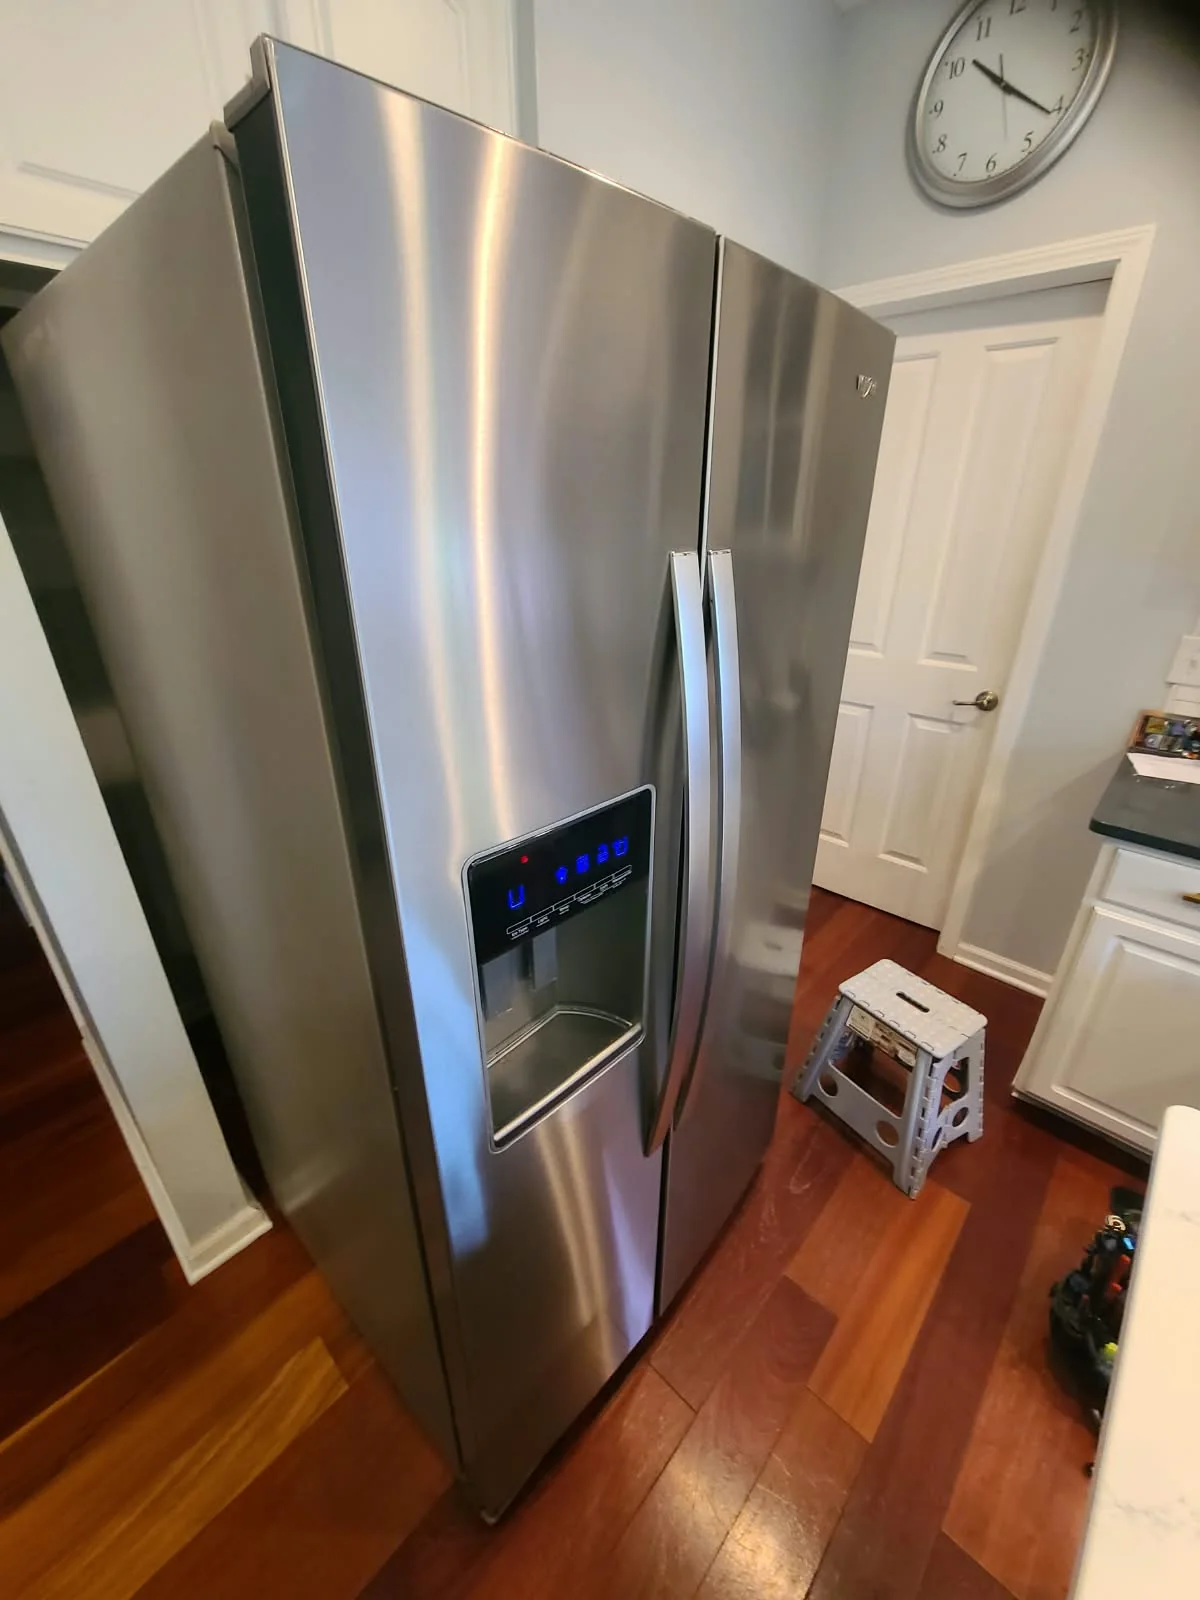
Recording the full model, including the final 00, helps distinguish the appliance from other production versions when identifying parts. This was a side-by-side refrigerator with an ice and water dispenser in the freezer door.
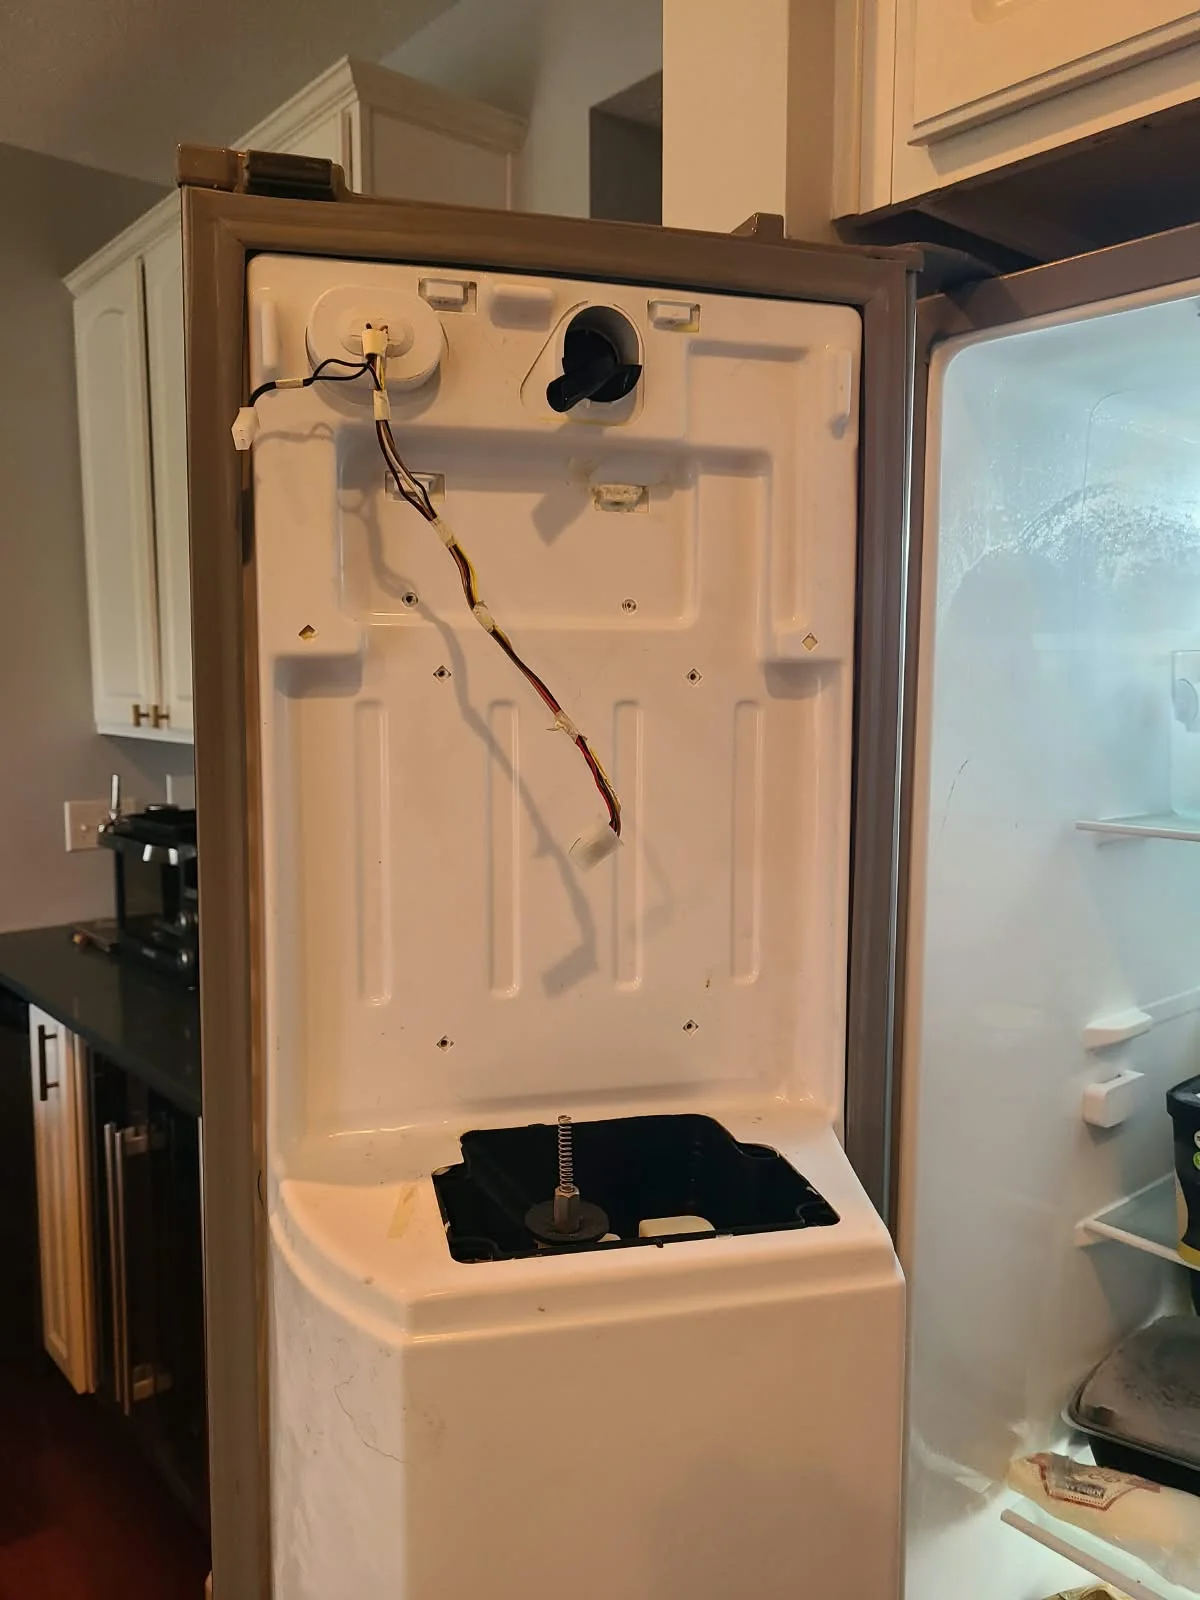
Removing the Ice Maker to Inspect the Fill Tube
We removed the ice maker to inspect the water outlet above it. This outlet is commonly called the ice maker fill tube or fill spout: it directs incoming water into the ice maker during a fill cycle.
With the assembly out of the way, we could inspect the outlet directly. The service photographs show the exposed door area and the ice obstructing the fill tube.
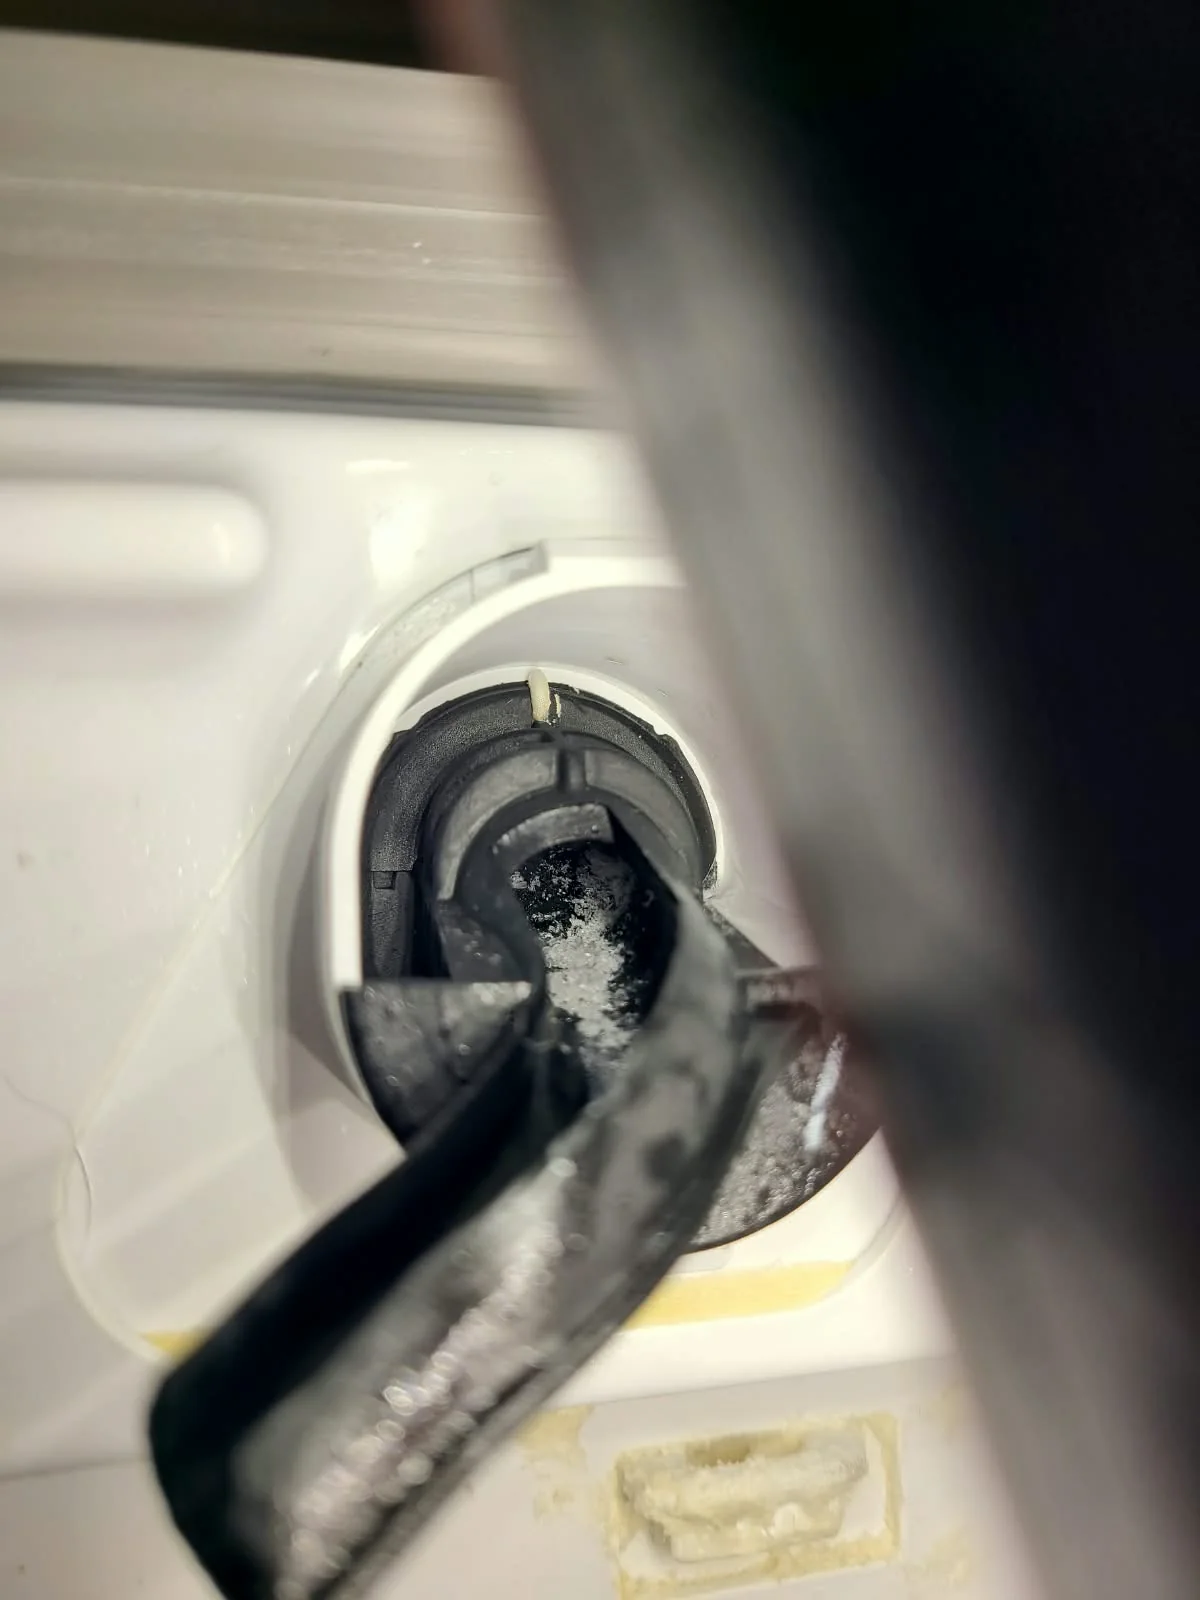
Why the Fill Tube Had Frozen
Our diagnosis was that the valve controlling water to the ice maker was not sealing completely. Water continued to seep into the fill tube between fill cycles, gradually collecting and freezing until the outlet became blocked.
When the ice maker next called for water, the obstruction prevented normal filling. That blockage was consistent with the reported leakage at the door and below the refrigerator. The precise route the escaping water took inside the door was not confirmed.
A frozen fill tube is a finding, not a universal diagnosis: other refrigerators can freeze for different reasons. Whirlpool's ice maker troubleshooting guide also discusses frozen inlet tubes and water-supply faults. In this case, clearing the ice needed to be paired with correcting the valve problem.
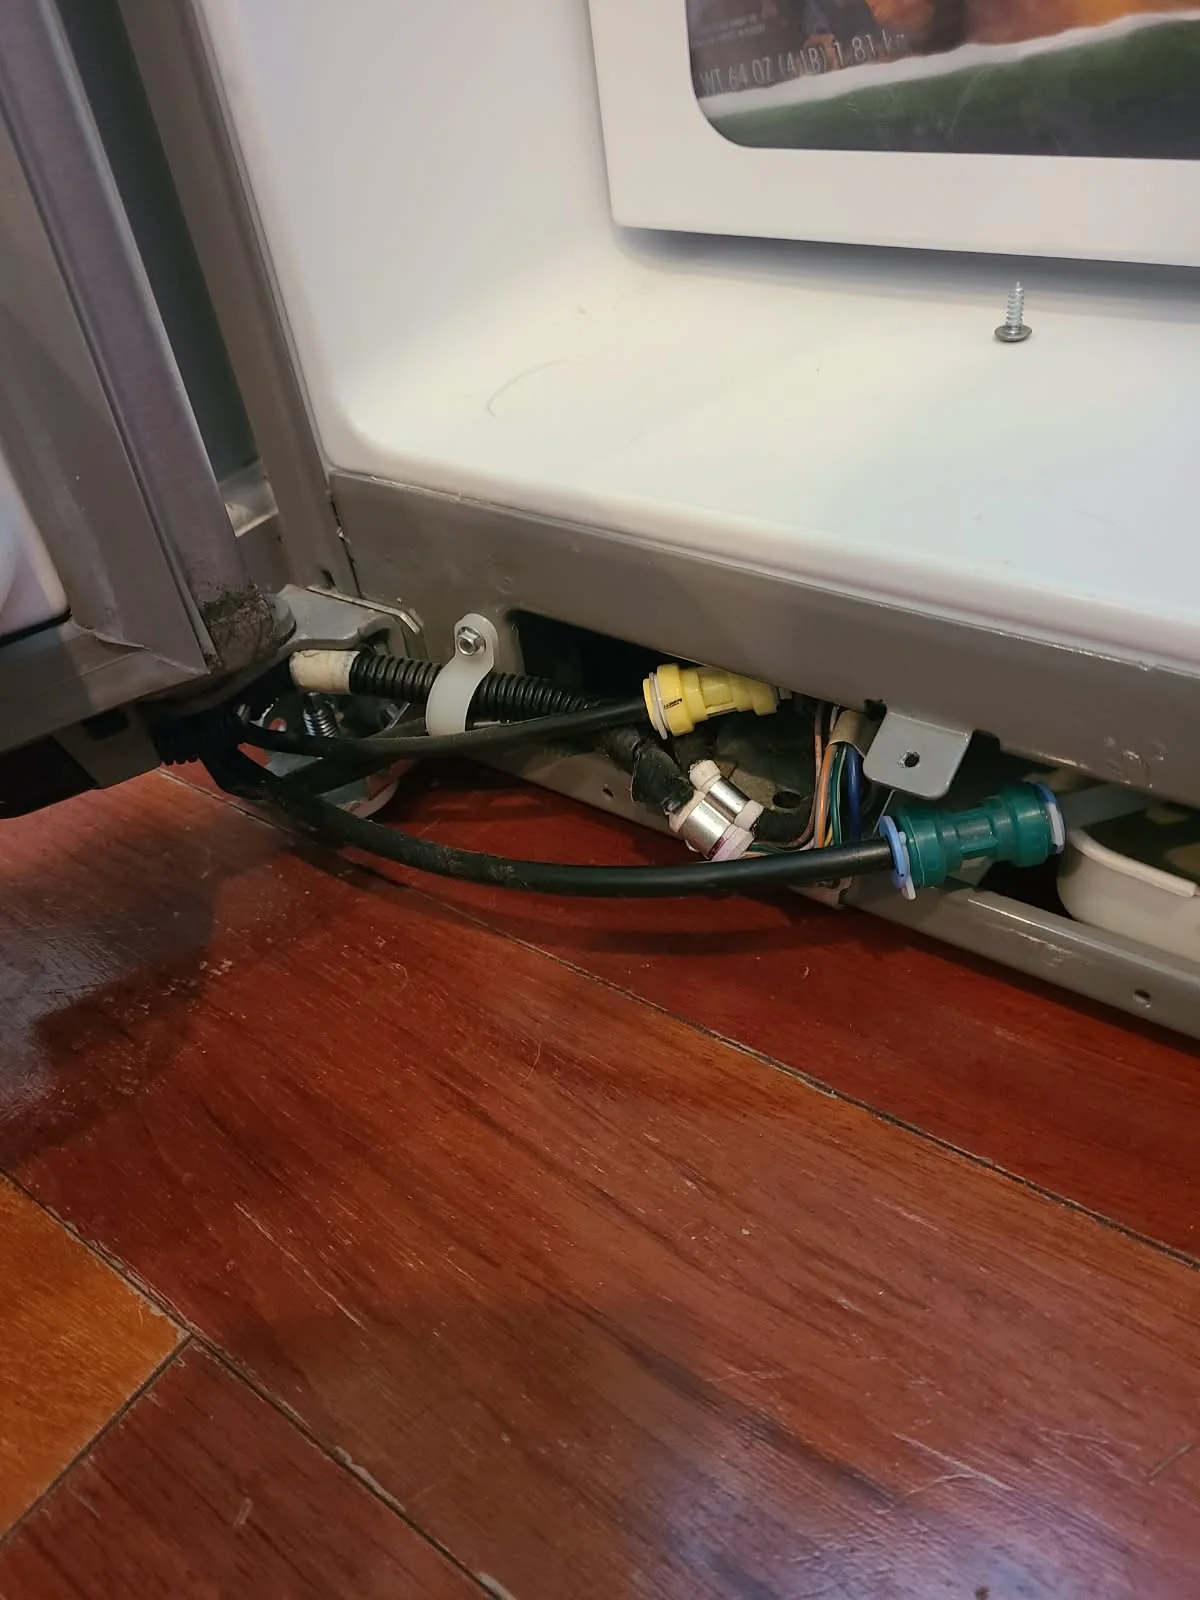
Thawing and Clearing the Water Line
We disconnected the affected line from the refrigerator water circuit, using the accessible connections at the bottom of the door. We then thawed and cleared the line with a steamer before reconnecting it.
This work removed the ice restriction from the water path. The photograph shows the lower door connections accessed during the process; the steamer itself is not pictured. This was a technician-performed repair, not a recommendation to apply steam to an assembled refrigerator.
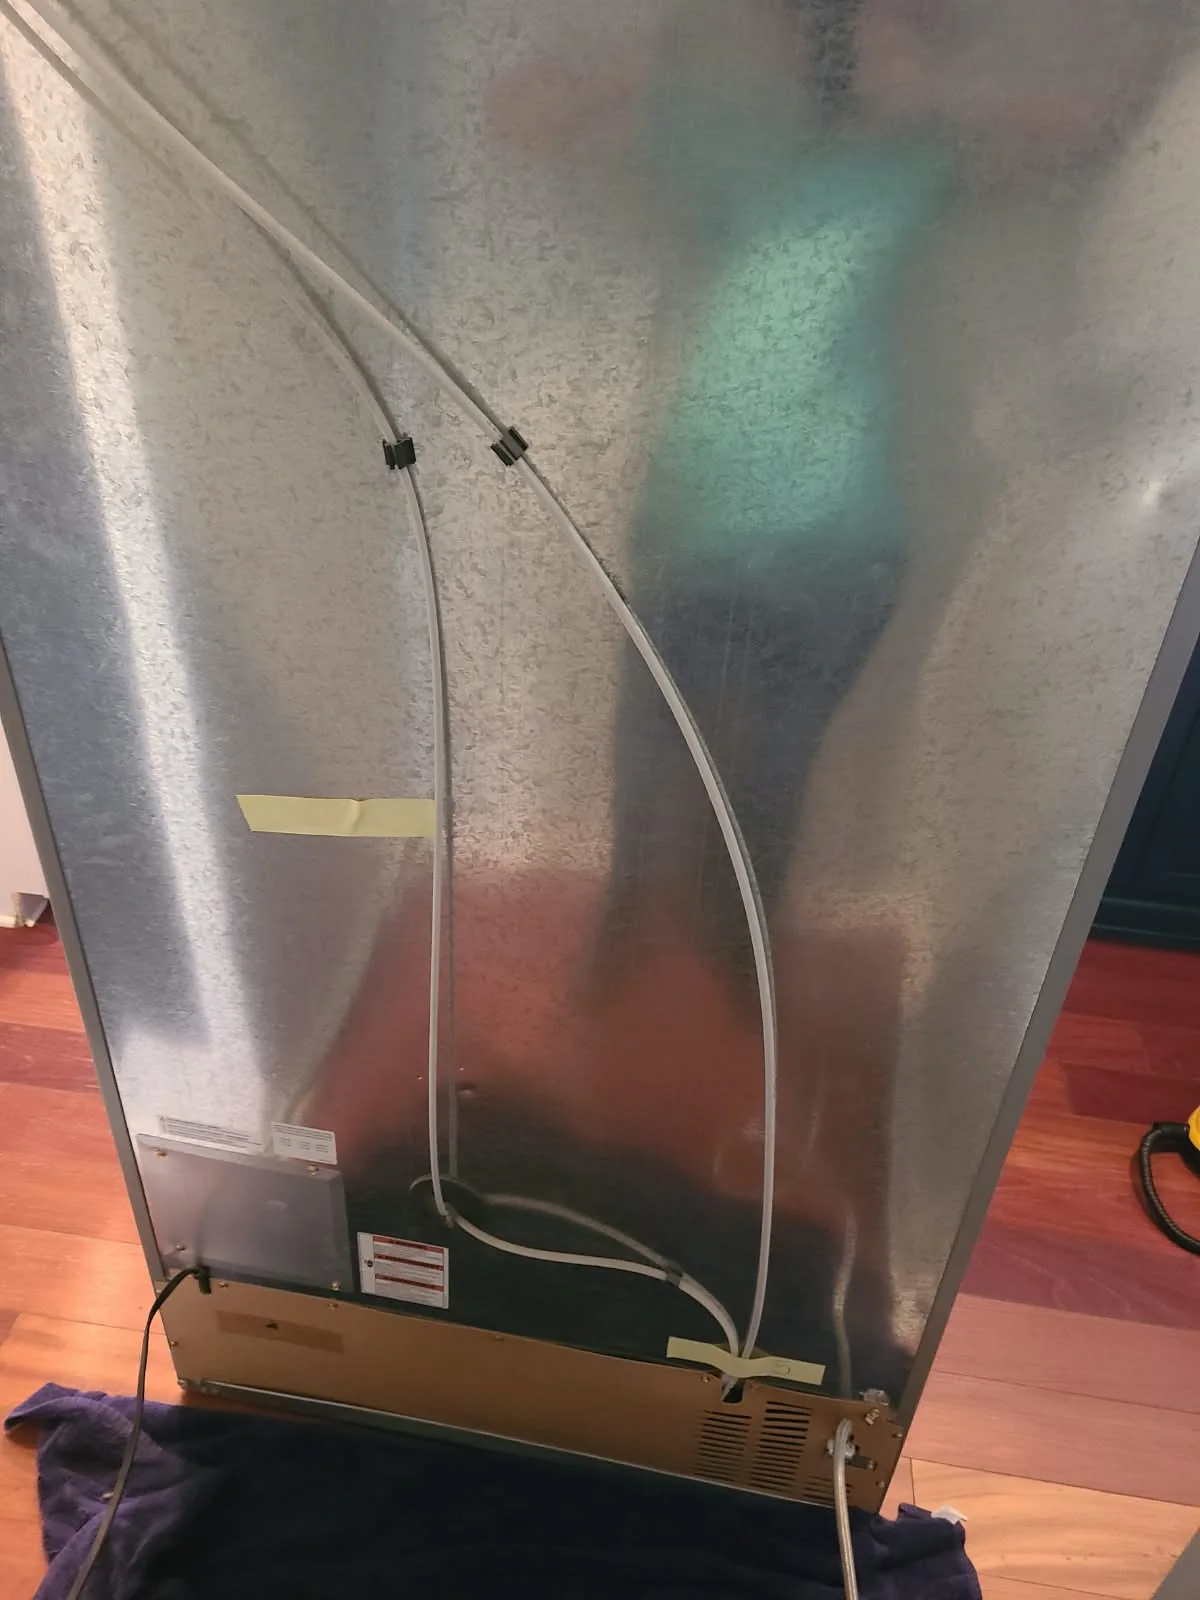
Inspecting the Supply Route Behind the Refrigerator
Access at the rear of the refrigerator exposed the water tubing and valve area. We worked on the water-supply components associated with the dispenser and ice maker while completing the line repair.
The rear-view photograph documents the tubing route. It also provides context for the two valve assemblies shown in the replacement photographs below.
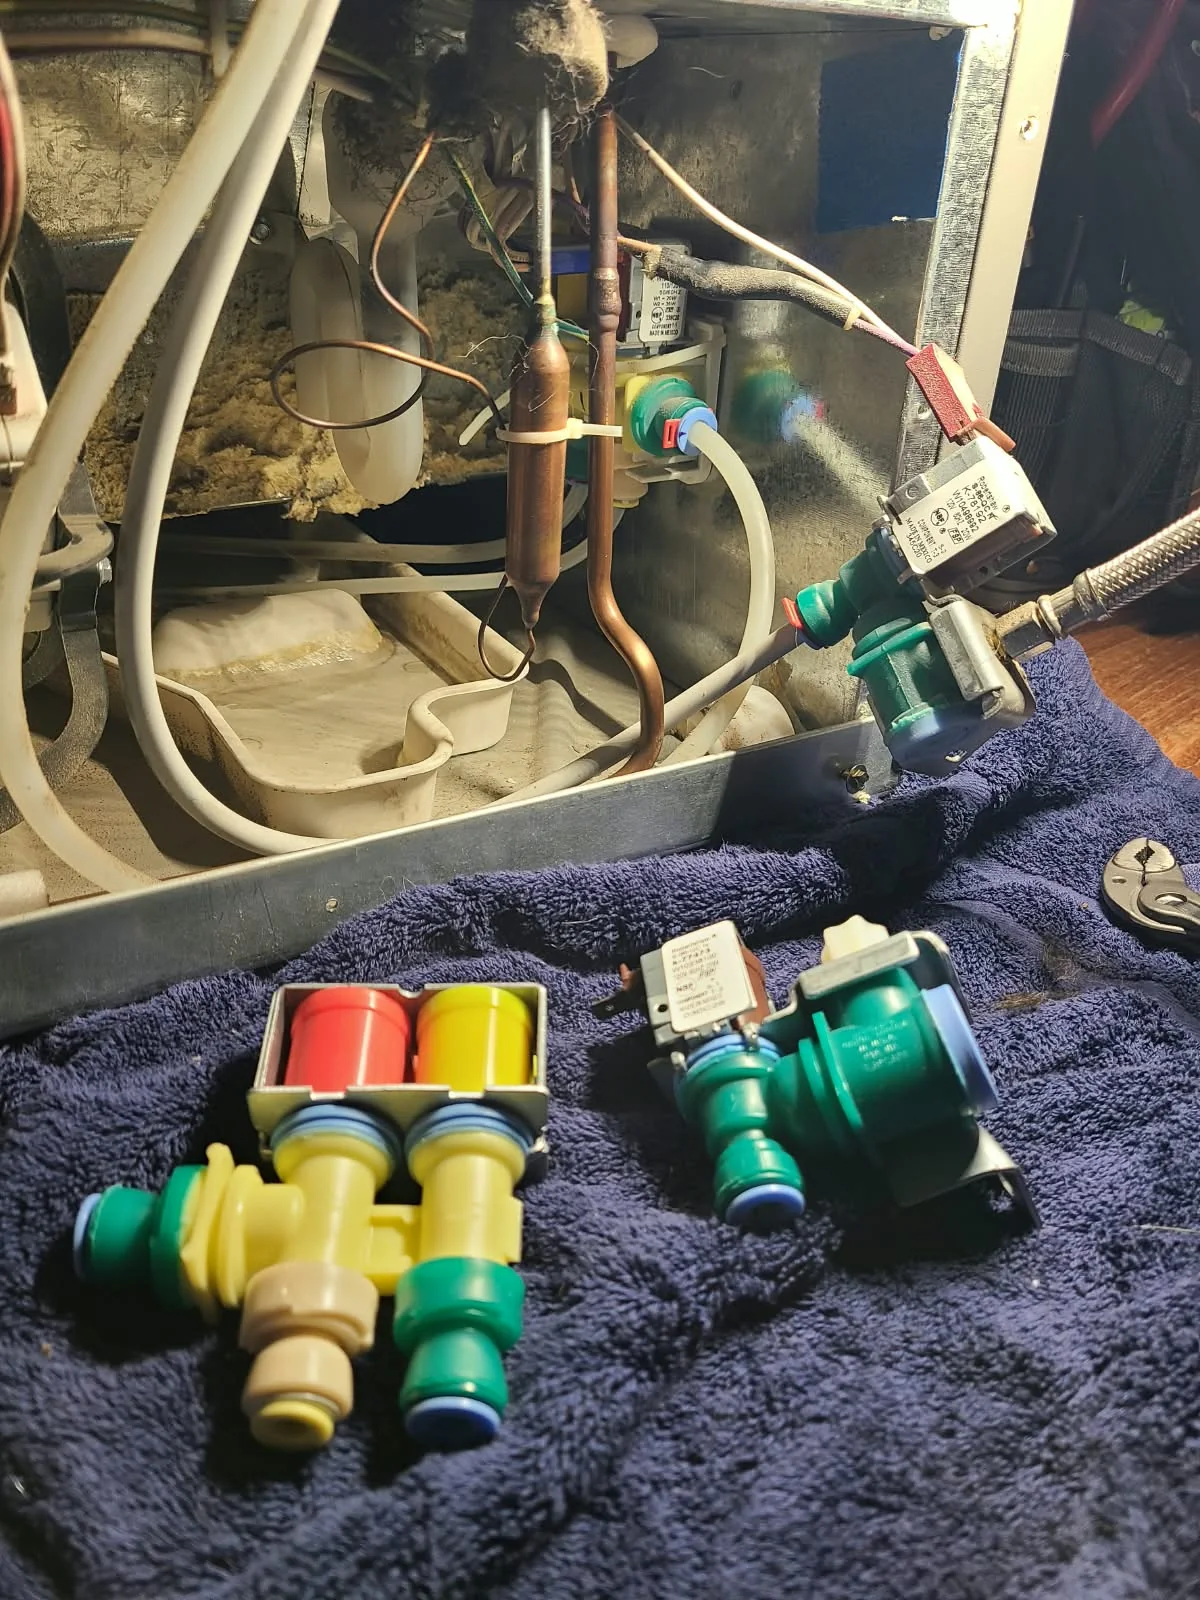
Replacing Both Water Valve Assemblies
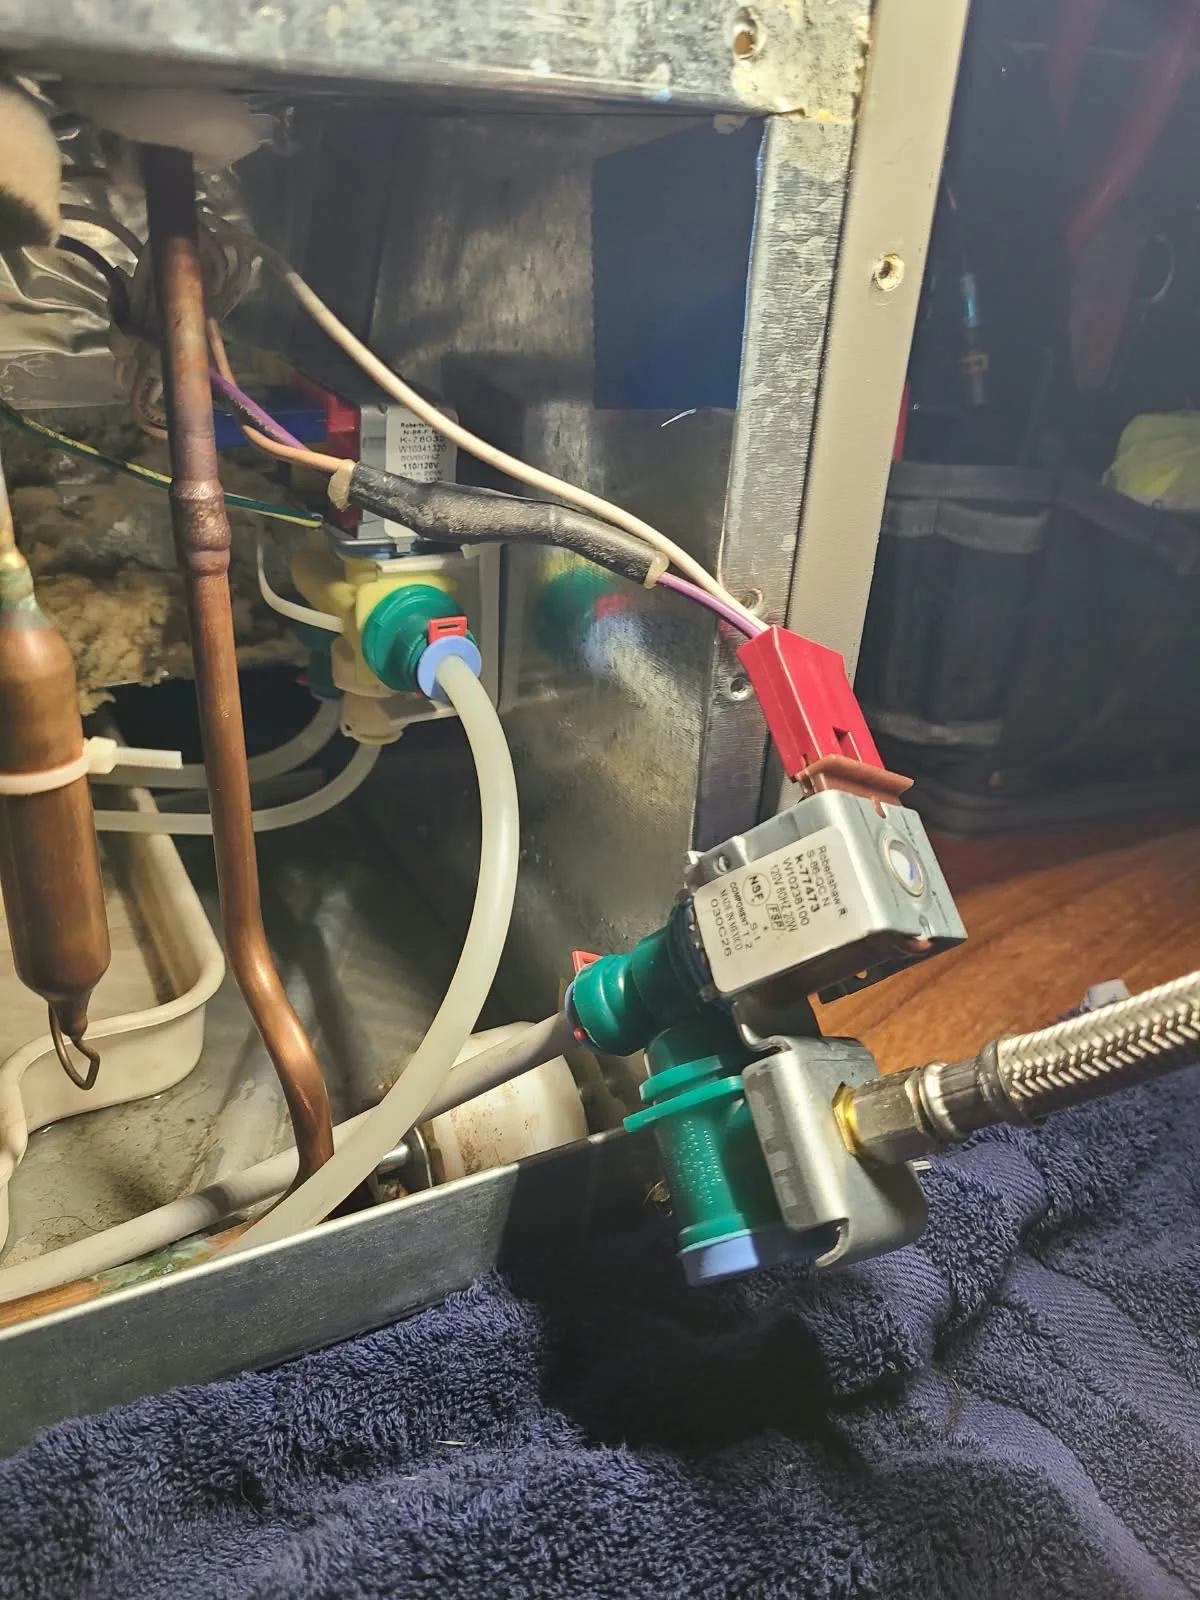
We replaced both water valve assemblies in the dispenser and ice maker water-supply system. The service photograph shows the two replacement assemblies next to the open rear compartment.
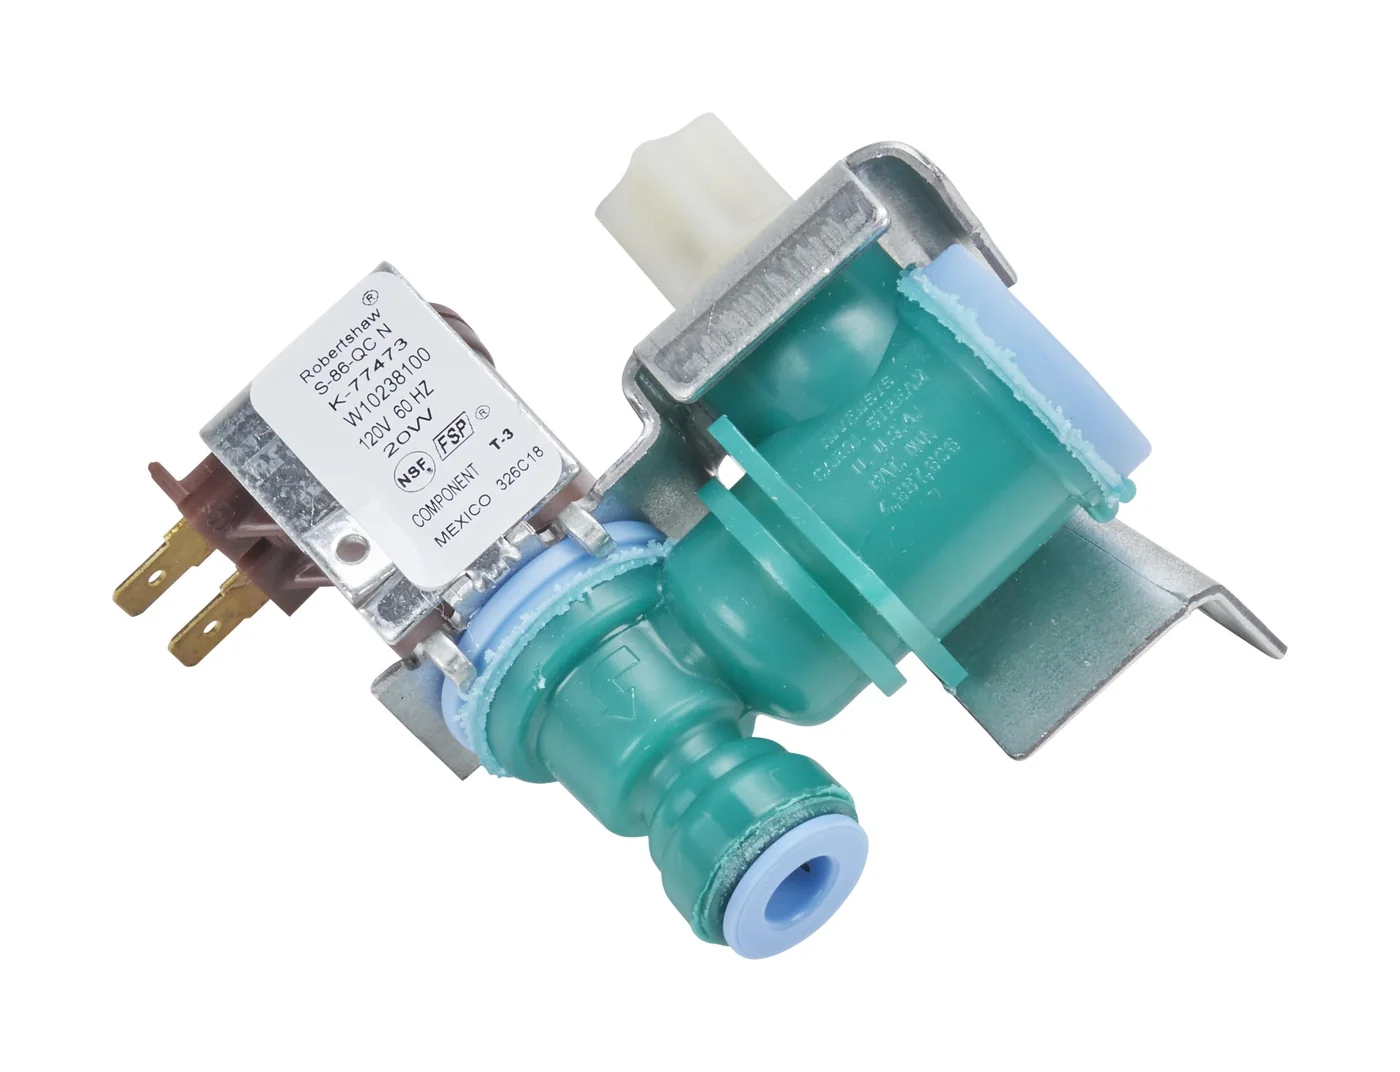
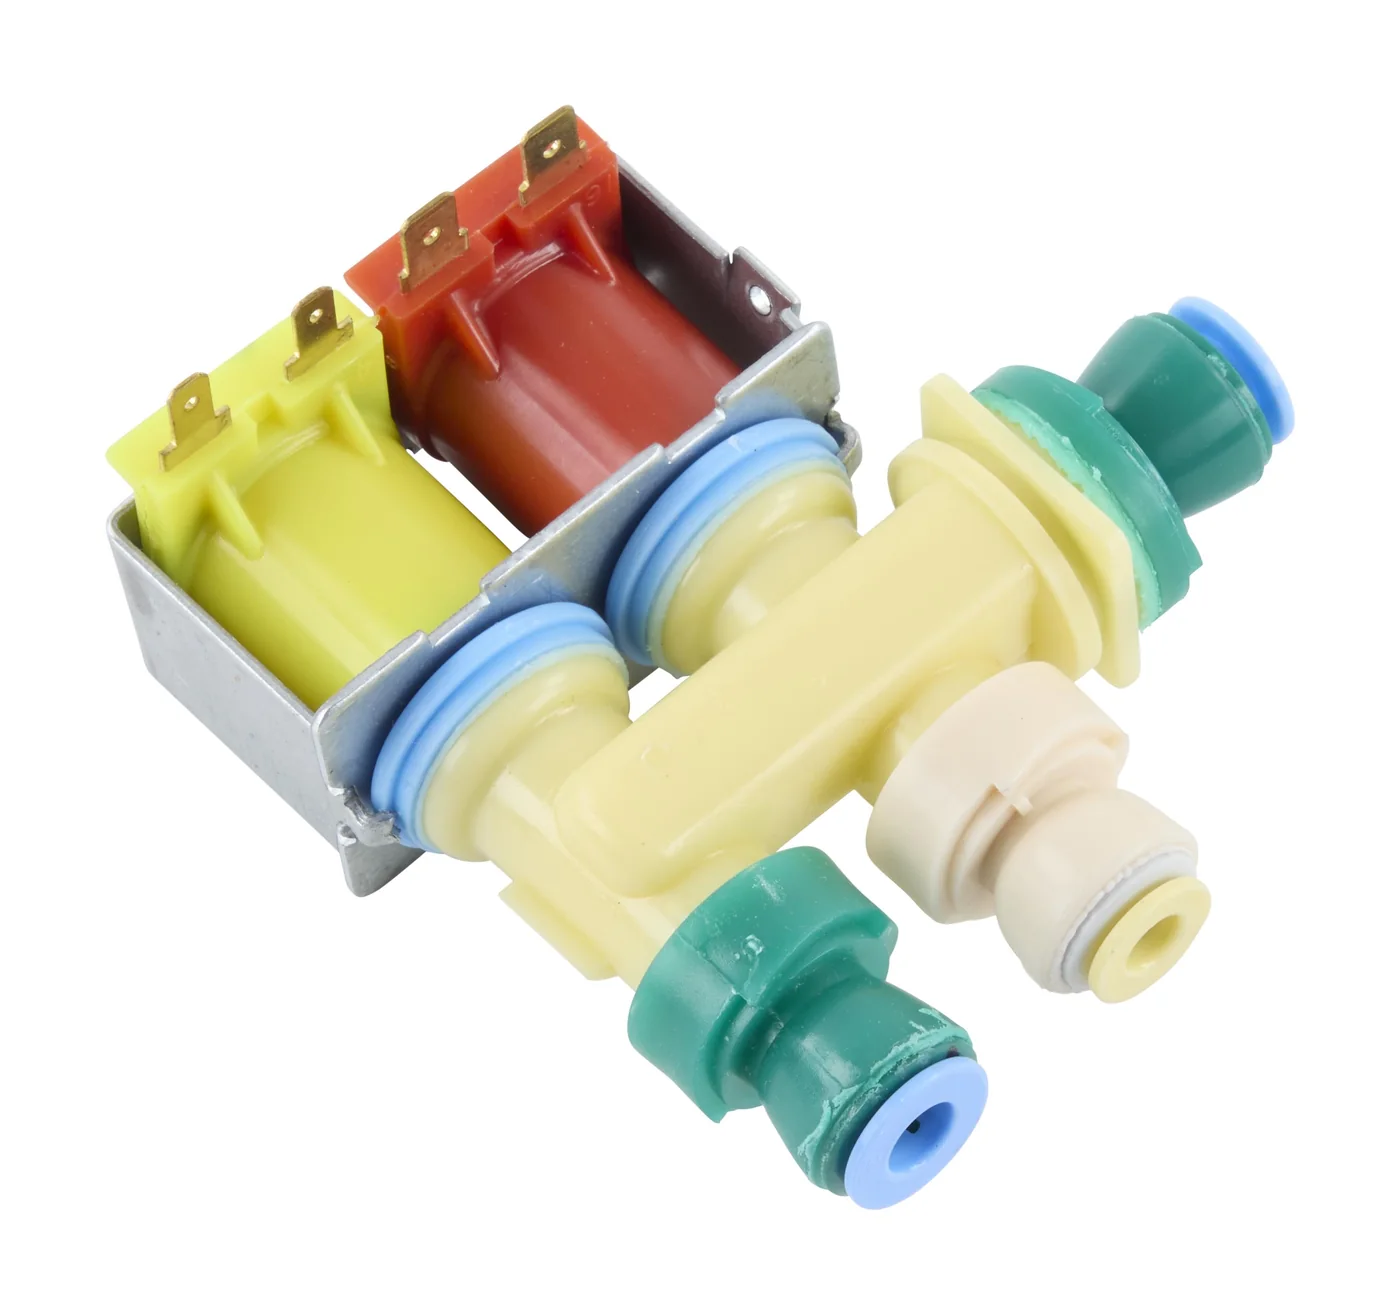
The supplied part references are WPW10238100, a single-solenoid valve, and WPW10341320, a dual-solenoid valve assembly. These are two separate assemblies, not simply two coils on one valve. Part selection should always be checked against the complete appliance model.
Water Valve Reference Images
These supplied product images identify the valve assemblies associated with this repair. They are reference images, separate from the original service photographs.
Reconnecting the Water System
After the line was cleared and the valves were replaced, we reconnected the water system and put the removed components back in reverse order. The valve-area photograph documents the connections during the work.
Replacing the valves addressed the unwanted water flow identified during diagnosis, while clearing the fill tube removed the existing blockage. Both parts of the repair were necessary to address this service call.
Cleaning the Ice Bin and Reinstalling the Ice Maker
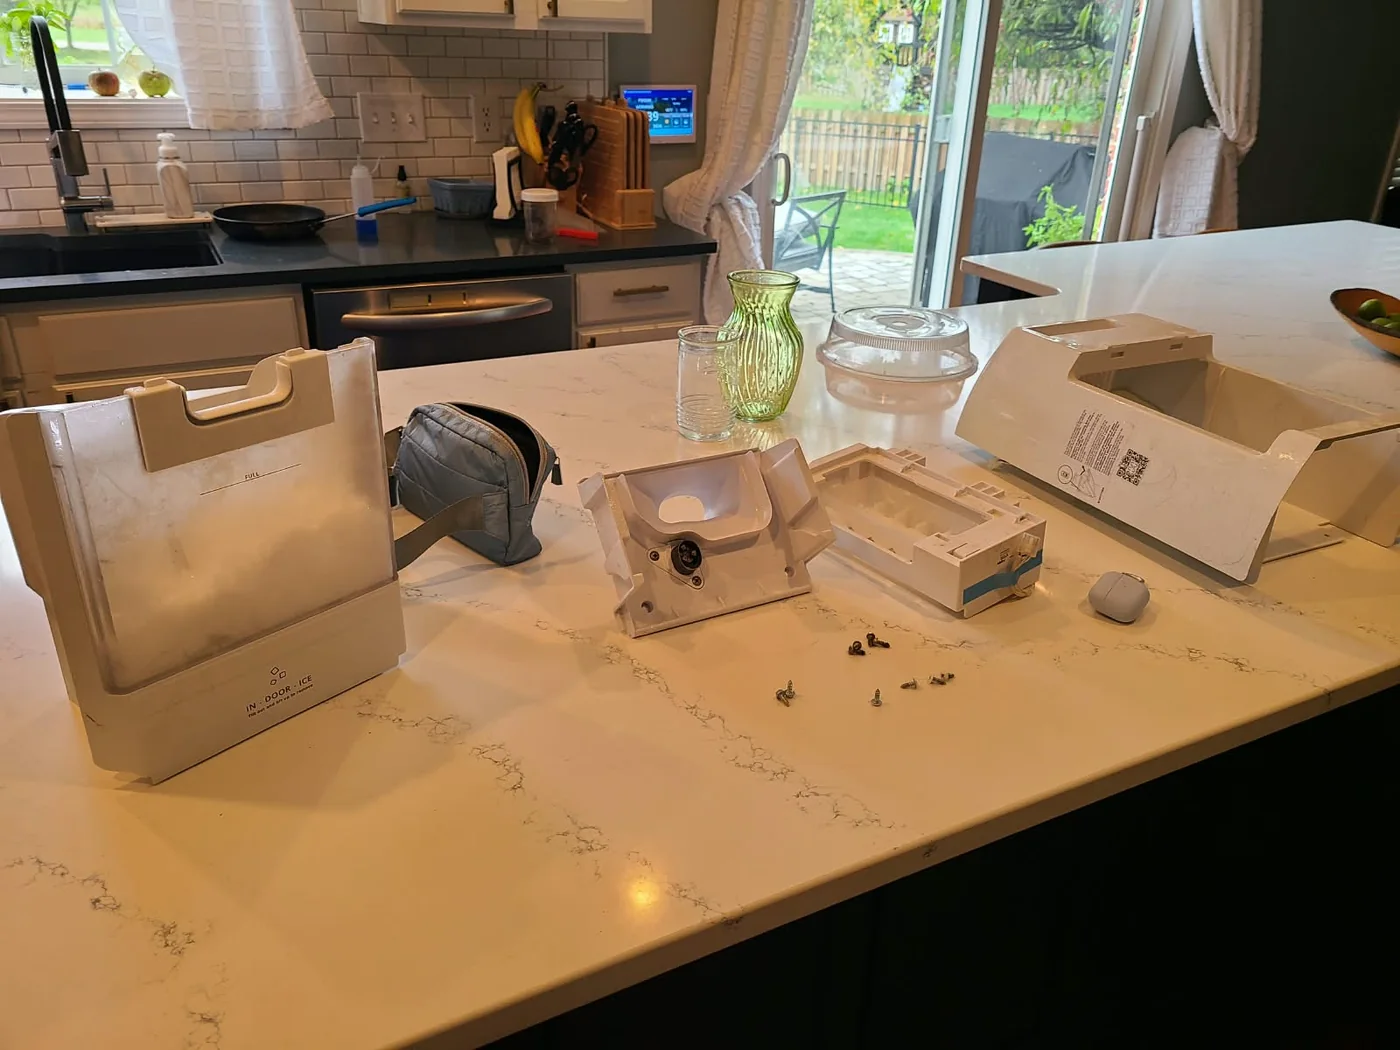
We cleaned the ice storage bin and reinstalled the ice maker, covers and related components. The countertop photograph shows the removed parts during this stage of the visit.
The original ice maker was reinstalled. This repair did not involve replacing the complete ice maker or the door gasket: the work focused on the restricted fill line and the water valve assemblies.
Final Leak Check and Completed Repair
With the refrigerator reassembled, we checked it for water leaks. The repair was completed after clearing the line, replacing the valves and checking the system again.
For this Westfield homeowner, the work addressed the source of unwanted water entering the ice maker line as well as the frozen obstruction. The final inspection was performed on the reassembled refrigerator, not only on the disconnected components.
Whirlpool Refrigerator Repair in Westfield, Indiana
Water under a refrigerator or near its door does not automatically mean the door seal has failed. The water line, valves and ice maker fill path may need inspection before the correct repair can be identified.
For a similar problem, explore our refrigerator repair services, Westfield service coverage and appliance brands we service, including Whirlpool. Share your model number, where you see the water and when the leak occurs when booking.
Alex Appliance Repair is an independent appliance repair service operated by Aksenov LLC. See more documented repair visits or contact our team to schedule an inspection.
Book refrigerator repair